
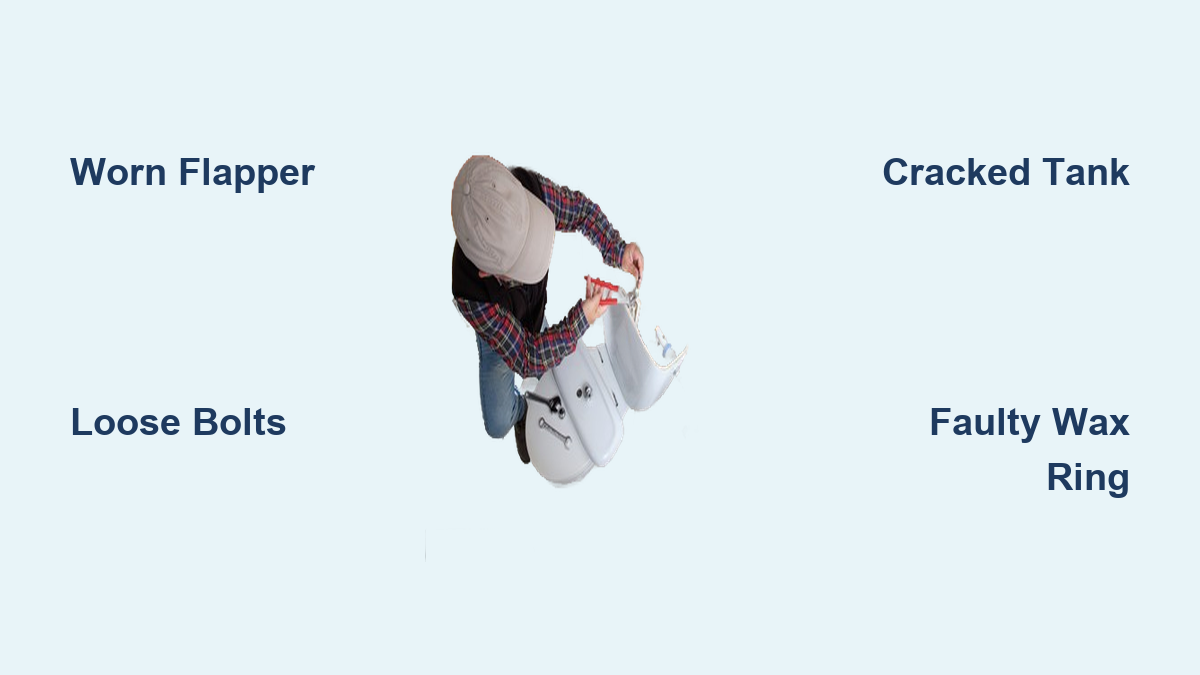
A toilet that runs nonstop or leaks at the base can waste over 200 gallons of water every day. Many homeowners overlook the warning signs until they notice a spike in their monthly water bill or hear the faint sound of trickling water. The most common causes of toilet leaks involve worn internal parts, loose connections, or cracked porcelain. Identifying these problems early can save you money and prevent costly water damage to your bathroom floor and subfloor.
This guide covers the leading causes of toilet leaks and shows you how to diagnose each one. You’ll learn which parts fail most often, how to test for hidden leaks, and when a simple repair is enough versus when you need a full replacement. Whether you’re a DIY homeowner or just want to understand what’s happening before calling a plumber, this article gives you the practical knowledge to act.
Worn Flapper Valve
:max_bytes(150000):strip_icc()/repairing-leaky-toilet-tank-flush-valve-1824907-05-c477c2a758d346b9bff4fa9146573d0d.jpg)
The flapper valve sits at the bottom of your tank and controls water flow into the bowl during flushing. It’s one of the top causes of toilet leaks because rubber deteriorates quickly with regular use.
Warning Signs of a Failing Flapper
• Toilet cycles on and off without being used
• Visible warping, brittleness, or mineral crust on the rubber
• Water trickles into the overflow tube even when the tank is full
Simple Test for Flapper Leaks
- Lift the tank lid and set it aside safely.
- Add 5 to 10 drops of food coloring into the tank water.
- Wait 15 minutes without flushing.
- Check the bowl. If color appears, your flapper is leaking.
Pro Tip: Swap your flapper every 4 to 5 years as preventive maintenance. Hard water and chemical cleaners shorten its lifespan significantly.
Loose or Corroded Flush Valve
:max_bytes(150000):strip_icc()/repairing-leaky-toilet-tank-flush-valve-1824907-hero-4190aa7ed0a546bcb3c7e3186.jpg)
The flush valve is the opening the flapper seals against. When this surface becomes rough or cracked, even a brand new flapper won’t stop the leak.
Why Flush Valves Fail
• Mineral deposits create channels that prevent a tight seal
• Hairline cracks in the valve seat let water pass through
• Misalignment during installation causes uneven seating
How to Inspect the Flush Valve
• Shut off the water supply and drain the tank completely.
• Run your finger around the valve seat edge.
• Look for pitting, roughness, or visible cracks.
Fix: Light sanding can smooth minor imperfections. Deep cracks require a full flush valve replacement to stop the leak permanently.
Fill Valve Malfunction
The fill valve refills the tank after each flush. A malfunctioning fill valve is among the most common causes of toilet leaks and can run your water bill up quickly.
Symptoms of a Failing Fill Valve
• Hissing sound continues long after the tank fills
• Water level rises above the overflow tube
• Tank refills slowly or with weak pressure
Adjusting the Fill Valve Properly
• Find the adjustment screw on top of the valve or the float clip on the side.
• Lower the float until water stops about 1 inch below the overflow tube.
• Flush and watch the refill cycle.
If adjustment fails: Replace the fill valve. Modern units install in under 20 minutes and typically last 6 to 8 years.
Loose or Damaged Supply Line
The supply line carries water from the shutoff valve to your tank. Failures here can drip constantly or burst suddenly under pressure.
Common Supply Line Problems
• Worn rubber washers inside the compression nuts
• Overtightened fittings that crack the tank inlet
• Corroded chrome lines that develop pinhole leaks
• Aged flexible hoses that bulge or seep at connections
How to Fix Supply Line Leaks
- Shut off the water at the wall valve.
- Disconnect the line and inspect the washer inside the nut.
- Replace the washer or swap the entire line for braided stainless steel.
- Hand-tighten the nut, then add a quarter turn with a wrench.
Tip: Always upgrade to braided stainless steel supply lines. They resist bursting and outlast rubber versions by years.
Cracked Toilet Tank or Bowl
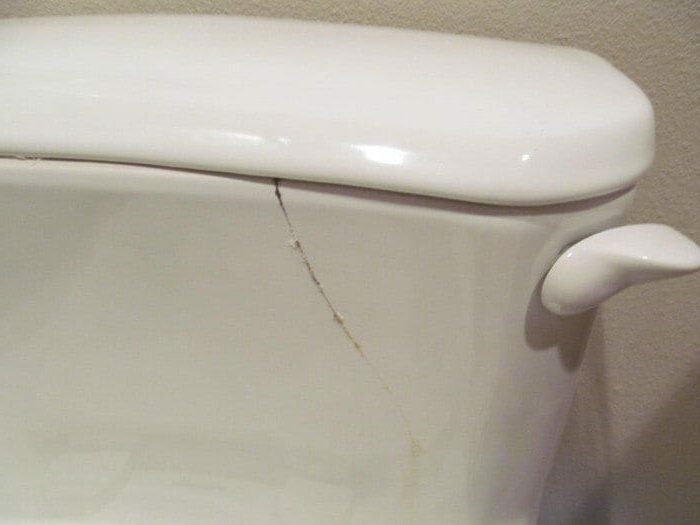
Porcelain cracks are serious causes of toilet leaks that often start as slow drips and worsen over time.
How Cracks Form
• Natural aging and stress on the porcelain
• Over-tightened tank bolts during installation
• Thermal shock from sudden temperature changes
• Impact from dropped tools or shifting flooring
Finding Hidden Cracks
• Dry the entire tank and base with a towel.
• Flush the toilet and watch for new moisture.
• Shine a flashlight along seams and bolt holes.
Warning: Hairline cracks cannot be permanently repaired. Epoxy patches are temporary. Replace the tank or entire toilet for a lasting fix.
Faulty Wax Ring
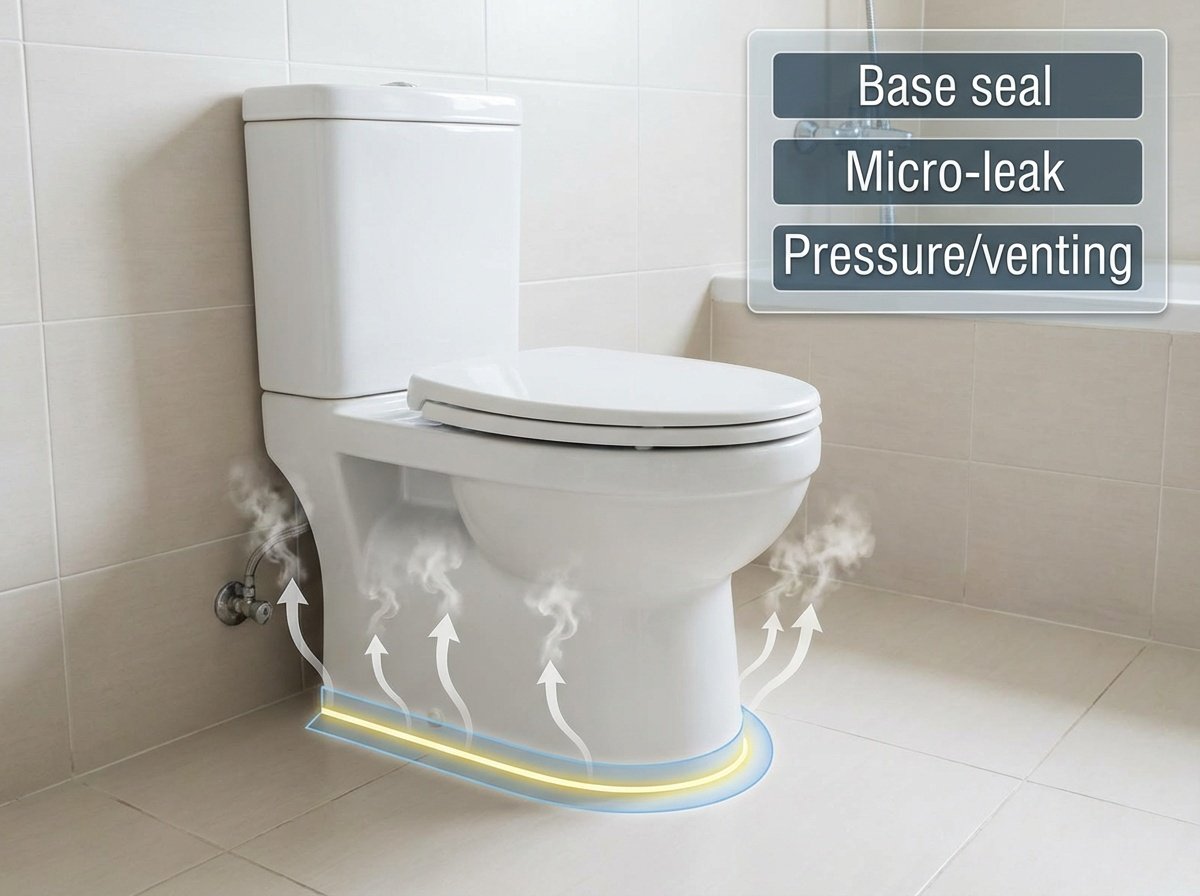
The wax ring creates a watertight seal between your toilet base and the floor flange. When it fails, water leaks out with every flush.
Signs of a Bad Wax Ring
• Puddles forming around the toilet base after flushing
• Sewer gas smell in the bathroom
• Toilet rocks or shifts when you sit or stand
Why Wax Rings Fail
• Too little wax applied during initial installation
• Movement of the toilet breaking the seal
• Years of compression drying out the wax
Fix: Remove the toilet, scrape away the old wax, and install a new ring with a plastic funnel guide. This job takes about an hour for most homeowners.
Loose Tank or Mounting Bolts

Bolts secure the tank to the bowl and the toilet to the floor. Vibration from flushing gradually loosens these connections.
Consequences of Loose Bolts
• Water seeps where the tank meets the bowl
• Toilet wobbles and damages the wax ring seal
• Uneven pressure creates stress cracks in porcelain
How to Tighten Bolts Safely
- Place a wrench on the nut beneath the tank