
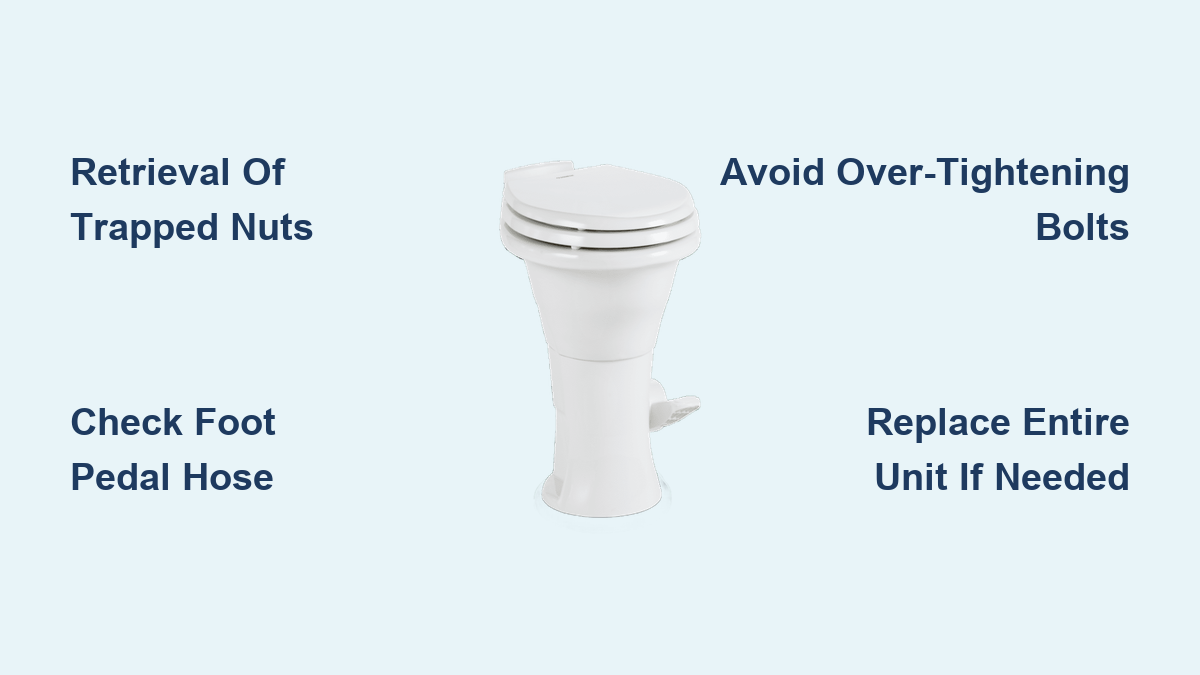
Few RV problems are as frustrating as a Dometic toilet that leaks after disassembly. Many owners who attempt a Dometic 310 toilet repair quickly discover a frustrating design reality: the internal nuts become trapped inside the bowl, and the mounting hardware is engineered for a single assembly. Once separated, putting the toilet back together turns into a puzzle with no official replacement parts available.
This guide covers real-world fixes based on user experiences and proven workarounds. You will learn how to diagnose the leak source, avoid common mistakes during reassembly, and decide when a repair is realistic or when replacing the entire unit is the smarter choice.
Dometic 310 Design: Why Disassembly Creates Problems
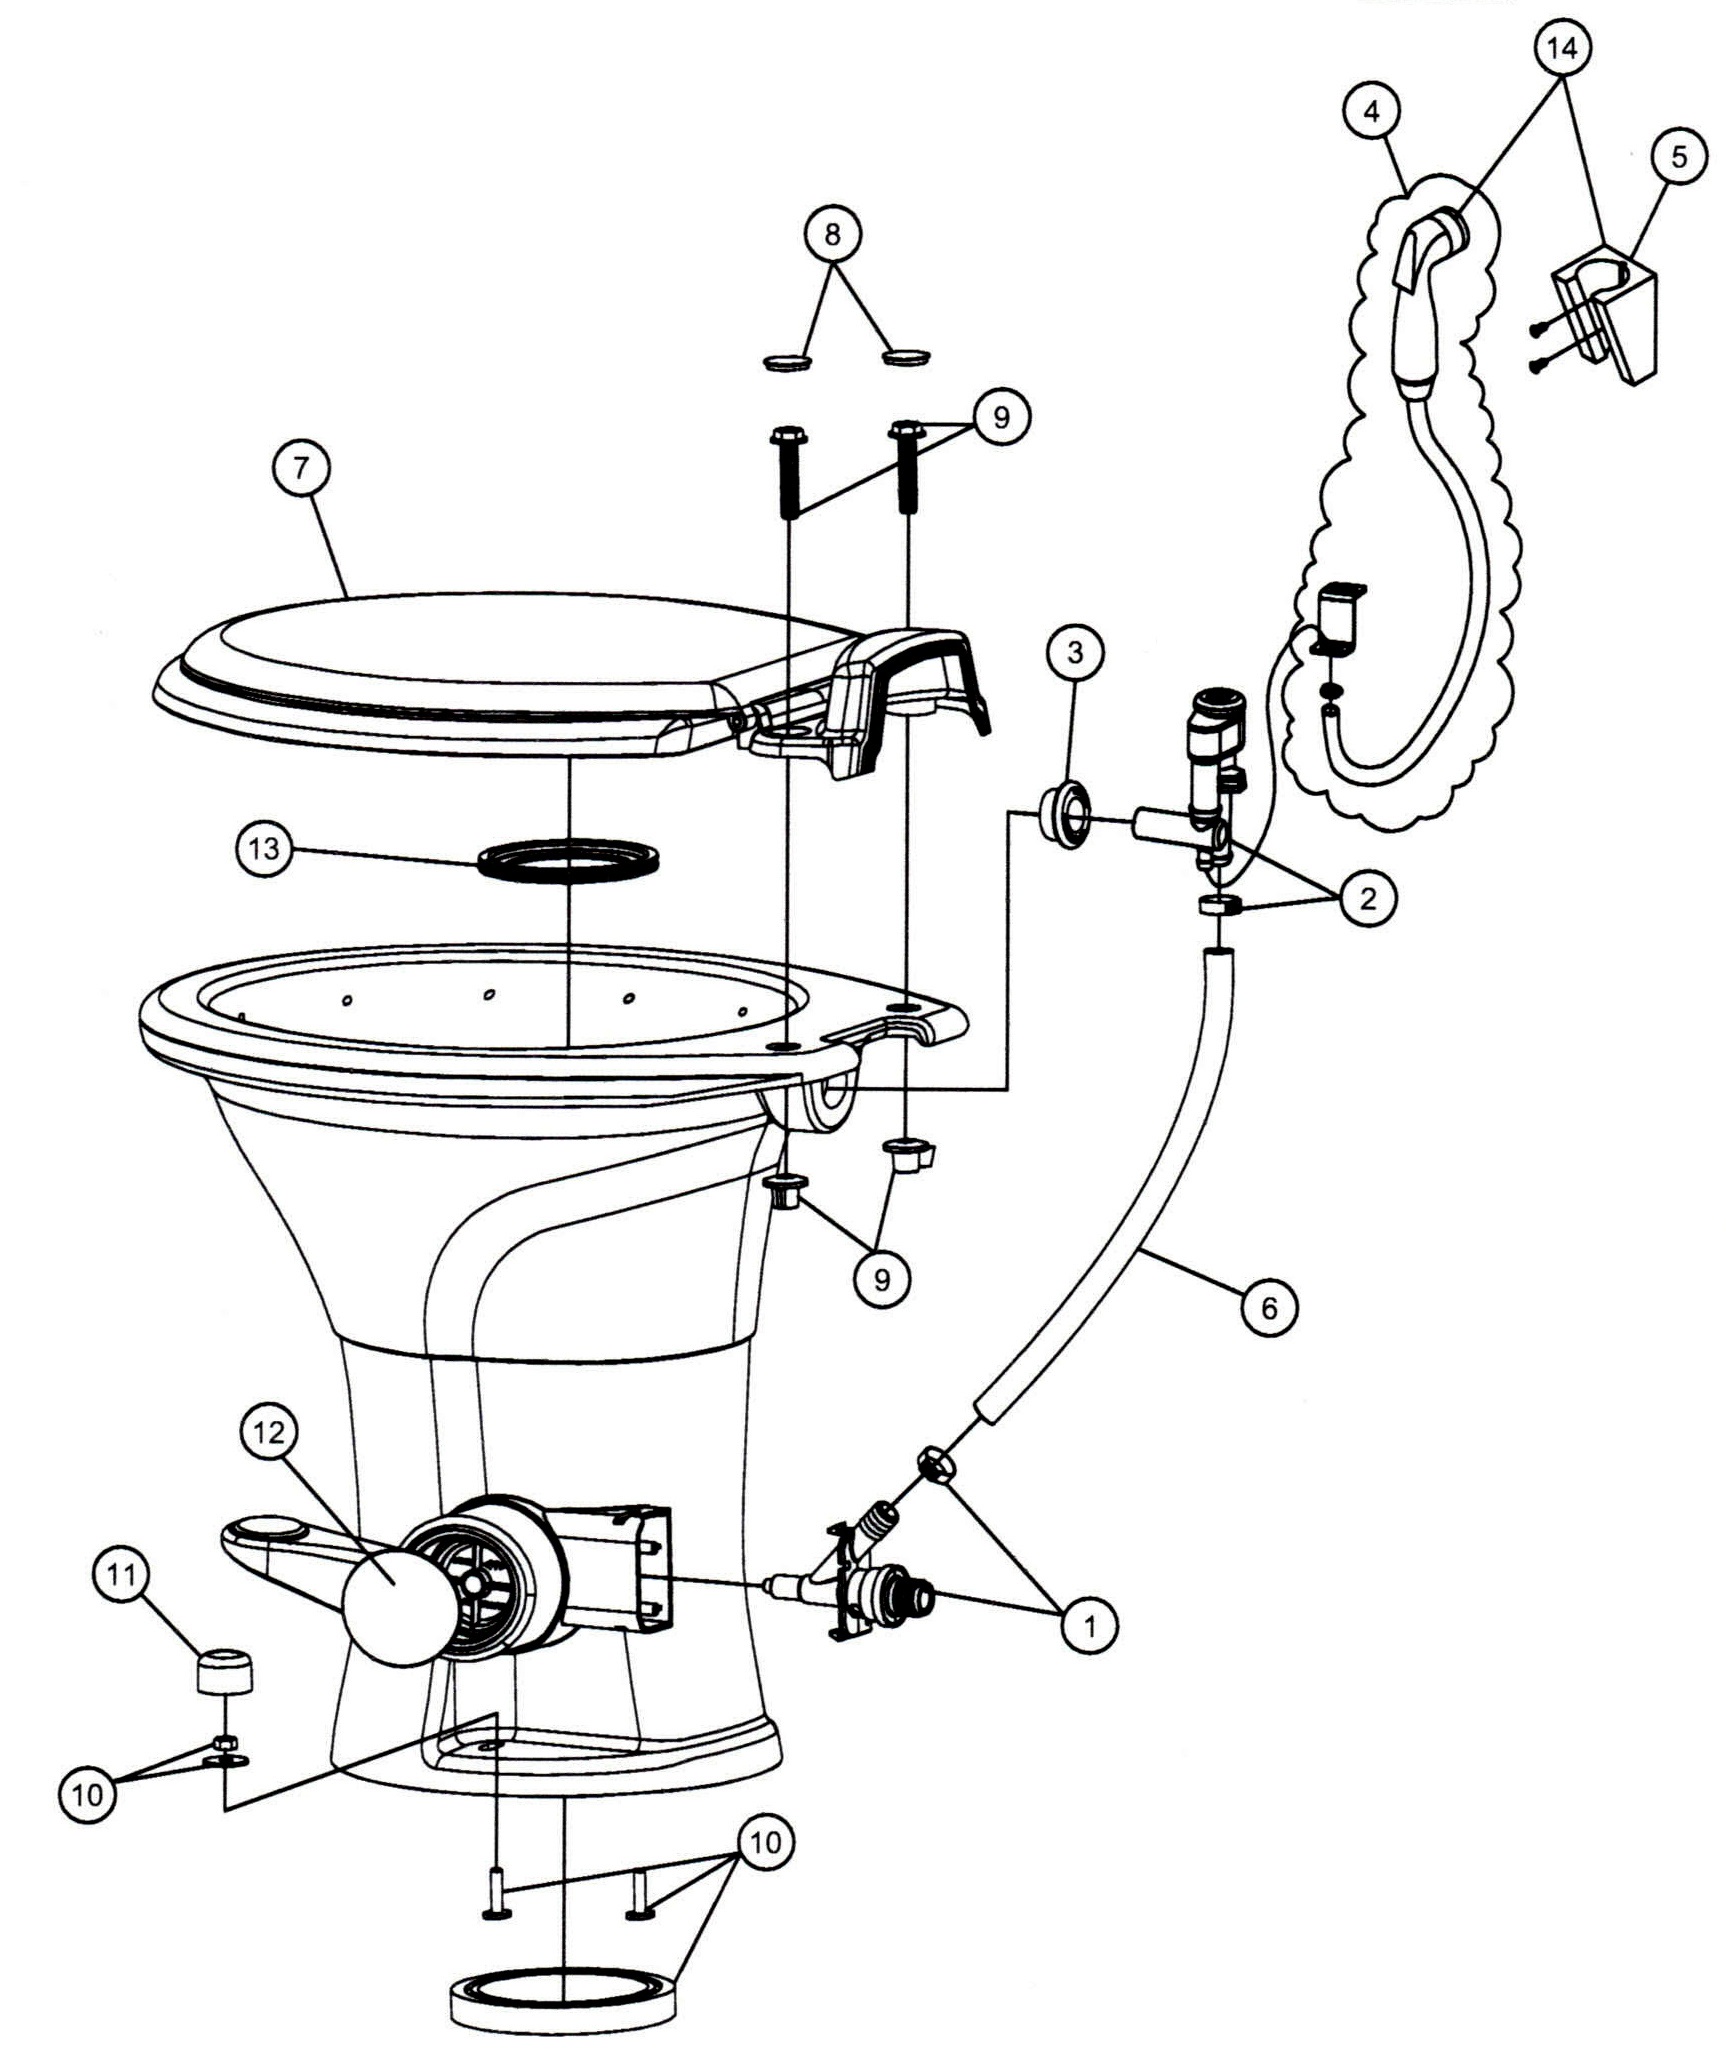
The Dometic 310 uses a proprietary mounting system that locks plastic split nuts inside the ceramic bowl. These nuts form part of a single-use fastening mechanism designed to expand and lock permanently when tightened during initial installation.
The Hidden Split Nut Mechanism
Four mounting bolts hold the bowl to the pedestal using a two-part nylon nut system:
– A split lower half embeds into the bowl’s plastic housing
– An upper threaded nut screws onto the bolt, pulling up and flaring the split base
After disassembly, the split nuts often fall inside the bowl cavity and become impossible to retrieve without specialty tools. Dometic does not sell replacement gaskets or nut assemblies separately, which makes reassembly extremely difficult without creative improvisation.
Why the Hardware Is Single-Use
As confirmed by forum user T49ers68, the nut housing is engineered to break off and flare during tightening. This creates a permanent seal but also destroys the fastener’s reusability. If you have already taken your Dometic 310 apart, the original mounting system is likely compromised.
⚠️ Key Takeaway: Reusing the original hardware may lead to recurring leaks or bowl instability. Plan for replacement parts or alternative fastening methods.
Common Leak Sources and How to Diagnose Them
Before removing any components, identify exactly where the water is escaping. Not every leak requires full disassembly or a new toilet.
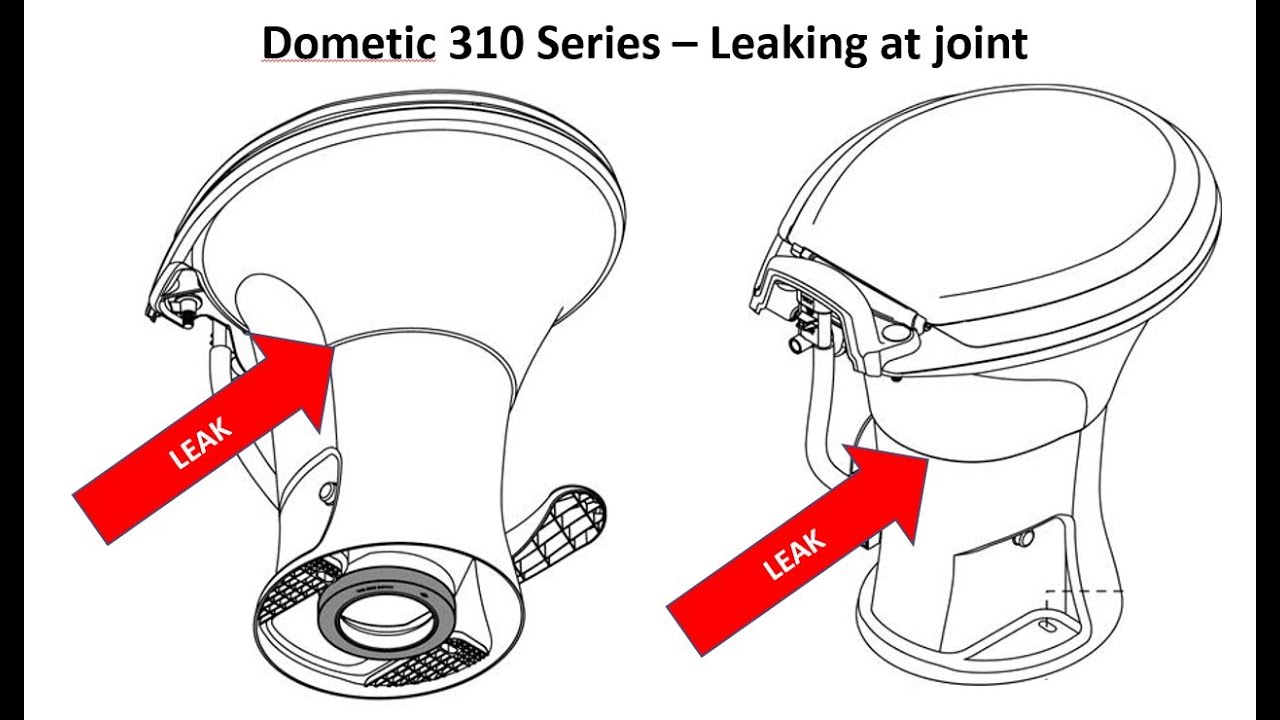
Floor Seal Versus Bowl-Pedestal Leak
| Leak Location | Symptoms | Repairable? |
|---|---|---|
| Floor seal | Water pools around base after flush; toilet rocks slightly | Yes, replace rubber flange |
| Bowl-pedestal seam | Dripping between ceramic bowl and plastic base | Rarely, gasket not sold separately |
| Foot pedal connection | Puddle appears only when flushing; dampness behind pedal | Yes, tighten or seal hose |
Use a dry paper towel to test each area after flushing. Focus on the base-to-floor joint, the back of the foot pedal, and the seam where the bowl meets the pedestal.
Check the Foot Pedal First
Forum user FirstFiver discovered a hidden leak source at the pedal hose connection. When pressed, the pedal can force water out of a loose or cracked hose fitting, which then runs down the pedestal and onto the floor.
Inspect Pedal Hoses in 3 Steps
- Remove the pedal cover (usually snaps off)
- Check compression fittings for cracks or looseness
- Replace nylon ferrules or hoses if worn; use RV-grade replacement lines
✅ Pro Tip: Wrap connections with electrical tape temporarily to test whether the leak stops.
Reassembling a Disassembled Dometic 310
If you have already separated the bowl from the base, your options are limited but not entirely hopeless.
Retrieving Trapped Nuts
Forum user OliveOyl could not find the nuts inside the bowl. Others, like bubbles-FRF, managed to recover them using:
– Long mechanic’s pick tools
– Magnetic retrieval tool (for metal inserts, if present)
– Tilting the bowl to guide nuts toward access holes
Once retrieved, the nuts must be reinserted into the mounting plate from inside the bowl, aligning with the bolt holes.
Reusing the Split Nut System
Even with the nuts recovered, the flare mechanism may not reset properly. Here is what bubbles-FRF did successfully:
- Insert bolts from the top while holding the split nut in place
- Push down to seat the split base into the mounting hole
- Tighten while gently pulling up to engage threading and expand the nut
⚠️ Warning: Over-tightening cracks the plastic housing. Dometic specifies 30 to 40 inch-pounds, which is roughly hand-tight pressure with a screwdriver.
Superglue Workaround for Lost Nuts
T49ers68 resorted to supergluing the nut housing back into place after reassembly. While not factory-approved, this can stabilize the joint when done carefully:
- Position the nut assembly correctly
- Apply plastic-safe cyanoacrylate glue
- Clamp until set according to product instructions
- Reinstall bolts slowly, checking alignment
❗ Note: This is a field fix, not a long-term solution. Monitor for movement or recurring leaks.
When Replacement Becomes the Only Option
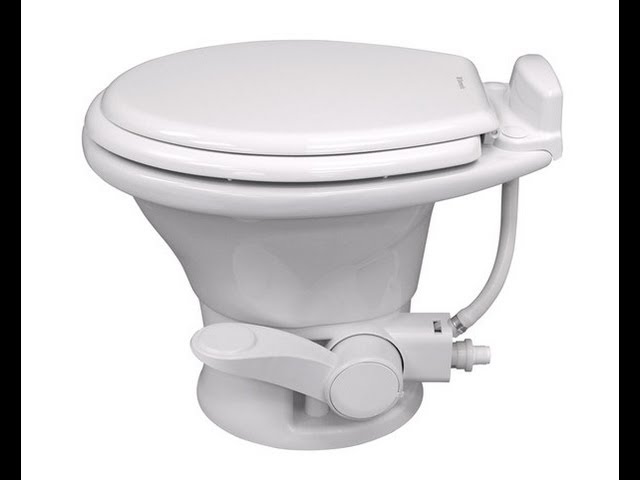
Many owners end up replacing the entire toilet, not because it failed mechanically, but because the repair path is too fragile to trust long-term.
Signs You Need a New Toilet
- Leaking at the bowl-pedestal seam (gasket unavailable)
- Corroded or stripped mounting bolts
- Missing or damaged internal nuts
- Repeated leaks after reassembly attempts
Forum user Wandering-FRF replaced an 8-year-old unit after confirming the screws were seized, the gasket was brittle and thin, and no OEM seals were available. They ordered an identical Dometic 310 from Amazon, which fit perfectly in the tight Forester trailer bathroom.
Buying a Direct Replacement
When replacing the unit, keep these factors in mind:
– Match the model exactly (310, 320, and so on) for bolt pattern and footprint
– Check dimensions, especially in compact bathrooms
– Buy a new wax or rubber flange to seal to the black tank
✅ Time-Saver: Install the new toilet immediately after removing the old one to prevent debris from falling into the waste pipe.
Preventing Future Leaks

Avoid disassembly unless absolutely necessary. Most issues can be managed without taking the bowl apart.
Proper Tightening Technique
Dometic warns against over-tightening, yet many owners lack torque wrenches while traveling. The manual specifies 30 to 40 inch-pounds.
How to Tighten Safely
- Use a flathead screwdriver and hand pressure only
- Stop when resistance increases slightly
- Alternate bolts in a star pattern to distribute pressure evenly
🛠️ Expert Note: 30 to 40 inch-pounds equals the force needed to firmly press a thumbtack into wood, gentle but firm.
Regular Maintenance Tips
- Clean the flush valve and seal annually with vinegar or RV-safe cleaner
- Inspect pedal linkage for wear every 6 months
- Check the floor seal during winterization and de-winterization
Frequently Asked Questions About Dometic Toilet Repair
Can a Dometic 310 toilet be taken apart and reassembled?
The Dometic 310 is not designed for disassembly. The internal split nuts become trapped inside the ceramic bowl, and the hardware is meant for a single assembly. Reassembly is possible only with retrieval tools and careful technique.
Where do most Dometic toilet leaks come from?
The most common leak sources are the floor seal at the base, the foot pedal hose connection, and the seam between the ceramic bowl and plastic pedestal. Identifying the exact location before removing the toilet saves significant time.
What torque should I use on Dometic toilet mounting bolts?
Dometic specifies 30 to 40 inch-pounds. This is roughly hand-tight pressure with a standard screwdriver. Over-tightening cracks the plastic housing and leads to leaks.
Are replacement gaskets available for the Dometic 310?
No. Dometic does not sell replacement gaskets or nut assemblies separately. This is why many owners replace the entire toilet when the bowl-pedestal seam begins leaking.
How do I fix a Dometic toilet leak at the foot pedal?
Remove the pedal cover and inspect the compression fittings and hoses behind it. Replace any cracked nylon ferrules or worn hoses with RV-grade parts. Wrapping connections with electrical tape can help identify whether the pedal area is the source.
Is it cheaper to repair or replace a Dometic 310 toilet?
When the leak originates at the floor seal or pedal hose, repair is inexpensive. When the leak comes from the bowl-pedestal seam or the internal nuts are lost, replacement is usually faster, cheaper, and more reliable than chasing unavailable parts.
Key Takeaways for Dometic Toilet Repair Success
Dometic toilet repair is possible in some cases but limited by design choices that prioritize installation over serviceability. Floor seal leaks and pedal hose issues can usually be fixed without major disassembly. Bowl-pedestal seam leaks and lost internal nuts typically force a full replacement.
Before attempting any Dometic toilet repair, diagnose the exact leak source using a dry paper towel test. If the bowl is already separated from the base, attempt nut retrieval with picks or magnetic tools, and consider plastic-safe glue as a temporary stabilizer. For lasting reliability, replacing the entire unit often proves faster and more cost-effective than chasing unavailable gaskets and one-time-use hardware.
Your next step: inspect the leak location today, gather the right tools, and decide whether a targeted repair or a full replacement matches your timeline and budget.