
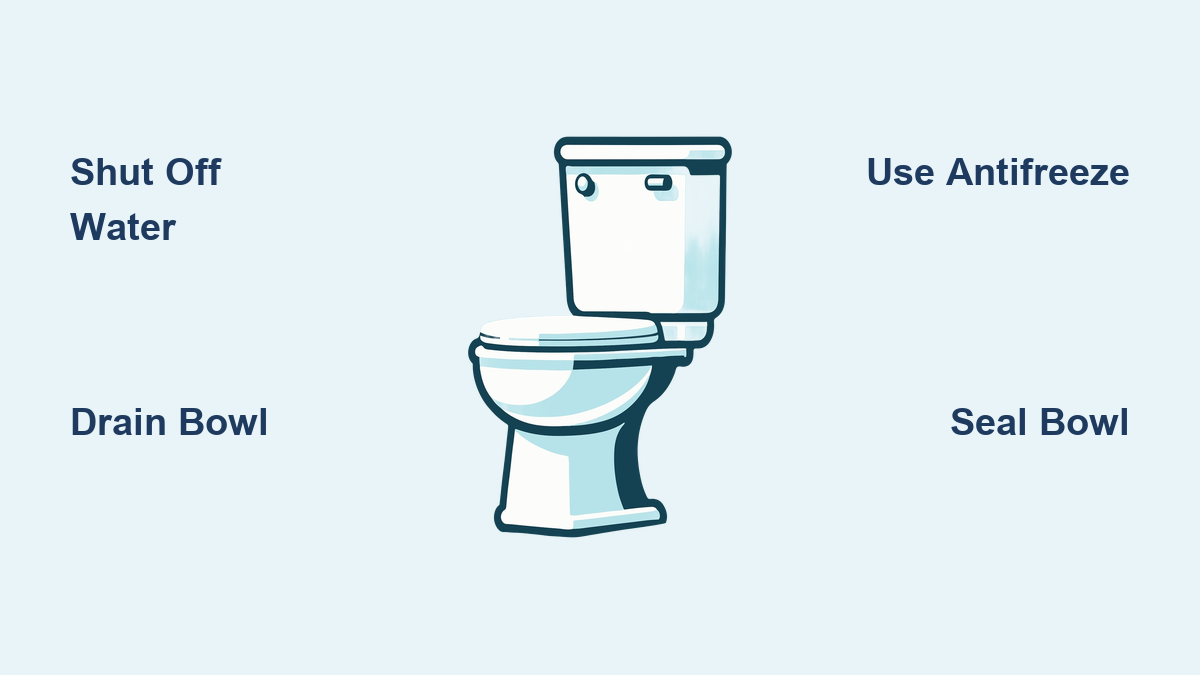
When freezing temperatures arrive at an empty cabin or vacation home, knowing how to winterize a toilet can save you from thousands of dollars in plumbing repairs. Water left sitting in the bowl or trap expands when it freezes, cracking porcelain and bursting pipes. Unlike a year-round home with consistent heat, vacant properties need proactive protection before the cold sets in.
This guide walks you through the entire process of winterizing a toilet, from shutting off the water supply to sealing the bowl with plastic wrap. You will learn which antifreeze to use, common mistakes to avoid, and how to reactivate your plumbing in spring.
Shut Off the Water Supply Before Anything Else
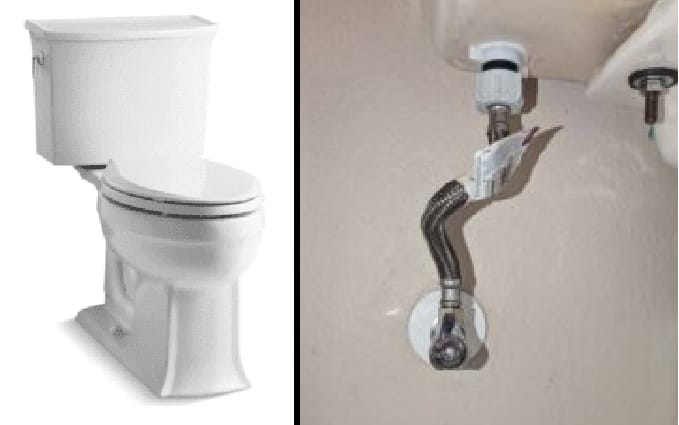
Before touching the toilet, isolate it from the main water line to prevent accidental refills during the process.
Locate and Close the Shut-Off Valve
Find the small valve behind the base of the toilet, usually mounted on the