
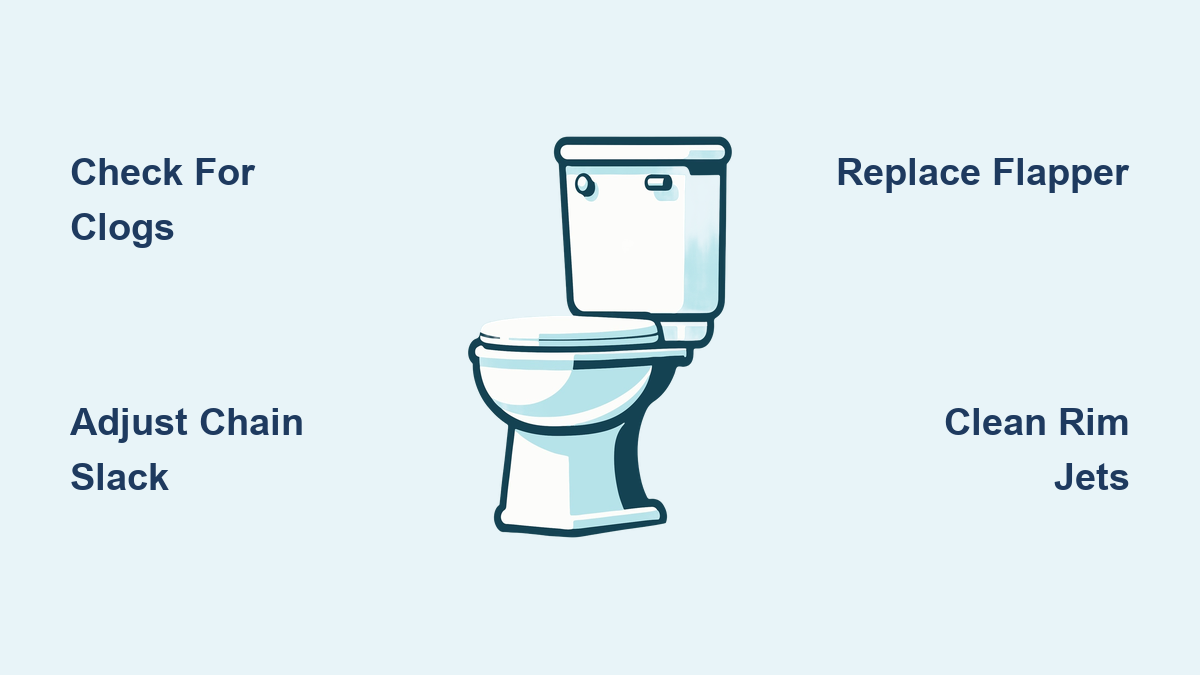
You press the handle, hear a weak gurgle, and watch the bowl barely drain. A failing toilet disrupts your whole day and wastes hundreds of gallons of water if left unchecked. The good news is that toilet flush troubleshooting is one of the most manageable home repairs you can tackle yourself, often in under 30 minutes with no special tools.
This guide breaks down every common cause of weak, incomplete, or absent flushes. You will learn how to inspect tank components, clear blockages, adjust water levels, and recognize when professional help is needed. Whether you own a modern dual-flush unit or a classic gravity-fed toilet, these fixes apply across the board.
Start by Checking for Simple Clogs
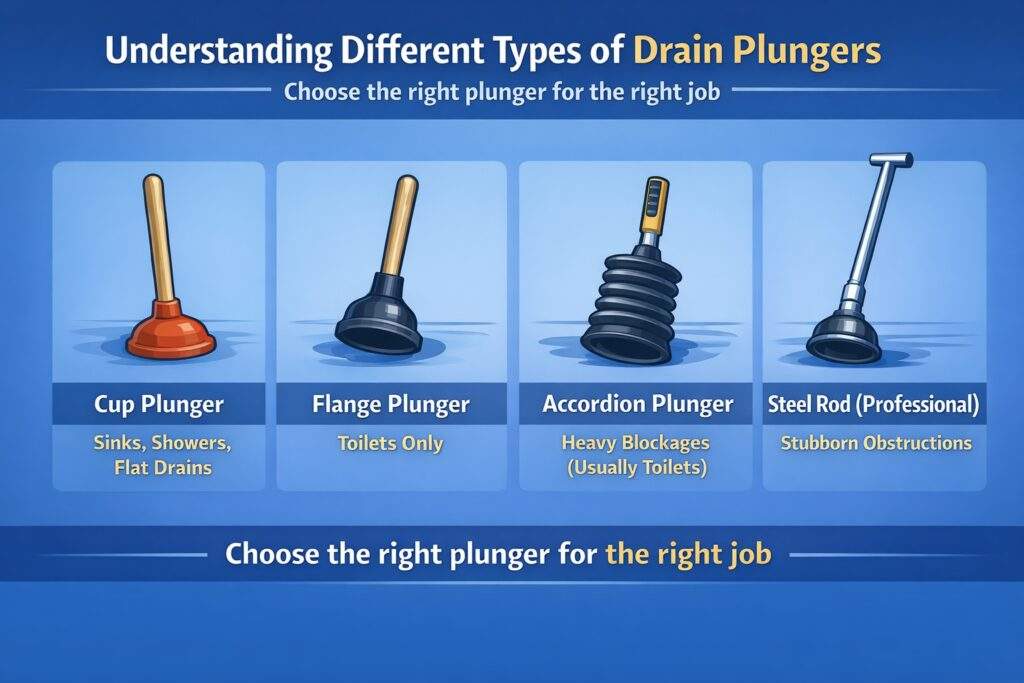
Before opening the tank, rule out the most common culprit: a partial or full blockage in the bowl or trap.
Use a Flange Plunger the Right Way
If water sits in the bowl after flushing, grab a flange plunger with an extended rubber lip.
- Position the cup fully over the drain hole to create a tight seal.
- Push down gently, then pull up sharply to build suction.
- Repeat 10 to 15 times with firm, steady strokes.
- Flush to test, and repeat if needed.
Avoid excessive force, since too much pressure can crack the wax seal at the base.
Reach for a Toilet Auger on Stubborn Blockages
When plunging fails, a toilet auger breaks up deeper clogs.
- Insert the auger tip into the drain hole.
- Crank the handle clockwise while pushing forward.
- When you feel resistance, rotate to break up or hook the clog.
- Retract slowly, clean the auger, then flush to clear debris.
Never use chemical drain cleaners, as they damage porcelain and rubber seals.
Inspect the Flush Handle and Lift Chain
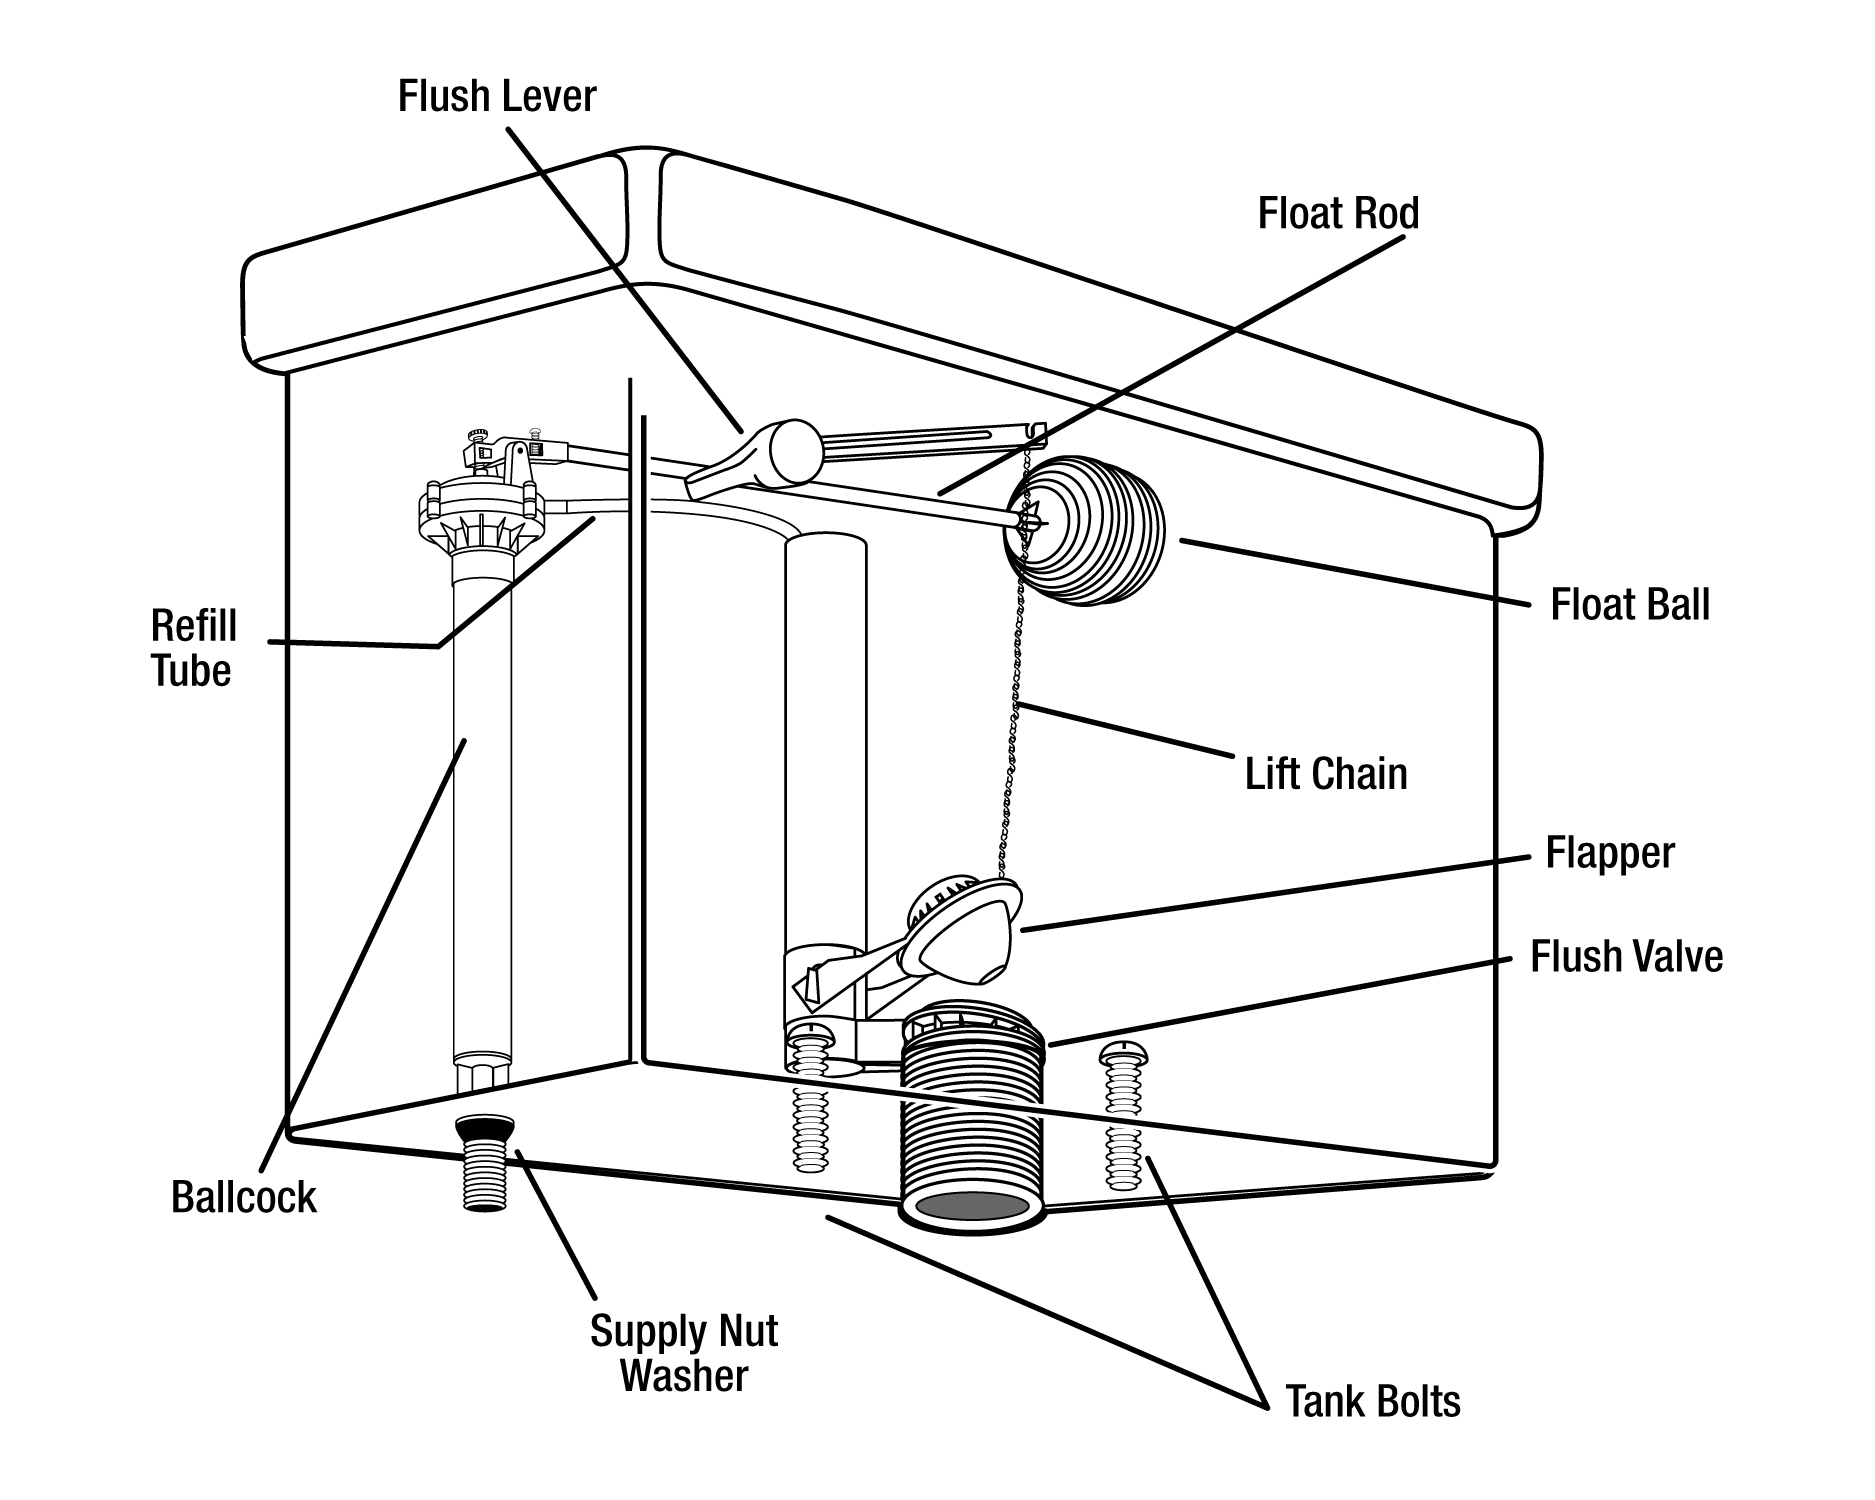
A loose or misaligned handle is a frequent cause of failed flushes.
Tighten or Replace a Wobbly Handle
If the handle wobbles or fails to return to position, follow these steps.
- Remove the tank lid and locate the mounting nut inside.
- Tighten the nut with a wrench, but avoid over-tightening.
- If the threads are stripped or corroded, replace the entire handle assembly.
Most handles are universal and cost under $10 at any hardware store.
Adjust the Lift Chain for Proper Slack
The chain connects the handle to the flapper. If it is too loose, the flapper will not lift. If too tight, the flapper will not seal.
Aim for about half an inch of play when the handle rests.
- Disconnect and reconnect the chain to a different link.
- Ensure no part of the chain drags under the flapper edge.
Test the flush afterward, listening for a full lift and clean drop of the flapper.
Evaluate Flapper Function and Sealing
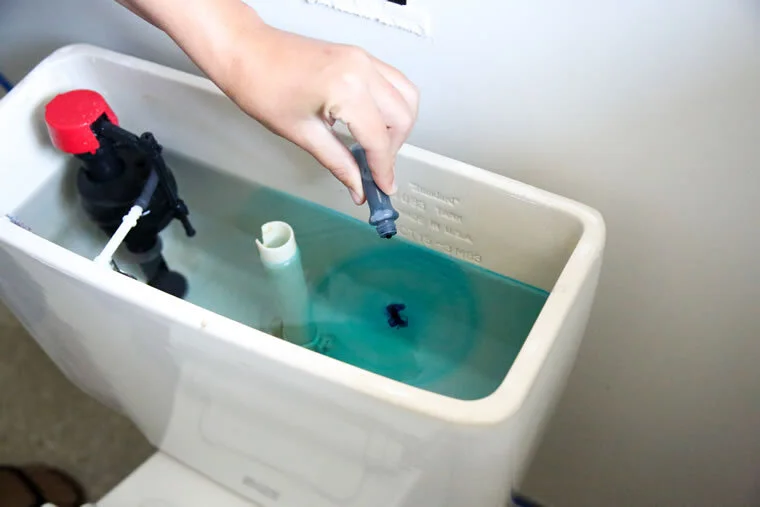
The flapper controls water release from tank to bowl. A worn or misaligned flapper causes weak flushes or continuous running.
Test for Leaks Using Food Coloring
To confirm a flapper leak, follow this simple test.
- Add a few drops of food coloring to the tank water.
- Wait 15 to 20 minutes without flushing.
- If color appears in the bowl, the flapper is failing.
Replace it immediately, since most flappers cost between $5 and $8 and take about five minutes to swap.
Replace the Flapper Step by Step
- Turn off the water supply and flush to empty the tank.
- Unhook the chain from the flush lever arm.
- Remove the old flapper from the overflow tube ears.
- Install the new flapper, matching the model to your flush valve.
- Reconnect the chain with proper slack.
- Turn the water back on and test the flush.
Choose an OEM-compatible flapper, since universal types may not seal properly on all valves.
Adjust the Tank Water Level
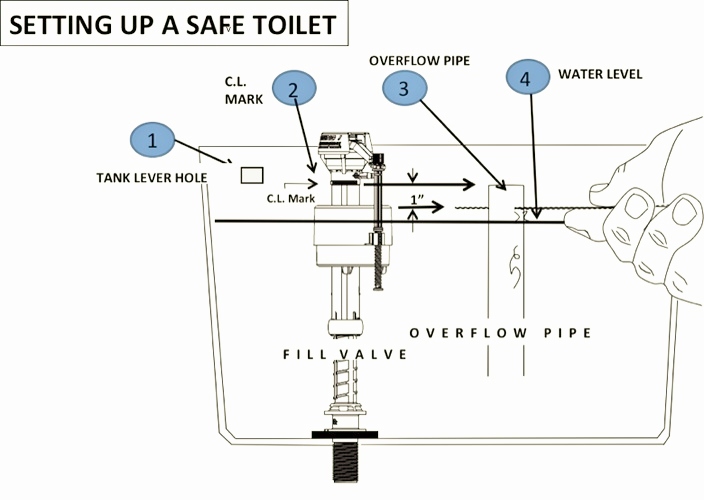
A low water level reduces flush power and leaves waste behind.
Locate the Correct Fill Line
Inside the tank, look for a water level mark on the porcelain or overflow tube. The ideal level sits about one inch below the top of the overflow tube. If the water falls below this line, adjust the float.
Modify the Float Height Properly
For ball-and-arm floats, bend the brass arm upward slightly to raise the water level. Test flush and recheck the mark.
For cup-style floats on modern fill valves, pinch the float clip and slide it up or down the shaft. Alternatively, turn the adjustment screw on top of the valve.
Avoid overfilling, since water spilling into the overflow tube wastes water and may cause running.
Unclog Rim Jets and the Siphon Jet

Mineral buildup in flush holes gradually reduces flush strength.
Identify the Rim and Siphon Jets
Small holes under the bowl rim are called rim jets, while a larger hole at the bottom is the siphon jet. Both distribute water during flushing. Hard water leaves limescale that blocks these openings over time.
Clean Jets with Vinegar and a Small Wire
- Turn off the water and drain the tank.
- Plug the siphon jet with a rag to keep vinegar from draining.
- Pour one to two cups of white vinegar into the overflow tube, which feeds the rim jets.
- Let it sit for one to two hours.
- Use a small wire or pipe cleaner to clear each jet opening.
- Flush to rinse away loosened debris.
Repeat this process monthly in hard water areas to prevent future buildup.
Diagnose Fill Valve Problems
The fill valve refills the tank after each flush. If it is noisy, slow, or fails to shut off, it needs attention.
Listen for Hissing or Constant Running
A constant trickle means the valve is not sealing properly. Start by cleaning the valve.
- Shut off the water and flush the toilet.
- Disassemble the top cap following manufacturer instructions.
- Rinse the diaphragm and screen under running water.
- Reassemble the parts and test the flush.
If the noise continues after cleaning, replace the entire fill valve.
Replace a Faulty Fill Valve
- Turn off the water and drain the tank.
- Disconnect the water supply line from the bottom.
- Unscrew the valve from the tank base.
- Install the new unit, such as a Fluidmaster 400CRP.
- Reconnect the supply line, adjust the float, and test.
Most kits include instructions and take under 20 minutes to install.
Examine the Flush Valve for Damage
The flush valve sits at the tank bottom and holds the flapper in place. Cracks or warping cause leaks and poor flushes.
Look for Cracks, Warping, or Mineral Crust
Inspect the valve’s top rim for mineral crust, cracks, or uneven surfaces. If the surface is damaged, water will not seal even with a brand-new flapper.
Replace the Flush Valve if Needed
- Shut off the water and drain the tank completely.
- Disconnect the supply line and remove the tank if it is bolted to the bowl.
- Unscrew the flush valve from below the tank.
- Install the new valve with a fresh rubber seal.
- Reattach the tank and reconnect all components.
This is intermediate-level work, so consider calling a plumber if you feel unsure.
Address Dual-Flush Mechanism Failures
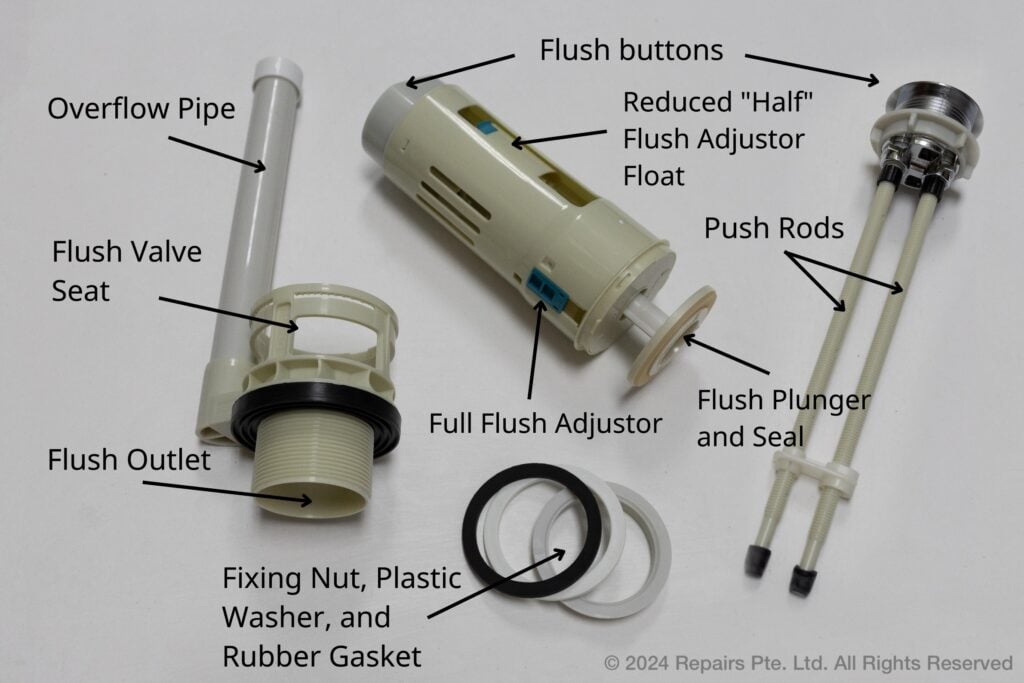
Dual-flush toilets use a two-button system for partial or full flushes. These buttons can jam or fail to reset over time.
Clear Debris from Stuck Buttons
If one button fails to work, press both several times to dislodge grit. Remove the cistern lid and check for tangled chains or stuck levers. Clean around the buttons with a damp cloth to remove residue.
Replace the Dual-Flush Kit if Needed
- Shut off the water and drain the tank.
- Remove the old assembly from the top and bottom of the tank.
- Install the new kit, ensuring all seals are tight.
- Reconnect the flush links and test both flush modes.
Universal kits fit most brands, but match by manufacturer and model for best results.
Prevent Future Toilet Flush Problems
Regular maintenance avoids most issues before they start.
Clean the Tank Twice a Year
Mineral deposits and slime build up inside the tank over time. Shut off the water and drain the tank, then wipe down the interior with vinegar or a mild toilet cleaner. Inspect all parts for wear during cleaning. Avoid bleach, since it degrades rubber components like flappers and seals.
Replace Parts Proactively
Flappers and fill valves typically last 3 to 5 years. Even if they appear to work, consider replacing them on schedule to avoid sudden failures. Keep a basic toilet repair kit on hand for quick fixes.
Watch for Early Warning Signs
Act fast if you notice any of these signals.
- Ghost flushing, where the tank refills randomly
- Long refill times after each flush
- Weak bowl evacuation
- Visible sediment in the tank
These signs point to internal wear before complete failure occurs.
Frequently Asked Questions About Toilet Flush Troubleshooting
Why does my toilet flush weakly but not clog?
Weak flushes usually stem from low water levels, a worn flapper, or clogged rim jets. Mineral buildup blocks the small holes under the rim, reducing the water force needed for a strong flush. Adjust the float and clean the jets to restore power.
Can a bad flapper cause a toilet to not flush at all?
Yes, a completely failed flapper can prevent any water from moving into the bowl. If the chain is disconnected or the flapper is stuck shut, the handle will move but nothing happens. Inspect the chain and flapper seating first.
How do I know if my fill valve is bad?
Common signs include constant running water, hissing sounds, slow refills, or water spilling into the overflow tube. A simple cleaning often fixes minor issues, but persistent problems mean replacement is needed.
Is it safe to use chemical drain cleaners in a toilet?
No, chemical drain cleaners can damage the porcelain, rubber seals, and metal components inside your toilet. Use a plunger or toilet auger instead for safe, effective clog removal.
How often should I replace toilet parts?
Flappers and fill valves typically last 3 to 5 years under normal use. Replace them proactively to prevent sudden failures, especially if you notice ghost flushing or slow refills.
When should I call a plumber for toilet flush issues?
Call a plumber if you have replaced all internal parts and the problem persists, or if you suspect a cracked tank, bowl, or sewer line issue. These repairs require specialized tools and expertise.
Key Takeaways for Successful Toilet Flush Troubleshooting
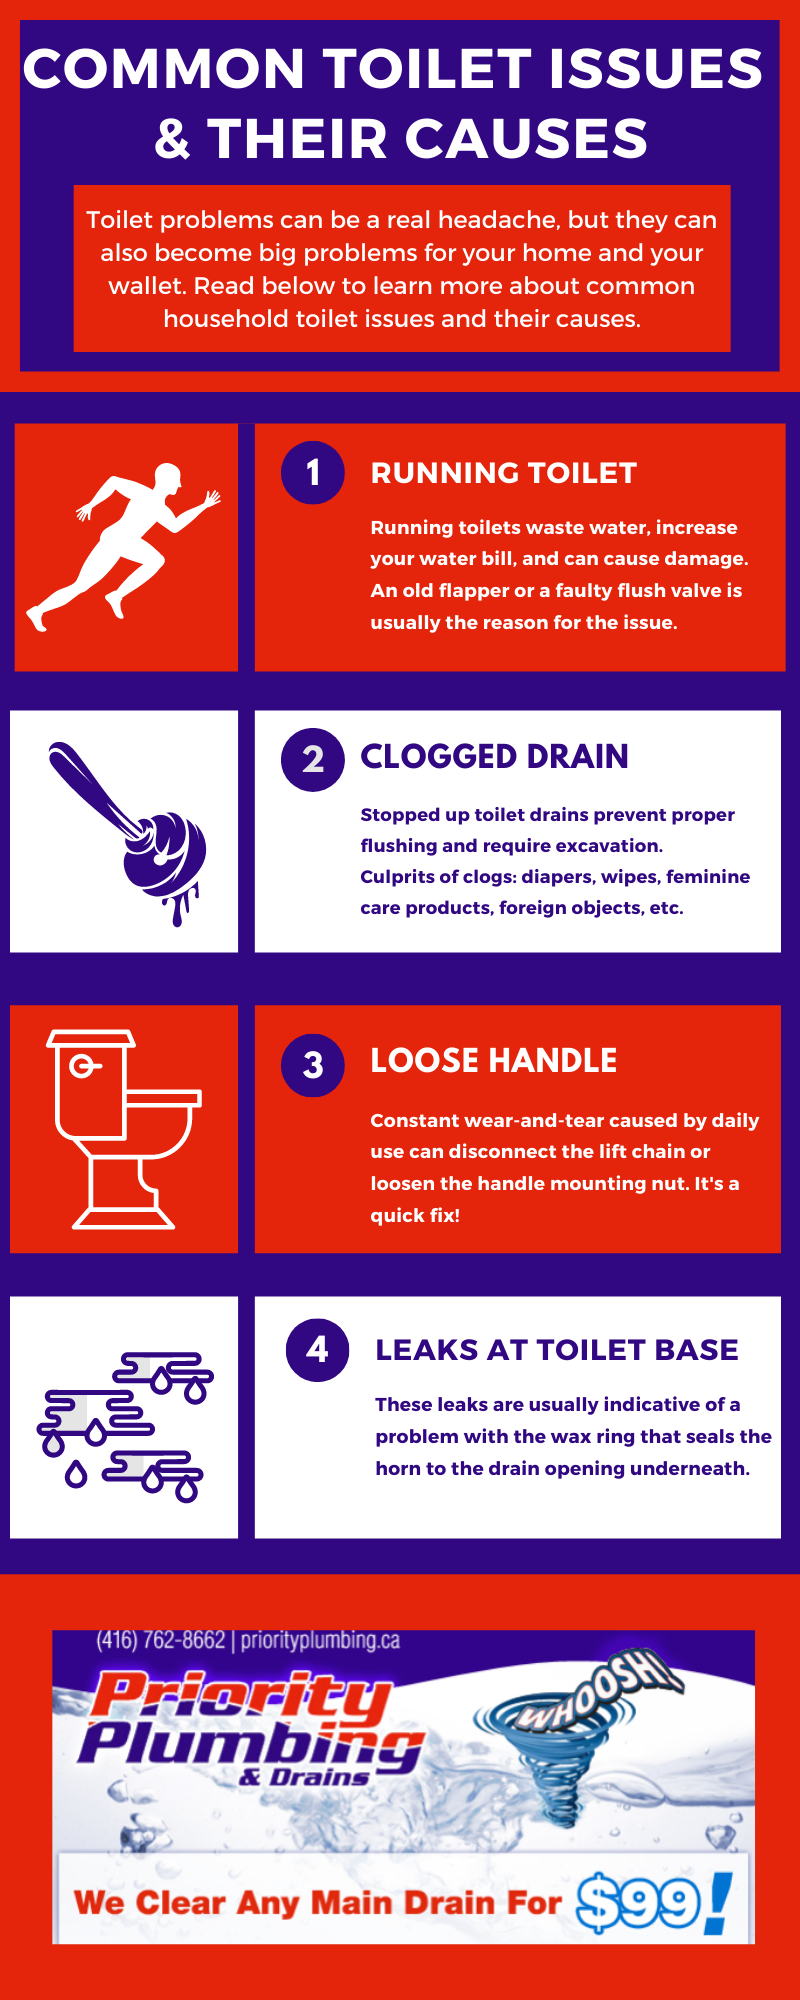
Most toilet flush problems come down to a handful of mechanical issues inside the tank. Start by checking for clogs, then inspect the handle, chain, flapper, fill valve, and water level in that order. Mineral buildup in rim jets is a common hidden cause of weak flushes that many homeowners overlook.
Keep basic replacement parts on hand, including a flapper, fill valve, and lift chain. With regular cleaning and proactive part replacement every few years, your toilet will deliver strong, reliable flushes for decades. If you have worked through this guide and the problem still persists, contact a licensed plumber to inspect for deeper sewer or structural issues.