
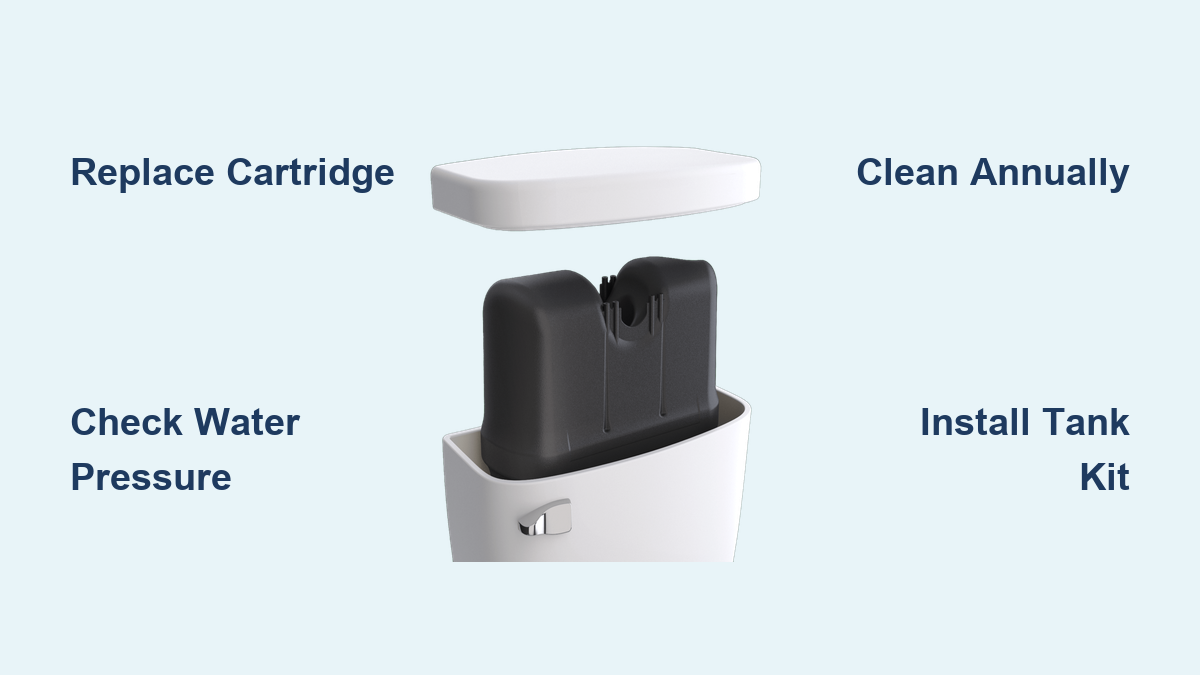
A weak flush, constant running, or no flush at all can turn your bathroom into a daily headache. When a Flushmate toilet system fails, the entire household routine gets disrupted. Unlike standard gravity-fed toilets, Flushmate units use pressurized air to deliver a powerful flush, making them common in both commercial buildings and modern homes. The good news is that most Flushmate toilet repair needs come down to a handful of parts that are easy to diagnose and replace. Whether you own a Flushmate 503, need a Sloan C-100500-K cartridge, or want a full tank kit, this guide walks you through every step to restore strong flushing without calling a plumber.
Identify Your Flushmate Model
Before starting any Flushmate toilet repair, confirm your exact unit and serial number. This single step prevents costly mistakes when ordering replacement parts. Most Flushmate systems have a label inside the toilet tank or stamped on the pressure vessel itself.
Locate the Serial Number
Check the side or base of the pressure tank for a serial number. It usually starts with letters like “M-” or “C-” followed by digits, such as M-101526-F31. Use the Find by Serial Number tool on FlushmateRepairParts.com to match your unit to compatible parts.
Match Model to Repair Kit
Using the wrong kit leads to leaks or poor performance. Always cross-reference your model before ordering. Common kits include:
- M-101526-F31/F32: Standard Flushmate 503 system for Kohler and American Standard toilets
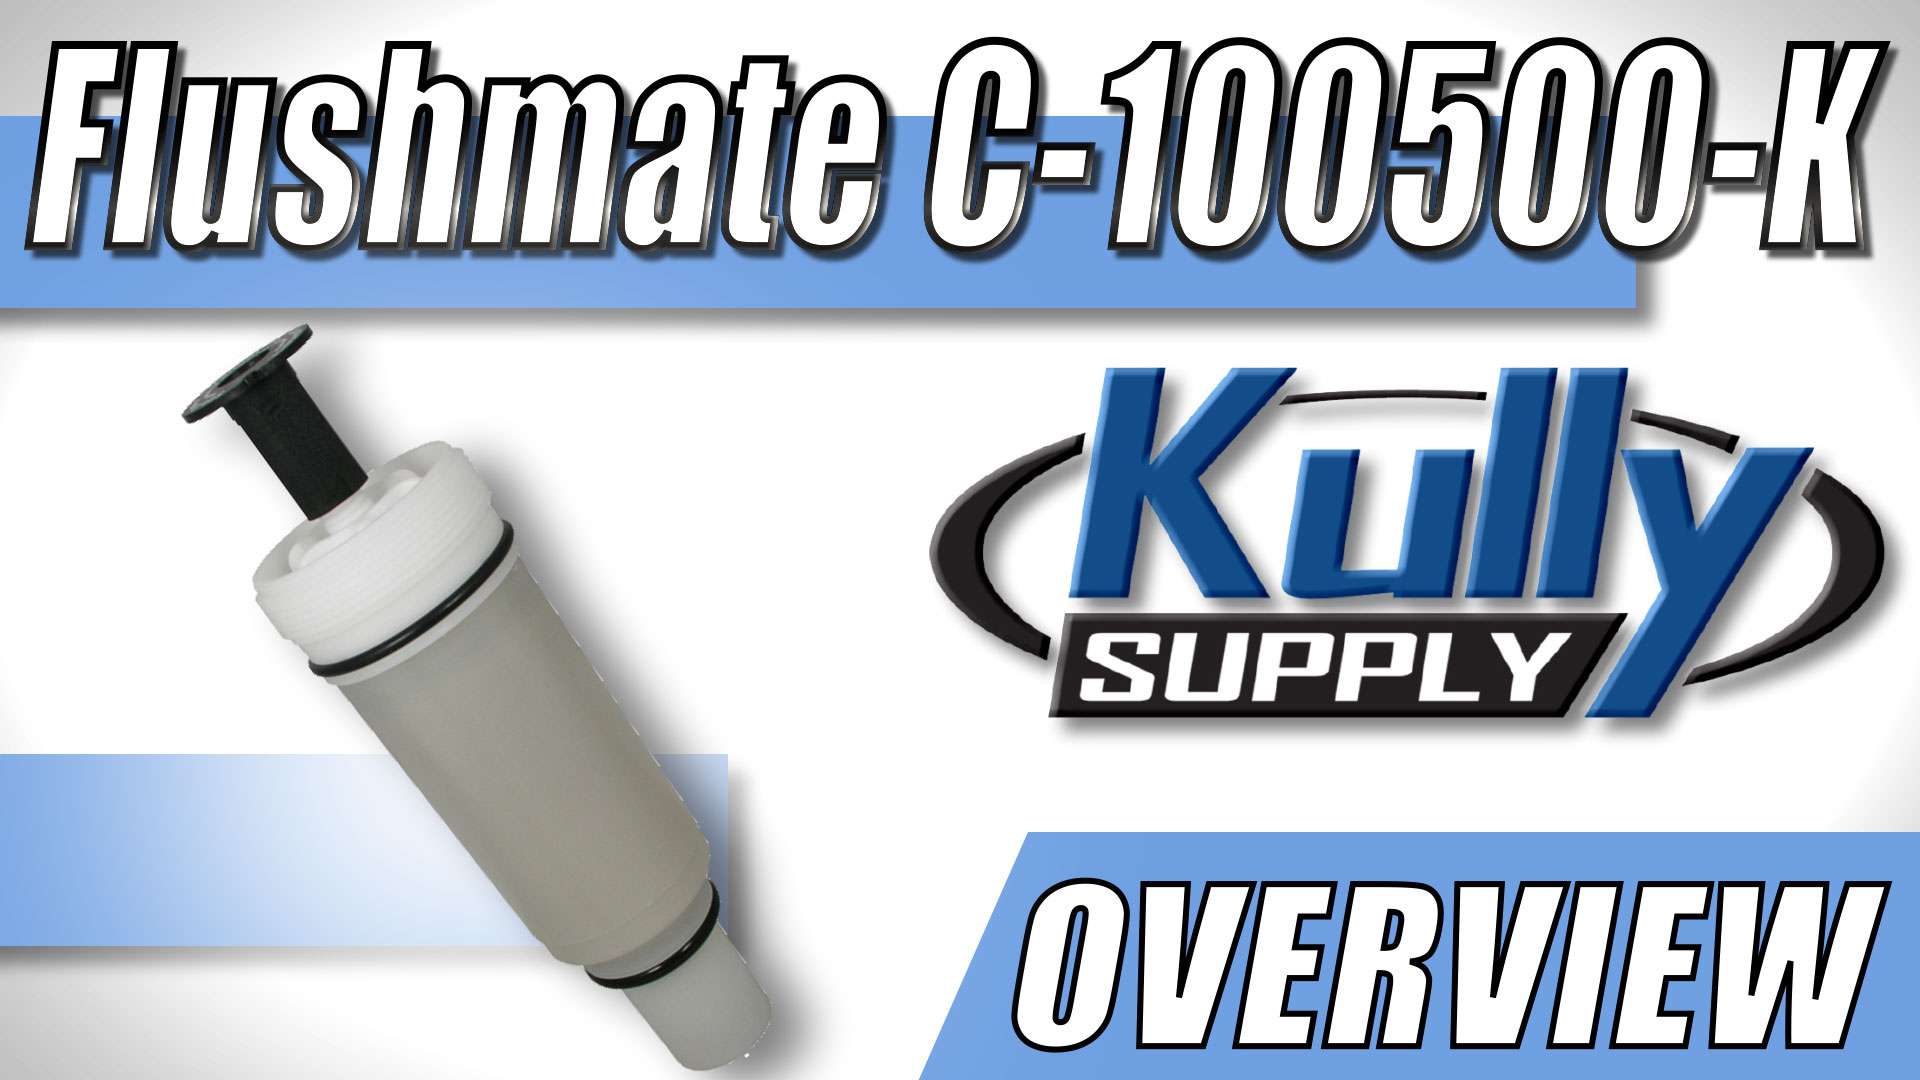
- C-100500-K: Replacement cartridge for older units
- M-101526-F4ET: Designed for metal tank toilets with push-button flush
- M-102540-F3A: American Standard compatible 503 kit
Diagnose Common Flushmate Problems

Most Flushmate toilet repair projects begin with recognizing the right symptoms. Your system may need attention if you notice loud noises, weak flushing, or visible water leaking inside the tank.
Weak or No Flush
If the toilet barely drains or requires multiple handle presses, the issue likely involves the cartridge or air buildup inside the pressure tank. A failing C-100500-K cartridge restricts water flow, while a slow air leak reduces flush power over time.
👉 Fix: Replace the cartridge or re-pressurize the tank following the steps below.
Toilet Runs Continuously
Water trickling into the bowl after flushing points to a faulty seal or debris lodged in the valve. Check the flush valve seat for cracks or mineral buildup, then inspect the diaphragm inside the cartridge for tears that cause constant flow.
👉 Pro Tip: Shut off the water supply and disassemble the cartridge to inspect internal seals before ordering new parts.
Loud Banging or Hammering Noise
Known as “water hammer,” this loud banging occurs when incoming water slams into the pressurized tank. It often stems from home water pressure above 80 psi or a worn damping gasket inside the cartridge.
👉 Solution: Install a pressure-reducing valve on your main line, or replace the cartridge with updated damping components.
Replace the Flushmate Cartridge
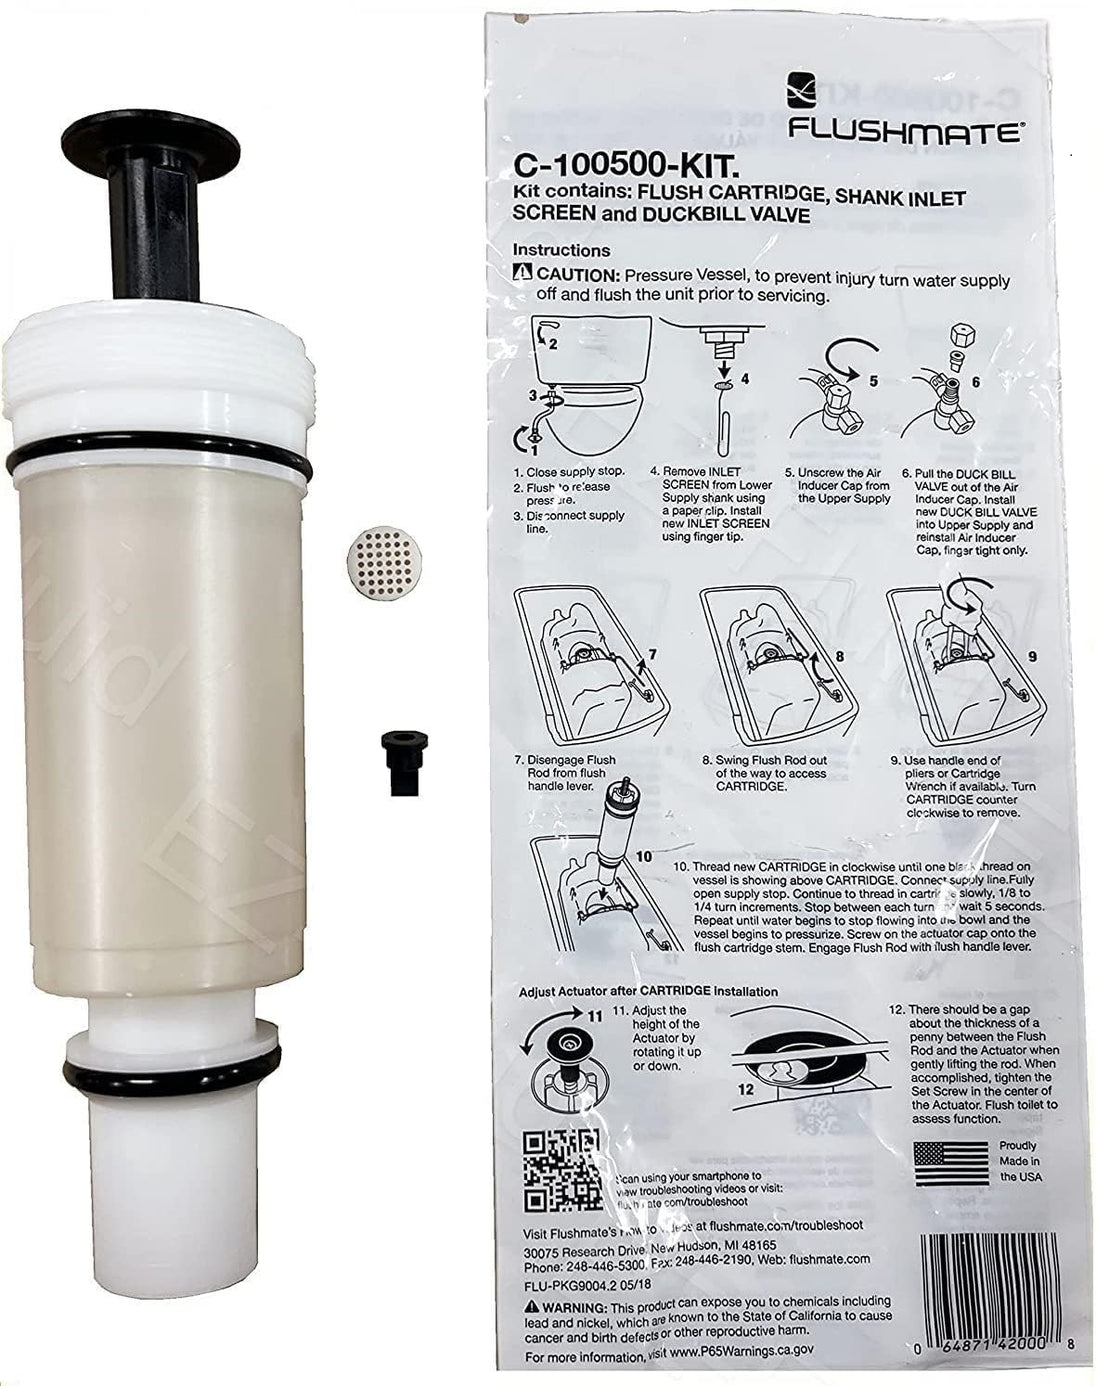
The C-100500-K cartridge is the most common failure point in any Flushmate toilet repair. Replacing it restores pressure and stops leaks at the source.
Turn Off Water Supply
- Locate the shutoff valve behind the toilet.
- Turn it clockwise to stop water flow.
- Flush the toilet to drain remaining water.
- Hold the handle down to release tank pressure.
⚠️ Never open the pressure vessel without draining the tank first.
Remove Old Cartridge
- Unscrew the large chrome nut at the base of the flush valve.
- Lift out the entire cartridge assembly.
- Inspect the valve seat for cracks or debris.
- Clean the seat with a soft cloth or fine sandpaper if needed.
Install New C-100500-K Cartridge
- Slide the new cartridge into the valve opening.
- Reinstall the chrome nut and hand-tighten without over-tightening.
- Turn the water supply back on slowly.
- Let the tank pressurize for 2 to 3 minutes before flushing.
✅ Test flush: The system should refill with a loud “whoosh” and deliver strong pressure.
💡 Time required: 20 to 30 minutes
💡 Difficulty: Moderate, no plumbing experience needed
Upgrade with a Flushmate 503 Tank Kit
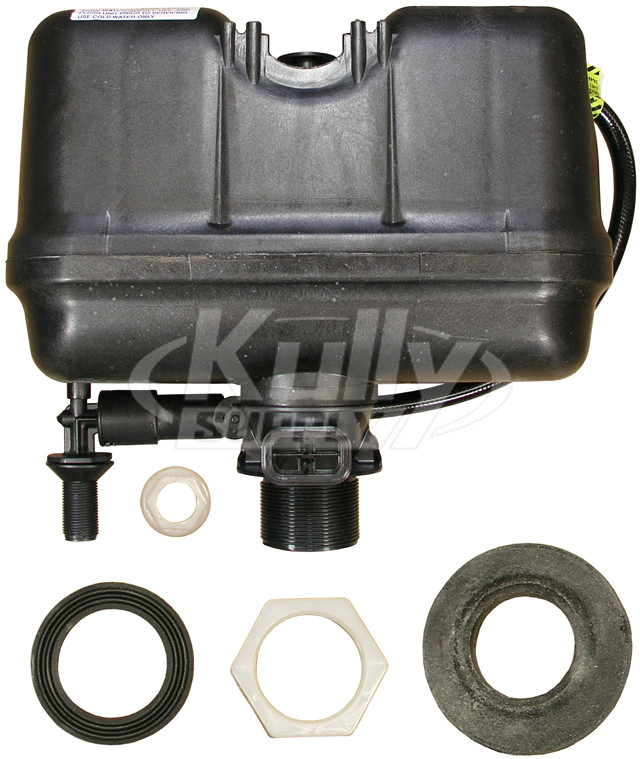
If your system is old or leaking heavily, a full tank replacement is faster and more reliable than piecemeal fixes. This is often the smartest Flushmate toilet repair for aging units.
Why Choose a 503 Replacement Kit?
A full kit includes a new pressure tank, valve, and hardware in one package. Upgraded materials reduce future failures and meet modern efficiency standards. Popular options include:
- Flushmate 503 Replacement Tank Kit (1.28 GPF): Ideal for water-saving retrofits
- American-Standard 2045-013: Direct fit for American Standard toilets
- Kohler K-4404: Matches Kohler pressure-assist models
Install a New Tank Kit
- Shut off water and drain the toilet completely.
- Disconnect the water supply line.
- Remove bolts securing the tank to the bowl.
- Lift off the old tank and set it aside.
- Place the new tank onto the bowl and align the gasket.
- Reinstall bolts and tighten evenly in a crisscross pattern.
- Reconnect the water supply.
- Turn on water and let the tank pressurize.
✅ Pro Tip: Hand-tighten bolts evenly to avoid cracking the new tank.
⏱️ Time required: 45 to 60 minutes
🔧 Tools needed: Wrench, sponge, new spud washer
Fix Handle and Flush Button Issues
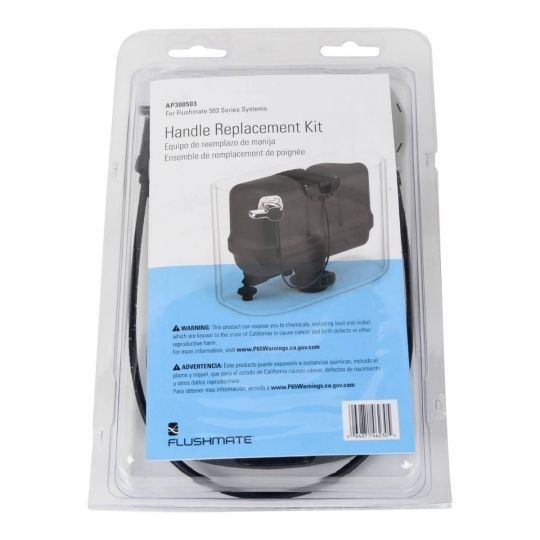
A stuck or loose handle prevents proper flushing and frustrates users. The AP300503 handle kit solves most handle-related problems during any Flushmate toilet repair.
Replace the Handle Assembly
- Remove the old handle by unscrewing the mounting nut inside the tank.
- Slide out the old lever.
- Insert the new handle and secure with the nut.
- Reconnect the lift chain to the cartridge.
✅ Check chain tension: Too tight causes constant flushing. Too loose results in weak flushes.
For Push-Button Toilets
Push-button systems need slightly different attention. Ensure the button cap is not cracked, clean the housing to remove mineral deposits, and replace the entire F4ET kit if the button fails to reset.
Prevent Future Flushmate Failures
Regular maintenance extends the life of your pressure-assist system and reduces the need for emergency Flushmate toilet repair.
Clean the Cartridge Annually
- Shut off water and drain the tank.
- Remove the C-100500-K cartridge.
- Soak it in vinegar for 30 minutes to dissolve scale.
- Rinse and reinstall.
🔁 Repeat every 12 to 18 months, especially in hard water areas.
Monitor Water Pressure
Use a pressure gauge on an outdoor spigot to check home water pressure. The ideal range sits between 40 and 80 psi. Anything above 80 psi requires a pressure-reducing valve to protect seals and extend cartridge life.
Replace Worn Seals Early
Inspect the spud washer between tank and bowl, the fill valve gasket, and the cartridge diaphragm regularly. Even small leaks waste water and reduce flushing pressure over time.
Where to Buy Genuine Flushmate Parts
Only OEM-compatible parts ensure proper performance and safety during any Flushmate toilet repair.
Trusted Source: FlushmateRepairParts.com
This retailer offers fast shipping on in-stock orders placed by 4 PM CST, full model matching by serial number or category, a money-back guarantee on unused parts, and expert support to help you choose the right kit.
👉 Top-selling parts:
- C-100500-K Cartridge: $60.44
- Flushmate 503 Tank Kit: $194.78
- AP300503 Handle Kit: $44.75
All units are designed to meet Sloan Valve Company specifications. Flushmate® is a registered trademark of Sloan.
When to Call a Professional
DIY methods work for most Flushmate toilet repair situations, but some issues demand a licensed plumber. Call a professional if the pressure tank is cracked or leaking, you smell sewer gas indicating seal failure at the base, water pressure cannot be regulated, or the toilet floods repeatedly after repair.
⚠️ Never attempt to repair a damaged pressure vessel. It can burst under pressure and cause serious injury.
Frequently Asked Questions About Flushmate Toilet Repair
What is the most common Flushmate toilet repair?
The most common repair involves replacing the C-100500-K cartridge. This small part regulates water flow and pressure, and it wears out faster than other components in the system.
How do I find the right replacement parts for my Flushmate?
Locate the serial number on the side or base of the pressure tank. Enter it into the Find by Serial Number tool on FlushmateRepairParts.com to get a list of compatible parts for your specific model.
Can I replace a Flushmate tank myself?
Yes, most homeowners can install a Flushmate 503 tank kit in under an hour using basic tools. Always drain the tank fully, disconnect the water supply, and tighten bolts evenly to avoid cracking the new tank.
Why does my Flushmate toilet make a loud banging noise?
Loud banging, called water hammer, usually means your home water pressure exceeds 80 psi. Installing a pressure-reducing valve or replacing the cartridge with updated damping components solves the issue.
How often should I maintain my Flushmate system?
Clean the cartridge in vinegar every 12 to 18 months, inspect seals annually, and monitor water pressure regularly. Routine care prevents most major failures and extends system life.
When should I replace the entire tank instead of just the cartridge?
Replace the full tank if the pressure vessel is cracked, leaking from the body, or more than 15 years old. A complete 503 tank kit costs around $194.78 and offers better long-term reliability than repeated cartridge swaps.
Key Takeaways for Successful Flushmate Toilet Repair
Most Flushmate toilet repair jobs take under an hour and cost less than $70 in parts. Start by identifying your model and serial number, then match symptoms to the right fix. Replace the C-100500-K cartridge for weak flushes, install a full 503 tank kit for aging systems, or swap the AP300503 handle for stuck levers. Clean the cartridge annually, monitor home water pressure, and replace worn seals early to prevent future breakdowns.
Your next step is simple. Visit FlushmateRepairParts.com, enter your serial number, and order the right kit with same-day shipping on orders placed by 4 PM CST. With the correct parts and a little time, your Flushmate toilet will deliver powerful, reliable flushing for years to come.