
A silent toilet leak can waste up to 200 gallons of water per day without any visible signs. Many homeowners only discover the problem when their water bill suddenly spikes or when they notice mysterious moisture on the bathroom floor. Unlike a dripping faucet, a leaking toilet often hides behind the tank or under the base, making it tricky to spot. Learning how to detect toilet leak issues early protects your home and saves hundreds of dollars annually.
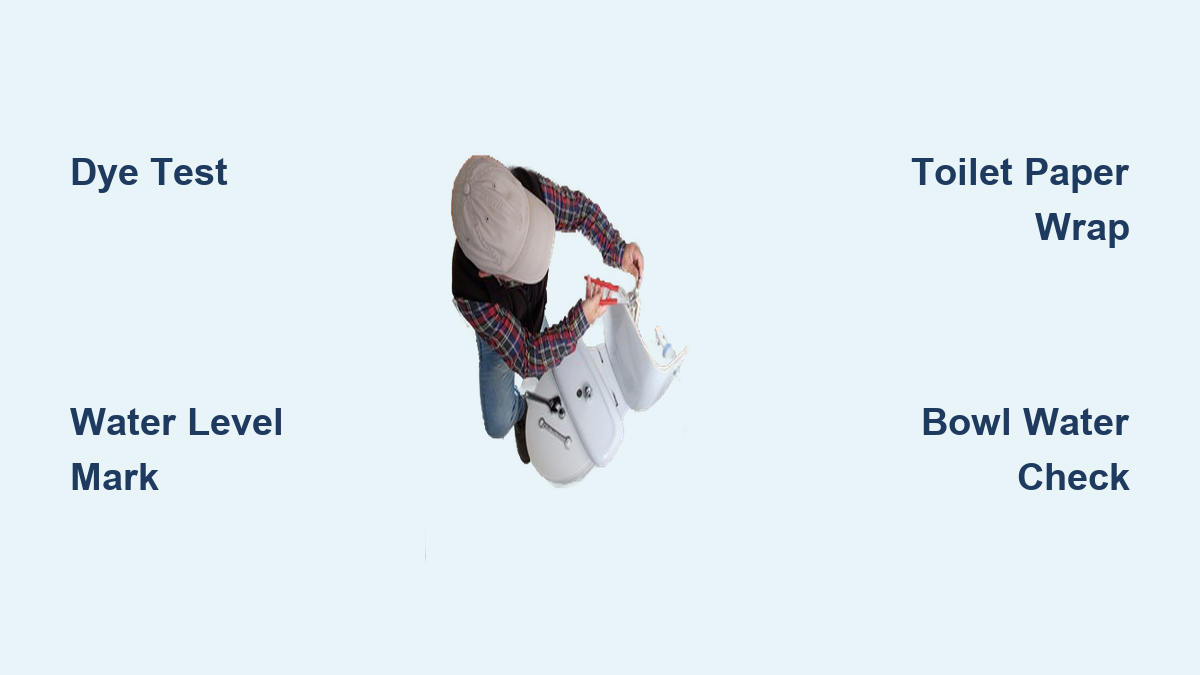
This guide walks you through four proven testing methods using common household items. You’ll learn how to identify internal tank leaks, external connection problems, and base seal failures. Each method takes just minutes to set up and gives you clear answers about whether your toilet needs repair.
Perform the Dye Test to Catch Internal Leaks
The dye test is the gold standard for detecting flapper valve problems. It reveals water seeping from the tank into the bowl even when the toilet isn’t in use.
Add Color to the Tank Water
- Remove the toilet tank lid and place it somewhere safe.
- Add 5 to 10 drops of food coloring, unsweetened Kool-Aid, or a dye tablet into the tank water.
- Wait 10 minutes without flushing the toilet.
Pro Tip: Dark colors like blue or red show up best against white porcelain.
Check the Bowl for Color
After waiting, look at the water inside the bowl.
- Color appeared in the bowl means water is leaking past the flapper.
- No color change means the flapper is sealing properly.
This test catches even the slowest leaks that waste water over weeks. If dye appears, plan to replace the flapper soon. Most replacements cost under $10 and take less than 5 minutes.
Mark the Water Level in the Tank
This overnight test reveals gradual leaks that the dye test might miss. It’s especially useful for catching slow, steady water loss.
Draw a Reference Line
- Use a permanent marker or chalk to mark the current water level inside the tank.
- Avoid flushing or using the toilet during the test period.
- Wait at least 4 hours, though overnight gives the clearest results.
Note: Combining this method with the dye test provides stronger confirmation.
Compare Levels After Waiting
Return to the tank and check the water against your mark.
- Water dropped below the line indicates an internal leak.
- Water stayed at the same level means no significant leak exists.
If the level fell, inspect the flapper and flush valve seal. Warped or misaligned flappers commonly cause this slow, silent water loss.
Wrap Toilet Paper Around Suspect Areas
This hands-on method detects external leaks around joints, bolts, and supply lines. It’s perfect for finding moisture that hasn’t yet pooled visibly.
Apply Paper to Key Zones
- Cut strips of toilet paper and wrap them around these areas:
– The base of the toilet
– Tank-to-bowl bolts
– Supply line connections - Use masking tape to hold the paper in place if needed.
- Leave the strips undisturbed for several hours or overnight.
Expert Tip: Sprinkle colored chalk on the paper first. Moisture creates a visible stain for easier detection.
Inspect Each Strip for Dampness
Return and check every paper strip carefully.
- Wet paper points to a leak at that exact location.
- Dry paper means that area is properly sealed.
Moisture at the base often signals a failing wax ring or loose mounting bolts. Address these issues quickly to prevent subfloor damage and mold growth.
Monitor Bowl Water After Lowering It

This method confirms whether water is seeping from the tank into the bowl. It helps rule out phantom refills and clarifies internal leak behavior.
Remove Some Bowl Water
- Use a mug or plunger to scoop water out of the bowl.
- Lower the water level by 1 to 2 inches below the normal refill line.
- Wait 15 to 30 minutes without flushing.
Watch for Water Level Changes
Observe whether the water rises back to its usual height.
- Rising water indicates a tank-to-bowl leak, usually from a bad flapper.
- Stable low water suggests no internal leak. Investigate clogs or vent issues instead.
This test gives you a second opinion to confirm results from the dye test.
Pinpoint the Leak Source by Location
Once you confirm a leak exists, identifying its location helps you choose the right repair approach.
Leaking at the Flapper Valve
Common symptoms include:
– Dye appearing in the bowl after 10 minutes
– Hissing or trickling sounds from the tank
– Frequent automatic refills
Fix: Replace the flapper with a matching model. Turn off the water, flush, swap the part, and retest.
Leaking at the Tank-to-Bowl Joint
Watch for these signs:
– Moisture between the tank and bowl
– Water stains or mineral buildup on the connection
– A wobbly or loose tank
Fix: Tighten bolts evenly or replace the tank-to-bowl gasket. Avoid over-tightening, as porcelain can crack.
Leaking at the Toilet Base
Key indicators include:
– Wet flooring around the base
– Musty odors or visible mold
– A slight wobble when you rock the toilet
Fix: Shut off water, remove the toilet, and replace the wax ring. Inspect the floor for damage and call a plumber if you’re unsure.
Leaking from Supply Line or Valve
Look for these warning signs:
– Drips near the shutoff valve or flexible hose
– Corrosion or mineral deposits on connections
– Water pooling underneath the toilet
Fix: Tighten connections or replace the supply line. Stainless steel braided hoses offer better long-term durability.
Replace a Failing Flapper in Minutes
A worn flapper causes most internal toilet leaks. Swapping one out is quick, cheap, and requires no special tools.
Turn Off Water and Drain the Tank
- Shut off the water supply valve located near the floor.
- Flush the toilet to empty the tank.
- Hold the handle down to drain as much remaining water as possible.
Remove the Old Flapper and Install the New One
- Unhook the old flapper from the chain and overflow tube.
- Note the model number and bring it to the hardware store if needed.
- Attach the new flapper and reconnect the chain with slight slack.
Warning: Too much chain slack prevents proper flushing. Too little causes constant running.
Test Your Repair
- Turn the water back on and let the tank refill completely.
- Add dye and wait 10 minutes.
- Confirm no color appears in the bowl.
Most flappers last 4 to 5 years. Replace them proactively if you have hard water or notice any warping.
Install a Full Rebuild Kit for Older Toilets

When multiple components show wear, a complete kit saves time and prevents future headaches.
What’s Included in a Rebuild Kit
A standard kit contains:
– New flapper
– Fill valve
– Flush valve seal
– Tank-to-bowl gasket
– All necessary washers and hardware
Consider a full rebuild every 5 years or when you notice:
– Fill valve sputtering or running constantly
– Water level fluctuating on its own
– Visible mineral buildup on parts
Install the Kit Step by Step
- Shut off water and drain the tank completely.
- Remove the old fill and flush valves.
- Clean the valve seats and tank bottom thoroughly.
- Install new components following the included instructions.
- Reconnect water and test all functions carefully.
Pro Tip: Take photos during disassembly to make reassembly easier.
Know When to Call a Professional Plumber
Some toilet issues go beyond simple DIY repairs. Recognizing these situations protects you from costly mistakes.
Cracked Porcelain or Bowl
- Hairline cracks can leak intermittently and worsen over time.
- Full replacement is the only reliable fix.
- Water pooling after flushing signals a serious problem.
Persistent Base Leaks
- These indicate a failed wax ring or damaged flange.
- Lifting the toilet requires skill and proper tools.
- Improper handling risks sewage exposure.
Flooding or Floor Damage
- Standing water under tiles or warped flooring needs immediate attention.
- Shut off water and call a plumber right away.
- Mold and structural damage can develop quickly.
Professional plumbers can also pressure-test your system and inspect hidden supply lines for hidden issues.
Prevent Future Toilet Leaks with Simple Habits
Stopping leaks before they start saves money and protects your home from water damage.
Inspect Components Every 6 to 12 Months
During routine checks, examine:
– Flapper condition for warping or brittleness
– Chain tension, which should have slight slack
– Fill valve operation for smooth cycling
– Water level, which should sit 1 inch below the overflow tube
Choose High-Quality Replacement Parts
Avoid cheap, generic flappers that fail quickly. Look for:
– OEM parts or trusted brands like Fluidmaster and Korky
– Silicone flappers that outlast rubber versions
– Corrosion-resistant fill valves for hard water areas
Manage Hard Water Buildup
Mineral deposits shorten the lifespan of toilet parts. Try these solutions:
– Soak flappers and valves in white vinegar for 30 minutes
– Wipe seals clean before reassembling components
– Install a water softener if scaling happens frequently
Understand the True Cost of Toilet Leaks
Even tiny leaks waste surprising amounts of water over time.
- A 1 mm leak can waste over 200 gallons per day.
- That adds up to more than 6,000 gallons per month.
- Monthly bills can increase by $50 to $100 from a single leak.
- Silent leaks account for roughly 10% of household water waste.
Testing your toilet every few months catches problems early and keeps your water usage efficient.
Frequently Asked Questions About Detecting Toilet Leaks
How long should I wait during the dye test?
Wait at least 10 minutes after adding food coloring to the tank. Some slow leaks take longer to show, so waiting up to 30 minutes gives more accurate results. Avoid flushing during this period.
Can I use the dye test if I have a dual-flush toilet?
Yes, the dye test works on dual-flush systems. Add dye to the tank and check both flush modes. Color appearing in the bowl indicates a flapper or seal problem regardless of the flush type.
What if the food coloring test shows no leak but my bill is high?
Try the water level mark test overnight. Some leaks are too slow for the dye test to catch in 10 minutes. Also check other water fixtures and your outdoor supply line for hidden issues.
How often should I test my toilet for leaks?
Test every 6 months as part of routine home maintenance. Test immediately if you notice higher water bills, running toilet sounds, or moisture around the base.
Is toilet condensation the same as a leak?
No, condensation forms on the outside of the tank due to temperature differences, especially in humid bathrooms. It drips down but doesn’t indicate a faulty part. Improving bathroom ventilation usually solves this.
When should I replace my flapper instead of repairing it?
Replace the flapper if it appears warped, cracked, or brittle. Also replace it if the dye test shows color in the bowl despite adjusting the chain. Most flappers need replacement every 4 to 5 years.
Key Takeaways for Detecting Toilet Leaks
Detecting a toilet leak doesn’t require special tools or plumbing expertise. The dye test quickly identifies flapper problems, while the water level mark test catches slower leaks. Toilet paper wraps reveal external moisture around joints and seals, and the bowl water test confirms tank-to-bowl leakage.
Most toilet leaks stem from a failing flapper valve, which costs under $10 and takes minutes to replace. For base leaks, cracked porcelain, or persistent moisture, calling a plumber prevents further damage to your floors and subfloor.
Your next step: Pick one toilet in your home and run the dye test tonight. It takes just 10 minutes and could save you hundreds of dollars on your next water bill.