
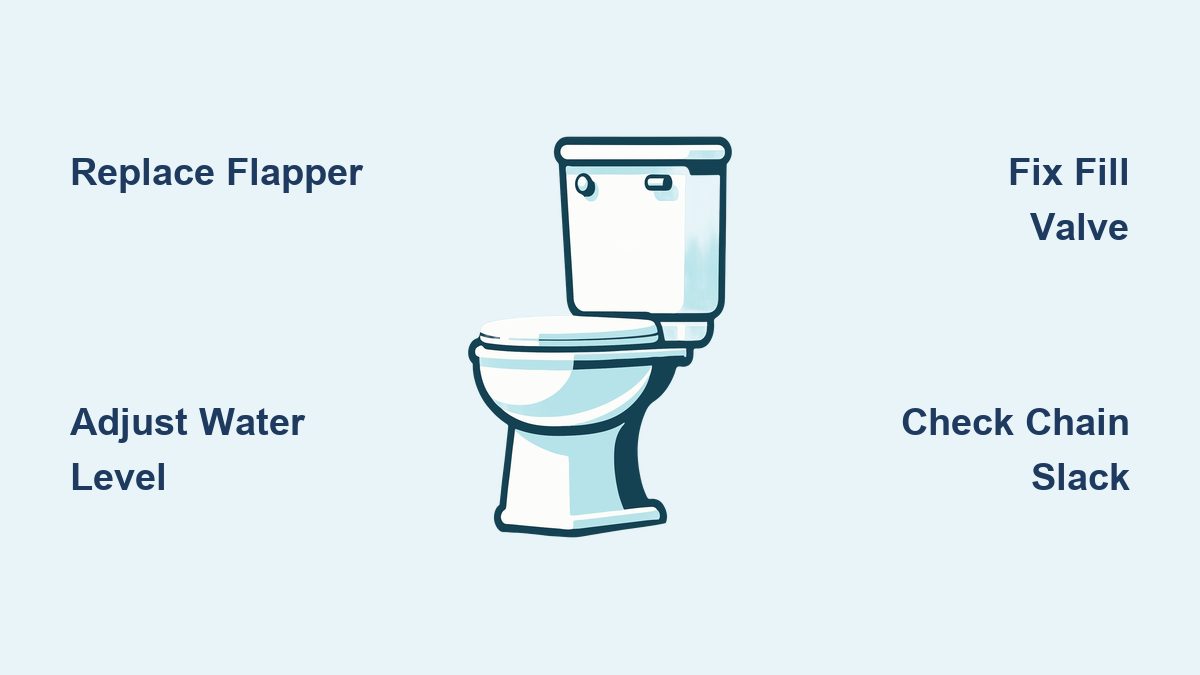
A broken toilet wastes water, drives up utility bills, and disrupts your entire household. Most toilet problems, including running water, weak flushes, and base leaks, can be solved in under 30 minutes with basic tools and less than $20 in parts. You don’t need a plumber for the majority of common failures.
This guide shows you exactly how to fix a broken toilet by diagnosing the root cause, replacing worn parts, and preventing future breakdowns. You’ll learn the dye test, flapper replacement, water level adjustment, and wax ring repair, all explained in clear, actionable steps.
Diagnose Your Broken Toilet Before Replacing Parts

Before you buy any parts, identify what’s actually wrong. Most toilet failures fall into five categories: running water, weak flush, slow refill, visible leaks, or repeated part failures. A quick visual check inside the tank reveals the culprit in most cases.
Running Toilet: Three Common Causes
A toilet that runs nonstop wastes hundreds of gallons per month. The problem usually traces back to one of three things:
- Water spilling into the overflow tube means the float is set too high.
- Water trickling into the bowl means the flapper isn’t sealing properly.
- A hissing sound from the fill valve means the valve is worn and won’t shut off.
Dye Test: Drop leak detection tablets or food coloring into the tank. Wait 30 minutes without flushing. If color appears in the bowl, the flapper or gasket is leaking.
Weak or Incomplete Flush
A weak flush usually means the flapper isn’t lifting fully or the tank water level is too low.
- Flapper only lifts halfway? Check chain slack. It may be tangled or too tight.
- Tank doesn’t fill to the top? Adjust the float to raise the water level.
- Flush handle feels loose or wobbly? The internal lever may be broken.
Slow or No Refill After Flushing
If the tank doesn’t refill, water isn’t reaching it at the right rate.
- No water entering the tank? Check if the shutoff valve is fully open.
- Kinked or damaged supply line? Replace the flexible hose.
- Fill valve not filling? It may be clogged or broken and needs replacement.
Finding Hidden Leaks
Leaks can be silent but cause serious damage over time. Look for these signs:
- Water around the base usually means a failed wax ring.
- Dampness between tank and bowl points to a failing tank-to-bowl gasket.
- A sewer smell almost always indicates a bad wax ring or cracked base.
Warning: If dye placed in the bowl appears on the floor, the porcelain is cracked. Replace the entire toilet.
Replace the Flapper to Stop a Running Toilet
:max_bytes(150000):strip_icc()/how-to-replace-a-toilet-flapper-2719040-hero-0982d0e62efe4468857837458404e4c4.jpg)
A running toilet is the most common issue and the easiest to fix. The flapper, a rubber seal at the bottom of the tank, warps or cracks over time and causes leaks.
Step-by-Step Flapper Replacement
- Shut off the water at the valve near the floor. Flush to empty the tank.
- Remove the old flapper by unclipping it from the overflow tube or posts.
- Match the size: Most are 2-inch; newer models use 3-inch. Take the old one to the store.
- Install the new flapper with the rubber seal facing down. Reattach the chain.
- Adjust chain slack to 1/4 inch when the flapper is closed. Too tight causes leaks. Too loose causes weak flushes.
Pro Tip: Use a chlorine-resistant or silicone flapper if you use in-tank cleaners. They last significantly longer than standard rubber.
Adjust Water Level to Prevent Tank Overflow

If water spills into the overflow tube, the float is set too high. The water should stop filling 1 to 2 inches below the top of the overflow tube.
Ball Float Adjustment (Older Models)
On older toilets, a metal arm with a float ball controls the water level.
- Bend the arm downward to lower the water level.
- Bend it slightly upward to raise the water level.
Flush and check the result. Repeat as needed until the water stops at the correct height.
Float Cup Adjustment (Modern Toilets)
Modern toilets use a plastic cup that slides up and down the fill valve shaft.
- Turn the adjustment screw clockwise to lower the water level.
- Turn it counterclockwise to raise the water level.
- Or slide the clip up or down the shaft.
Test after each adjustment. If water still overflows, lower the float more.
Replace the Fill Valve When It Won’t Shut Off
A hissing fill valve means it’s not sealing properly. Replacement takes about 15 minutes and costs between $10 and $20.
Fill Valve Installation Steps
- Shut off water and drain the tank completely.
- Disconnect the supply line from the bottom of the tank.
- Unscrew the lock nut under the tank holding the old valve.
- Remove the old valve and insert the new one. Adjust height if needed.
- Secure with the lock nut and reconnect the supply line.
- Attach the refill tube to the overflow tube. The end must sit above the water level to prevent siphoning.
- Set the float to the correct height (1 to 2 inches below overflow).
- Turn on water and check for leaks at the base of the valve.
Recommended Brands: Fluidmaster units are reliable, widely available, and often come with a 5-year to lifetime warranty.
Fix Chain and Handle Problems
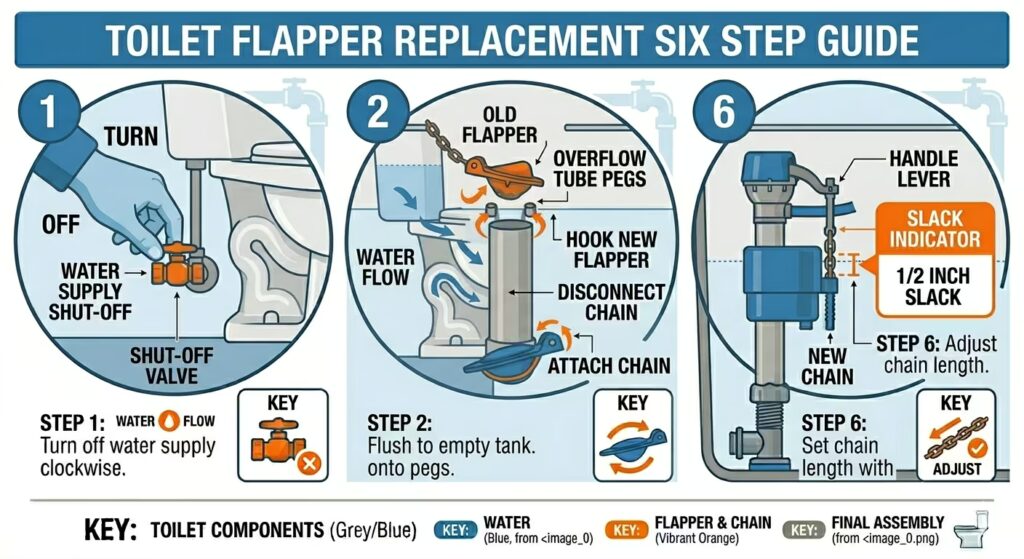
The chain connects the flush handle to the flapper. If the length is wrong, your toilet won’t work properly.
Adjust Chain Slack Correctly
- Too tight: The flapper