
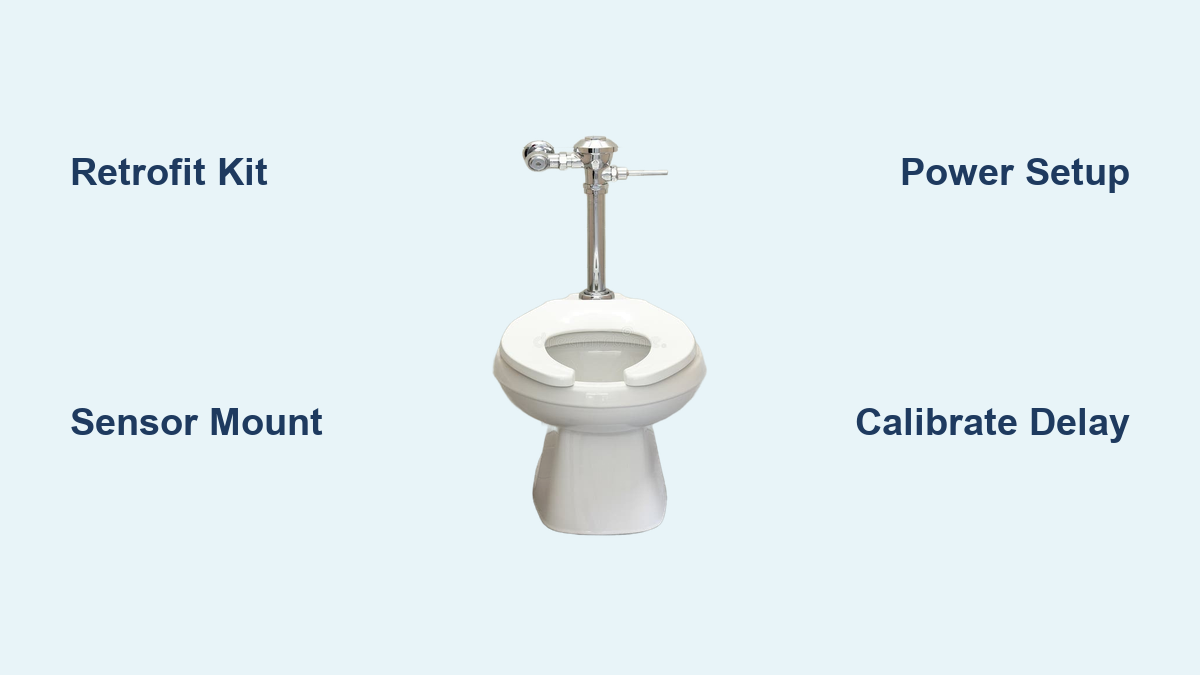
Picture this: you finish using the bathroom, walk away, and the toilet flushes itself without you ever touching a handle. Whether you’re upgrading your home for better hygiene, building a smart bathroom, or tackling a fun DIY electronics project, learning how to make an automatic toilet flush opens the door to touchless convenience.
This guide covers every practical method, from plug-and-play retrofit kits to custom Arduino systems and commercial-grade replacements. You’ll learn how infrared sensors trigger flushes, how to install battery-powered add-ons in under 10 minutes, and how to build a fully programmable system from scratch.
Choose Your Automation Method

Not all automatic flush systems are created equal. The best approach depends on your toilet type, technical comfort, and long-term goals. Three main solutions dominate the market: non-invasive retrofit kits, DIY electronic builds, and direct-replacement commercial units.
Match Toilet Type to Solution
Your toilet’s flush mechanism determines which option you can use. Top-mounted push buttons work with retrofit kits. Tanks with traditional side levers fit commercial replacements like the Rubbermaid Auto Flush. Any toilet can be upgraded with a DIY solenoid system, but that requires plumbing modifications.
Compare Installation Effort
Retrofit kits take under 10 minutes and need no tools. DIY builds demand coding, wiring, and plumbing skills. Commercial replacements require a wrench and basic mechanical know-how. If you’re renting or want a temporary fix, go with a retrofit. For permanent, reliable automation, choose a direct-replacement or custom system.
Install a Retrofit Flush Kit

For quick, no-plumbing upgrades, retrofit kits are ideal. These sensor-driven add-ons press your existing flush button automatically after you leave. They’re affordable, easy to install, and perfect for modern toilets with top-mounted buttons.
Confirm Compatibility First
Only use retrofit kits on toilets with top-mounted dual or single flush buttons. They won’t work on side-lever tanks or older models with hidden mechanisms. Check that the sensor bracket can mount securely behind the tank and align with the button center.
Mount Sensor and Plunger Arm
Attach the sensor bracket to the back of the tank using included screws or adhesive. Position it directly above the flush button. Connect the adjustable plunger arm to the actuator. Extend and angle the arm so its tip hits the button’s center. A misaligned arm causes partial or failed flushes.
Power and Calibrate the Sensor
Insert AA batteries or plug in a USB power bank. A blinking LED confirms power. Stand in front of the toilet; motion should trigger detection and the light turns solid. After stepping away, the arm should press the button after a 3 to 5 second delay. Use the sensitivity dial to reduce false triggers from pets or drafts.
Test and Maintain Performance
Run three test cycles. Ensure consistent detection and full button press. Clean the sensor lens monthly with a dry cloth since dust blocks infrared signals. Replace batteries when the yellow warning light flashes. Avoid humid environments that degrade electronics over time.
Build a DIY Arduino Flush System

For full control and customization, build your own automatic flush system using an Arduino. This method lets you program exact delay times, integrate smart home alerts