
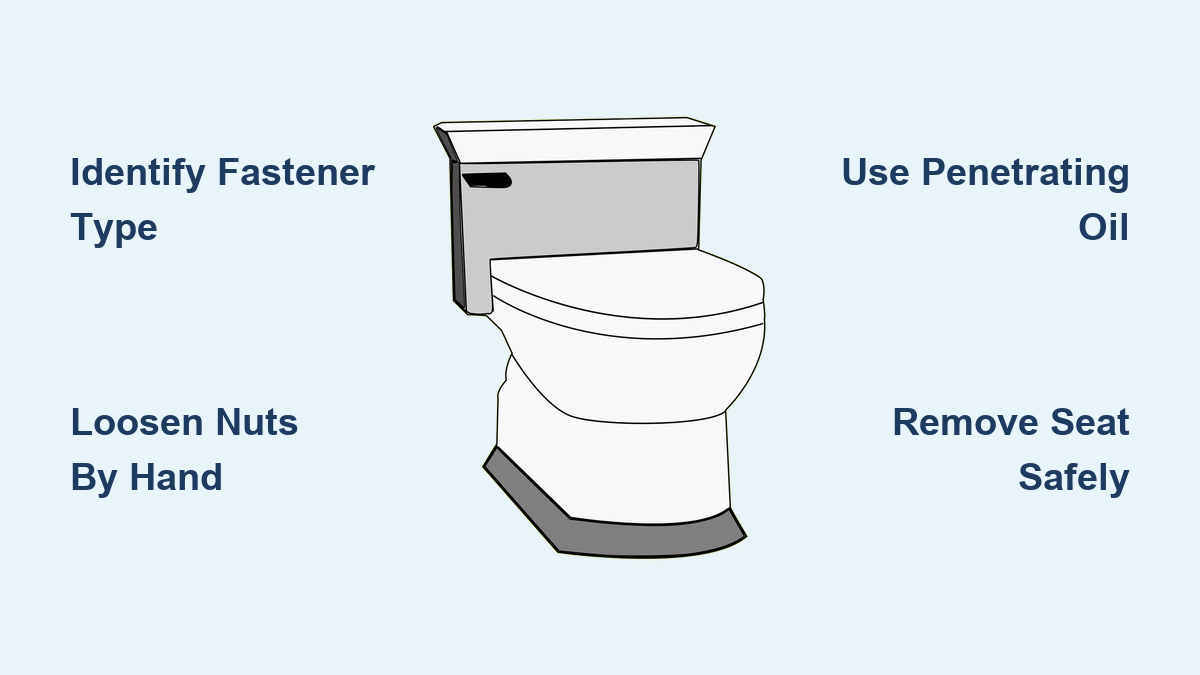
Learning how to remove a toilet seat is one of the easiest home maintenance tasks you can tackle. Whether your seat is stained, cracked, or simply outdated, the removal process usually takes just 3 to 4 minutes when hardware is in good condition. Most homeowners can complete this job without calling a plumber, saving both time and money. The trick is identifying your seat’s fastener type first, then using the right tools to avoid cracking the porcelain bowl.
This guide covers everything from spotting hidden bolts to handling corroded hardware and reinstalling a new seat. You’ll learn which tools work best for stubborn nuts, how to deal with quick-release systems, and common mistakes that can damage your toilet. By the end, you’ll feel confident tackling this project on your own.
Identify Your Toilet Seat’s Fastener Type

Before reaching for any tools, take a moment to inspect how your seat is attached. The removal method depends entirely on the hardware securing it to the bowl.
Check for Plastic Caps or Flip-Up Tabs
Lift the seat and examine the hinge area on top. Many modern seats hide the bolt heads under plastic covers. If you spot small caps, gently pry them open with a flathead screwdriver. Flip-up tabs lift by hand with no tools needed. Once exposed, you’ll see the bolt heads and gain access to the nuts underneath the rim.
Locate the Mounting Nuts Underneath
Crouch down and look beneath the back edge of the bowl. You’ll typically find one or two nuts holding the bolts in place. Common types include:
- Plastic wing nuts (hand-tightened, easiest to remove)
- Metal wing nuts (durable but rust-prone)
- Single bolt systems (found on older models)
- Quick-release mechanisms (no visible nuts, use buttons or sliders)
Knowing your hardware type prevents wasted effort and helps you choose the correct approach.
Remove Standard Bolt-Fastened Seats

Most toilet seats use a two-bolt system secured by nuts beneath the bowl rim. Follow these steps for safe removal.
Start by Loosening Nuts by Hand
Always try turning the wing nuts counterclockwise with your fingers first. If they spin freely, keep rotating until they come off completely. Repeat for the second nut. This approach avoids unnecessary tool use and protects plastic components from damage.
Pro Tip: If the bolt spins along with the nut, hold the top bolt head steady with a screwdriver while loosening the nut below.
Use Pliers When Nuts Are Stuck
When nuts are tight, corroded, or coated in mineral buildup, hand strength won’t be enough.
- Standard pliers: Grip firmly and twist counterclockwise with steady pressure
- Locking pliers (Vice Grips): Best for slippery or rounded nuts
- Adjustable wrench: Works well for metal hex nuts that resist pliers
Warning: Avoid crushing plastic nuts if you plan to reuse them. Replace damaged hardware instead.
Cut Off Seized Plastic Nuts
If a plastic nut is stripped or fused to the bolt, it may refuse to turn no matter how much force you apply.
- Use diagonal cutting pliers to chip away at the nut’s sides
- Snip gradually until the nut splits open
- Remove fragments and slide the remaining bolt out
This method destroys the nut, so keep a replacement kit nearby.
Handle Quick-Release Mechanisms
Many modern seats feature tool-free removal through quick-release systems, common in high-end or smart toilets.
Activate the Release Tab or Button
Look for small buttons or levers on the back of the hinge. These are often recessed or hidden under a small flap.
- Press both release buttons at the same time
- Or lift the plastic tab and slide the lock into the unlocked position
- Once disengaged, lift the seat straight up
Note: This removes only the seat itself. The mounting base stays attached, and you’ll still need to unscrew the underlying bolts to remove it fully.
Reattach Without Tools
To reinstall, align the seat hinges with the mounting posts and push down firmly until you hear a click. Slide the lock back into the locked position. These systems make cleaning the hinge area fast and hassle-free.
Deal With Corroded or Rusted Bolts
Older metal hardware can seize due to moisture and age, making removal frustrating.
Apply Penetrating Oil First
If nuts won’t budge, spray penetrating oil like WD-40 onto the threaded area from underneath. Let it sit for 10 to 15 minutes to break down rust, then try loosening again with locking pliers. Repeat if needed. Never force the tool, as this risks cracking the porcelain.
Cut Through Metal Bolts as a Last Resort
When oil fails and the bolt remains frozen, grab a hacksaw or rotary tool with a metal-cutting wheel. Carefully cut through the bolt shaft just above the nut. Remove the seat, then extract the broken bolt remnant.
Alternative: A nut splitter works well for metal nuts that refuse to turn. Always replace corroded metal hardware to prevent future headaches.
Lift and Remove the Seat Safely

Once all fasteners are gone, the seat should lift off easily, but don’t rush the process.
Break Any Seal Before Lifting
Mineral deposits or old grime can bond the hinge to the bowl over time.
- Gently wiggle the seat side to side
- Rock it slightly forward and backward
- This breaks adhesion without risking porcelain damage
Then lift the seat straight up and set it aside.
Pro Tip: Place a towel over the tank lid to set down small parts or the seat itself. This keeps them clean and prevents scratches.
Clean and Prepare for Reinstallation
With the seat off, take advantage of the access to deep-clean the area.
Scrub Under the Hinges
Use a disinfectant cleaner and a non-abrasive sponge to wipe away mold, mildew, hard water stains, and old residue. Pay close attention to the mounting holes and around the rim. A toothbrush works well for tight spaces.
Inspect the Mounting Holes
Ensure the holes are clear and undamaged. If old rubber grommets or anchors remain, pull them out and replace with fresh ones if needed. Clean holes help new hardware seat properly and prevent wobbling.
Reinstall or Replace the Toilet Seat
Whether reusing the old seat or installing a new one, proper setup ensures stability and longevity.
Align and Insert the Hardware
For standard seats, insert bolts through the hinge holes from the top and feed them into the mounting holes on the bowl. Underneath, attach wing nuts and tighten by hand. For seats with rubber anchors, push the flexible tab through the hole. It bends on entry, then snaps back to grip the underside.
Tighten Carefully Without Overtightening
Snug is sufficient. Over-tightening plastic bolts can crack the hinge, strip threads, or damage the porcelain. Stop when the seat feels secure and doesn’t wobble.
Test Stability Before Finishing
Press down on both sides and try to rock the seat. If it moves, retighten slightly. Then snap caps or flip tabs back into place to complete the installation.
Upgrade for Durability and Easier Maintenance

Consider improving your setup during reinstallation for long-term benefits.
Switch to Metal Hardware
Plastic nuts break easily over time. Stainless steel bolts and nuts offer better resistance to wear, longer lifespan, and a stronger hold. They’re ideal for households with heavy use or frequent seat removal.
Choose a Quick-Release Seat
For easier future cleaning, look for models labeled “tool-free removal” or featuring push-button release systems. These let you detach the seat in seconds, perfect for maintaining hygiene around the hinge area.
Prevent Common Mistakes
Avoid these pitfalls to keep the job smooth and safe.
Don’t Drop Small Parts
Nuts and screws are tiny and easy to lose down the drain. Place a towel over the toilet tank to catch dropped items, or use a magnetic tray for metal hardware.
Avoid Damaging the Bowl
Never use excessive force with metal tools near the porcelain. A cracked toilet bowl leads to leaks and costly replacements that far outweigh the time saved.
Replace Worn Hardware
Reusing broken or stripped plastic nuts leads to wobbly seats. Always replace damaged parts, even if you’re putting the same seat back on.
Frequently Asked Questions About Removing a Toilet Seat
What tools do I need to remove a toilet seat?
Basic removal usually requires only your hands for plastic wing nuts. For stubborn hardware, gather standard pliers, locking pliers, a flathead screwdriver, and penetrating oil. A hacksaw or rotary tool helps with severely corroded bolts as a last resort.
How long does it take to remove a toilet seat?
The process typically takes 3 to 4 minutes when hardware is accessible and not corroded. Stubborn bolts or seized nuts can extend the job to 10 to 15 minutes, especially if you need to apply penetrating oil or cut through damaged hardware.
Can I remove a toilet seat without tools?
Yes, if your seat has plastic wing nuts or a quick-release mechanism. Plastic wing nuts turn by hand, and quick-release seats use buttons or sliders that require no tools at all. You only need tools when dealing with corroded or overtightened metal hardware.
What if the nut spins but won’t come off?
This usually means the bolt is spinning with the nut. Hold the bolt head steady from above with a screwdriver or pliers while turning the nut counterclockwise from below. This prevents the entire assembly from rotating and allows the nut to thread off properly.
Should I replace the hardware when installing a new seat?
Yes, replacing old hardware is highly recommended. Plastic nuts degrade over time, and metal bolts may show early corrosion. Fresh hardware ensures a secure fit and prevents the new seat from loosening prematurely.
How do I remove a toilet seat with rusted bolts?
Apply penetrating oil to the threads from underneath and wait 10 to 15 minutes. If that fails, use locking pliers for extra grip. As a last resort, cut through the bolt shaft with a hacksaw just above the nut, then remove the seat and extract the broken remnant.
Key Takeaways for Removing Your Toilet Seat
Knowing how to remove a toilet seat properly saves time, money, and frustration. Start by identifying your fastener type, whether standard bolts, quick-release, or corroded metal hardware. Most removals take under five minutes with the right approach, but patience with stubborn nuts prevents damage to your porcelain bowl. Clean thoroughly underneath, consider upgrading to metal hardware or a quick-release seat, and always avoid over-tightening during reinstallation. Grab your tools, follow these steps, and you’ll have that old seat off in no time.