
A wobbly toilet is more than just annoying. If your toilet rocks when you sit down, it is not properly anchored to the floor, and that movement can crack the wax seal, cause sewage leaks, rot the subfloor, and even trigger mold growth. The fix is simpler than most people think. Securing a toilet to the floor is a manageable DIY project once you diagnose the actual cause of the wobble. Most instability comes from uneven flooring, a misaligned flange, or missing hardware, not a bad seal. This guide walks you through identifying the real problem and applying the right solution, so your toilet sits solid, level, and leak-free for years.
Diagnose the Wobble Before Grabbing Tools
Before you tighten anything, figure out why the toilet rocks. Guessing leads to cracked porcelain and recurring leaks. A properly secured toilet transfers weight evenly to the floor without stressing the base or the drain connection.
Check Flange Height and Condition
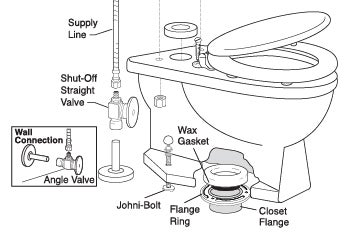
The closet flange connects the toilet to the drain pipe and must sit at the correct height. Its top should be flush with the finished floor or up to 1/4 inch above it.
- Flange too low? Common after new tile or flooring installation. A standard wax ring will not compress enough, causing leaks. Use an extra-thick wax ring or a flange extender kit.
- Flange too high? Causes rocking regardless of bolt tightness. Remove unnecessary spacers or shim underneath to level it.
- Damaged flange? Cracked PVC or loose screws make the whole setup unstable. Repair with a Twist and Seal insert or replace it entirely.
Inspect Floor Stability
The floor must be solid beneath the toilet. A wobble often comes from a settled subfloor, not the fixture itself.
- Uneven tile or vinyl? Even small dips create gaps under the base.
- Wood or laminate flooring? These materials are not waterproof. Any leak can rot the subfloor. Consider upgrading to tile or sealing thoroughly.
- Test for movement: Press down on opposite sides. If it rocks, the floor is the problem, not the seal.
Verify All Hardware Is Present
Missing parts cause most installation failures. Check for closet bolts, washers, lock washers, base caps, and bolt caps. No base caps? That is likely why bolts are bending or cracking the porcelain base.
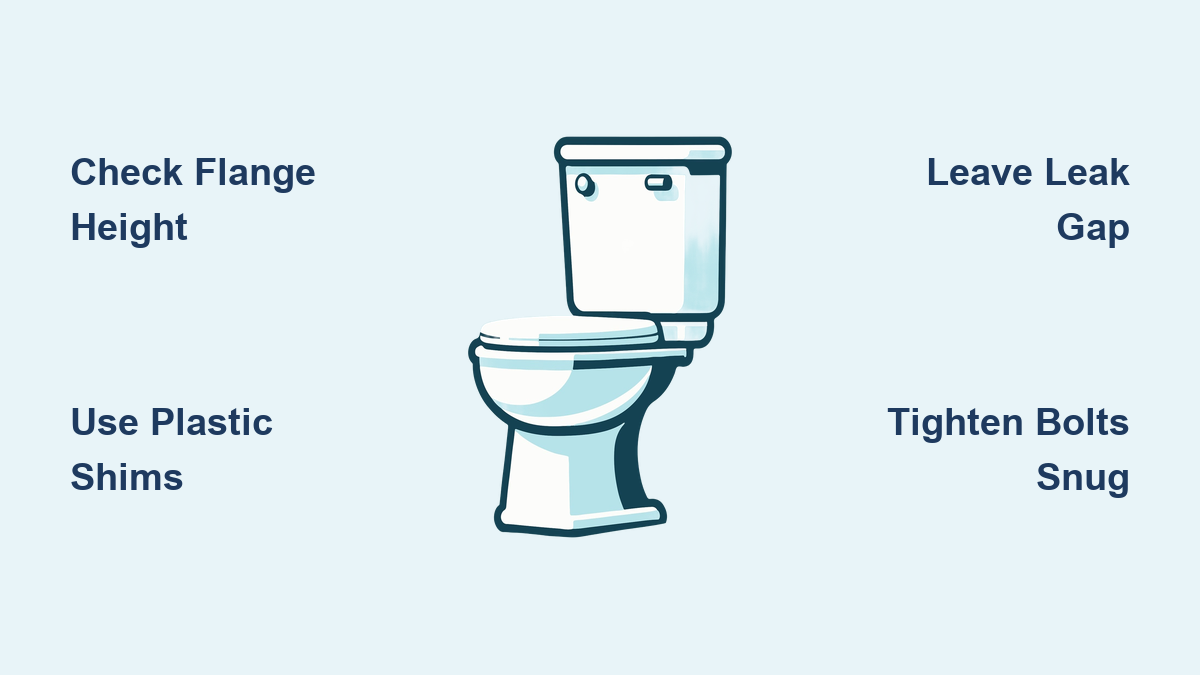
Use Plastic Shims for Most Wobble Problems

Shimming is the go-to method for minor to moderate floor gaps. It is fast, reversible, and prevents stress on the wax seal.
Choose the Right Shim Material
Always use plastic shims, never wood. Wood absorbs moisture, swells, and compresses over time, leading to renewed wobbling. Plastic shims like Mighty Wedge or Wobble Wedge are water-resistant, durable, and lock together for a solid fit.
Insert and Trim Shims Properly
- Loosen the mounting nuts slightly, just enough to slide shims under the base.
- Rock the toilet gently to find where gaps exist. Use a torpedo level to spot the low side.
- Slide shims into the gaps, starting with the lower side. Stack and interlock them for stability.
- Check level and stability after each addition. The goal is zero movement.
- Mark and trim excess with side cutters. Never trim under the toilet with a knife due to scratch risk.
- Tighten bolts gradually, alternating sides. Snug is enough, since over-tightening cracks porcelain.
- Add base caps and decorative bolt covers.
✅ Pro Tip: If your toilet has four bolt slots, use all four. Extra bolts mean extra stability.
Fill Gaps With Grout or Plaster for a Permanent Look

For a seamless finish or when shims are not preferred, fill the base gap with a structural material.
Apply Tile Grout for a Clean Finish
Mix sanded tile grout to a thick paste. Apply it around the base after the toilet is secured. Smooth with a finger for a professional edge, then follow with a clear silicone bead for micro-sealing. Still leave the back center uncaulked for leak detection.
Try the Plaster of Paris No-Shim Method
This creates a custom solid foundation that stabilizes the toilet and eliminates future movement.
- Secure the flange and ensure bolts are upright using nuts to hold them straight.
- Mix Plaster of Paris with water at a 1:2 ratio to a muddy consistency. It sets in 3 to 20 minutes, so work fast.
- Spread plaster on the floor where the toilet base will sit. Leave a 4 to 6 inch gap at the back.
- Lower the toilet onto the wet plaster, align with the flange, and level immediately.
- Tighten bolts to secure the position.
- Break off excess once set using a utility knife.
This method offers no shims, no caulk, and a built-in leak detection gap.
Adjust or Replace a Damaged Flange
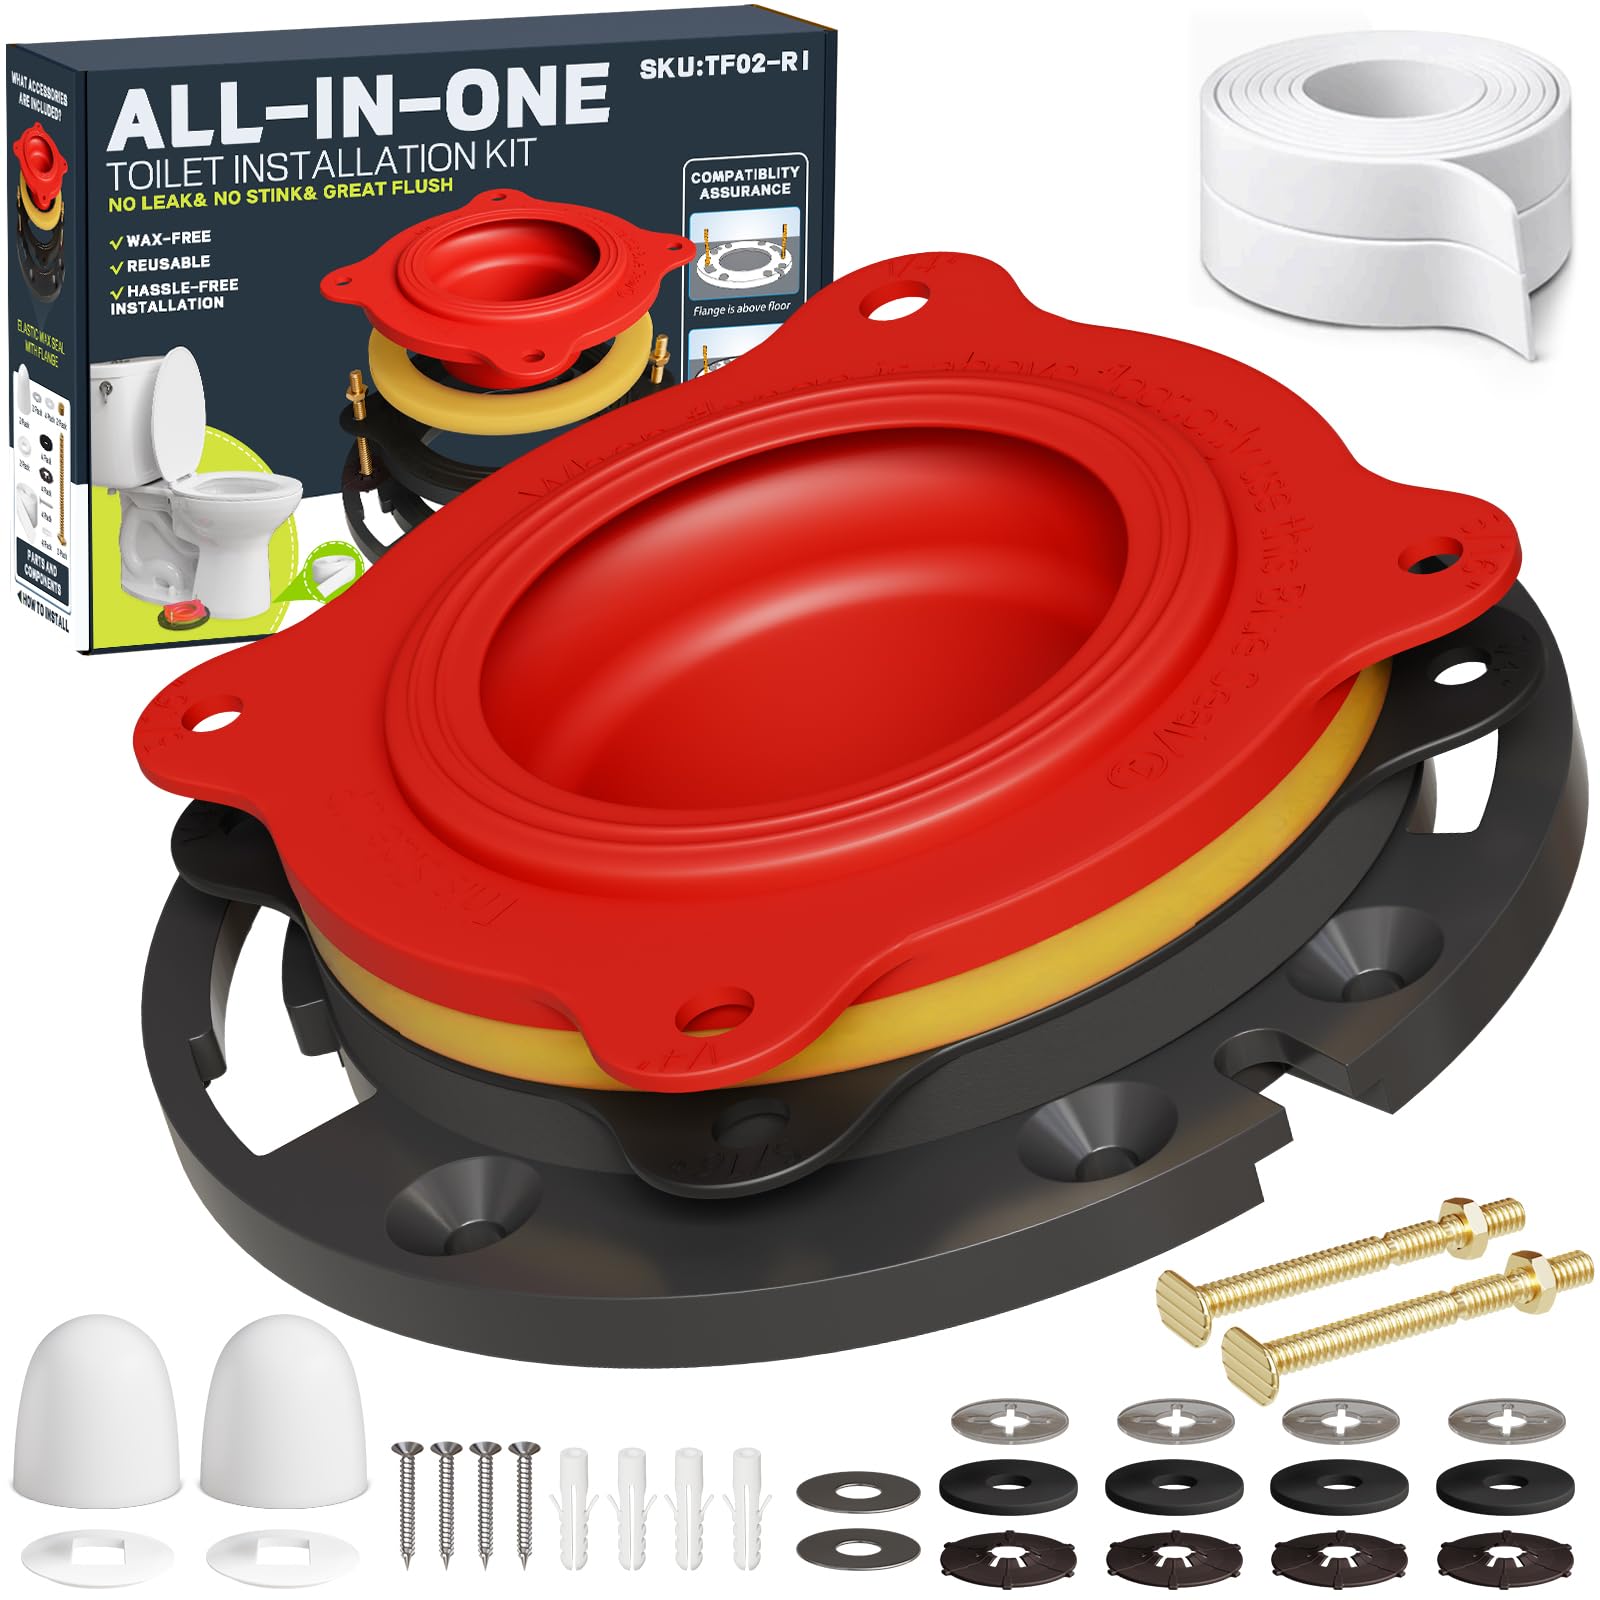
If the flange is damaged or misaligned, shimming will not fix the root problem.
Repair a Broken Flange
- PVC flange cracked? Use a repair ring that screws over the existing flange.
- Metal flange loose? Re-anchor it to the subfloor with stainless steel screws.
- No access below? Install an inside flange repair like the ODI Twist and Seal. It expands inside the pipe and seals with a rubber gasket.
Raise a Sunken Flange
If new flooring dropped the flange below floor level, use an extra-thick wax ring of 1/2 inch or more. Alternatively, install a flange extender to bring the mounting surface up to floor level. Never stack wax rings, as they can shift and fail.
Seal the Base the Right Way

A secure toilet still needs perimeter protection, but not full sealing.
Apply Silicone While Leaving a Gap
Use 100% mold-resistant silicone. Run a continuous bead around the front and sides. Stop 2 to 3 inches short at the back. This gap allows water to escape visibly if the wax seal fails, alerting you fast. Full caulking traps sewage under the base, causing silent rot and structural damage.
Trim and Cap the Bolts
Cut excess bolt length with a hacksaw or hex mini-blade. Leave just enough above the nut for the cap to snap on. Install plastic bolt caps with the “this side up” marking facing correctly. Caps prevent corrosion and give a finished look.
Avoid Common Installation Mistakes
Even experienced DIYers make errors. Here is how to dodge the big ones.
Do Not Over-Tighten the Bolts
Porcelain cracks easily. Tighten just until snug, alternating sides. Use a ratchet with a torque limit if possible, aiming for no more than 35 to 40 inch-pounds.
Always Use Base Caps
These plastic or metal washers sit between the nut and porcelain. Without them, pressure concentrates on a small area, leading to cracks and bolt failure.
Never Skip the Leak Detection Gap
Full caulking hides disasters. That open rear gap is your early warning system for wax seal failure.
Do Not Use Wood Shims
They absorb moisture, swell, and compress. Replace them with plastic for a permanent fix.
Troubleshoot Persistent Wobble Problems

If the toilet still moves after your fix, something was missed.
Bolts Spin Freely
If nuts will not tighten, the flange slots may be stripped or the bolts not seated properly. Remove the toilet and inspect the flange. Ensure bolts are locked into the slots, not spinning freely. Replace or repair the flange if damaged.
Leaks Appear After Installation
This could mean the wax ring is misaligned, the flange height is wrong, or the base was over-tightened. Remove and reinstall with a fresh wax ring. Always test flush 3 to 4 times and check for leaks before caulking.
Tank Rocks Excessively
Slight tank movement is normal due to rubber gaskets. But if it wobbles noticeably, check the tank bolts and washers. Tighten gently and evenly, since over-tightening cracks the tank.
Maintain Long-Term Toilet Stability
A properly secured toilet should last decades, but floors shift over time.
Inspect Annually
Rock the toilet gently. If it moves, re-shim immediately. Delaying risks seal failure and leaks.
Clean Around the Base
Keep the gap free of grime. If caulked, reapply silicone every 5 to 7 years as it degrades.
Know When to Re-Seat
If you notice water pooling, bad odors, or floor softness, the wax seal likely failed. Remove the toilet, replace the wax ring, and re-secure with fresh shims.
Frequently Asked Questions About Securing a Toilet to the Floor
Can I just tighten the bolts to stop a wobbly toilet?
Tightening bolts alone often cracks the porcelain without solving the underlying problem. The real fix requires diagnosing the cause, which is usually uneven flooring, a misaligned flange, or missing base caps. Shim the gaps first, then tighten gently.
What is the best material for toilet shims?
Plastic shims are the best choice. They resist moisture, do not rot or compress, and lock together for a stable fit. Wood shims absorb water, swell, and eventually fail, causing the wobble to return.
Should I caulk around the entire toilet base?
No. Leave a 2 to 3 inch gap at the back center uncaulked. This opening acts as a leak detection system. If the wax seal fails, water escapes visibly instead of being trapped under the base where it can rot the subfloor.
How tight should toilet bolts be?
Tighten until snug, alternating between left and right sides. Use no more than 35 to 40 inch-pounds of torque. Over-tightening cracks the porcelain base and can distort the wax seal.
What causes a toilet to wobble after years of stability?
Floors settle over time, especially in older homes. Subfloor movement creates new gaps under the base. Annual inspection and re-shimming prevents this minor issue from becoming a major leak.
Can I secure a toilet without removing it?
Yes, using the shim method or the Plaster of Paris technique. Both allow you to stabilize the toilet in place. However, if the flange is damaged or the wax ring has failed, you must remove the toilet to make repairs.
Key Takeaways for Securing Your Toilet to the Floor
Securing a toilet to the floor comes down to three essentials: diagnose the cause, use the right materials, and seal strategically. Plastic shims solve most wobble problems without risking porcelain damage. The Plaster of Paris method offers a permanent, no-shim alternative for those who prefer a seamless look. Always leave a rear gap in the caulk to catch leaks early, and never skip base caps when tightening bolts.
Your next step is simple: rock your toilet gently right now. If it moves, grab some plastic shims and a torpedo level, and spend 30 minutes diagnosing the gap. A stable toilet protects your floors, prevents costly sewage damage, and gives you peace of mind every time you sit down.