
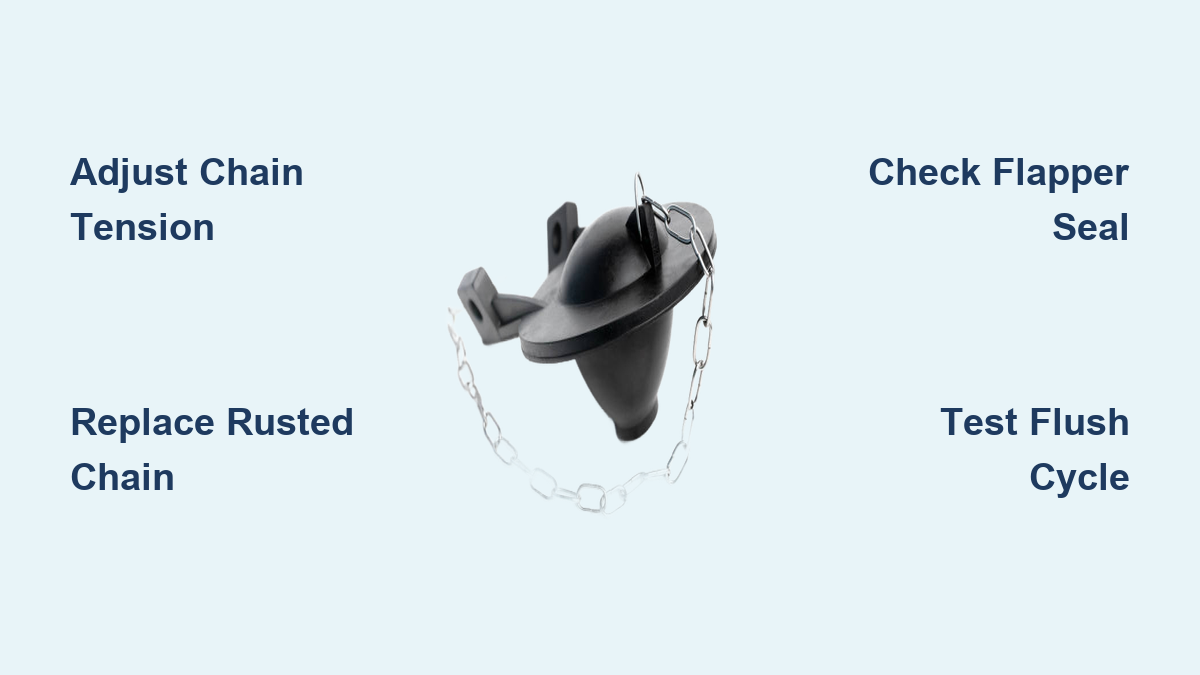
A running toilet can waste up to 200 gallons of water per day. More often than not, the issue traces back to a faulty chain inside the tank. The chain links the flush handle to the flapper, and when it is too long, too short, or corroded, your toilet struggles to flush properly. Strange noises, weak flushes, or the need to hold the handle down all point to one fix.
This guide covers toilet chain repair from start to finish. You will learn how to diagnose chain problems, adjust tension, replace worn parts, and prevent future breakdowns. All you need are basic tools and about 15 minutes of your time.
Identify Chain-Related Problems Before Disassembling Anything

Before reaching for tools, take a moment to observe what your toilet is doing. Many tank issues originate with the chain, but confirming the cause saves effort. Open the tank lid and watch the flush cycle carefully.
Handle Jiggling Signals Chain Issues
If you need to wiggle or hold the handle down to complete a flush, the chain is likely too long or tangled. A properly fitted chain lifts the flapper cleanly and lets it drop fully once the handle returns.
Visible Rust or Stretching on Links
Inspect the metal links for corrosion, kinks, or stretching. Constant water exposure breaks down the chain over time, especially in older tanks. Brittle or frayed links can snap without warning and leave the toilet unusable.
Flapper Only Lifts Partially
When slack or tangles exist, the flapper opens only partway. This restricts water flow and causes weak flushes. A healthy chain lifts the flapper fully the moment you press the handle.
Adjust Chain Tension for a Reliable Flush

Correct tension is the key to a working flapper. Too loose and the flush fails. Too tight and the flapper stays open, causing the tank to run nonstop.
Remove Excess Slack From the Chain
Lift the flapper by hand and pull the chain taut. The ideal setup leaves about half an inch of slack between the handle lever and the chain at rest. The flapper should rest flat on the flush valve when released.
Reattach the Chain at the Right Link
Unhook the chain from the lever and reconnect it to a different link. Moving up or down a few links fine-tunes the tension. Needle-nose pliers make this easier and reduce strain on the clip.
Test Several Flushes After Adjusting
Flush the toilet three or four times to confirm performance. The flapper should rise fully and reseat within five to seven seconds. If the tank keeps running, the chain may still be too tight.
Replace a Damaged Chain or Flapper
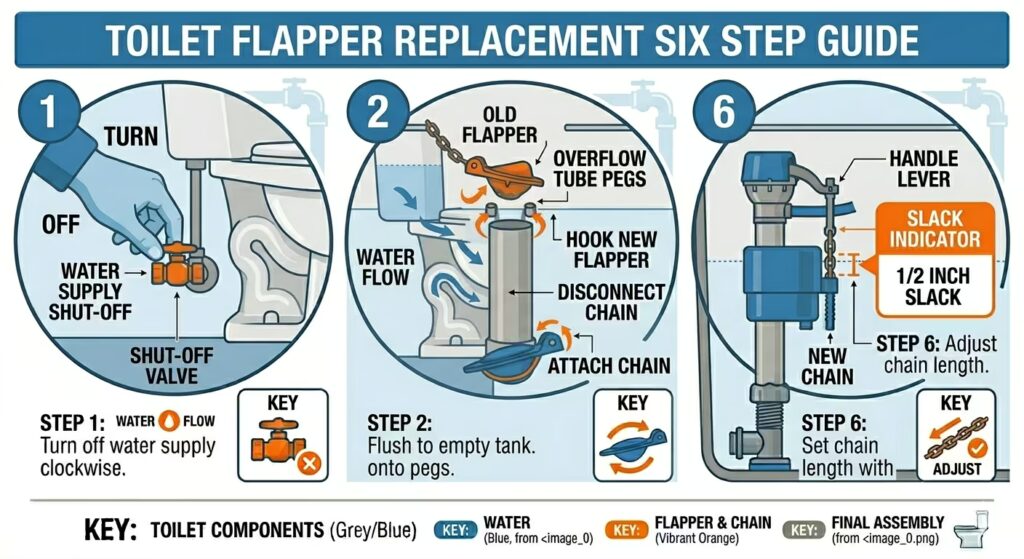
When corrosion, stretching, or breakage appears, replacement is the smarter fix. Most toilet repair kits cost under ten dollars and include everything you need.
Turn Off the Water Supply First
Locate the shutoff valve behind or beside the toilet base. Turn it clockwise until it stops. Flush the toilet to drain the tank before working inside.
Remove the Old Chain and Flapper
Unhook the chain from the flush lever and from the flapper loop. Slide the flapper off the pegs on the overflow tube. Note the flapper model number so you can match it at the hardware store.
Install the New Chain and Flapper
Slide the new flapper onto the overflow tube pegs until it clicks. Attach one end of the new chain to the flapper loop. Hook the other end to the flush lever and adjust the link for proper slack.
Turn the Water Back On and Test
Open the shutoff valve slowly and let the tank refill. Watch for leaks around the base and flapper. Run several test flushes to confirm smooth operation.
Prevent Future Chain Problems With Simple Habits
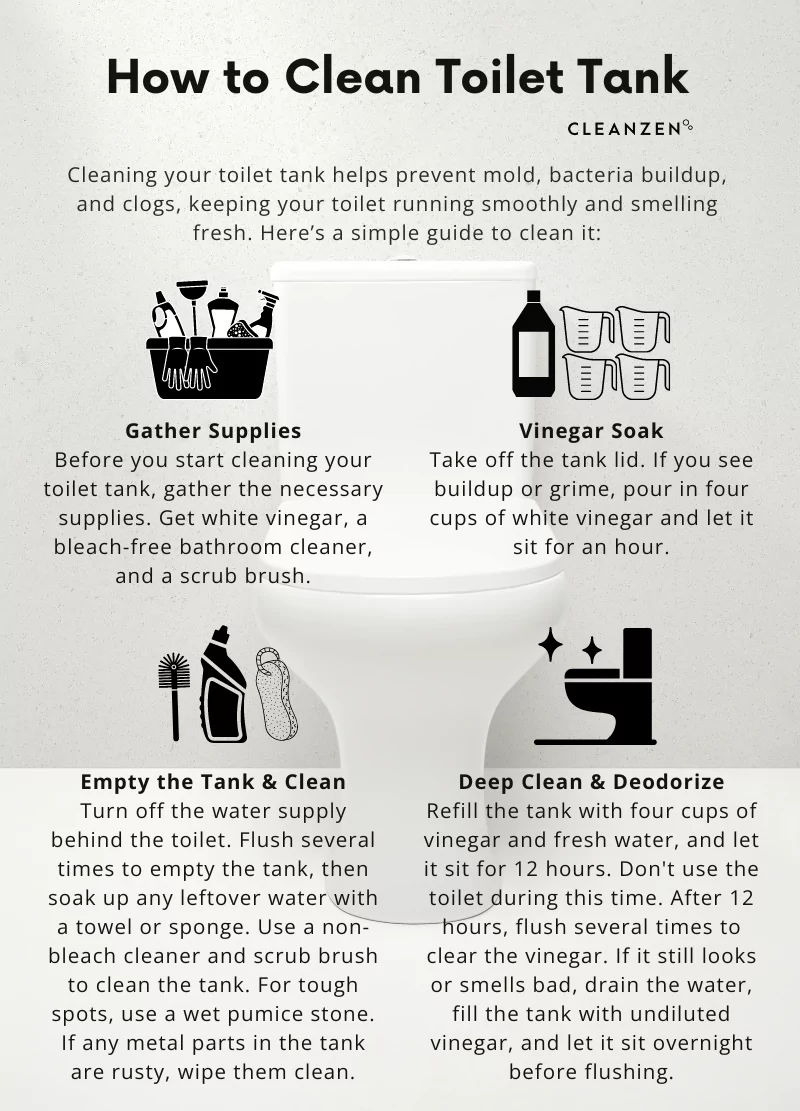
A little routine care keeps the flush mechanism working reliably. These habits prevent surprise leaks and high water bills.
Inspect the Tank Twice a Year
Remove the tank lid every six months and check the chain, flapper, and connections. Look for wear, mineral buildup, or misalignment that could cause problems later.
Clean Components With Vinegar
Mineral deposits stiffen the chain and keep the flapper from sealing. Wipe the chain and flapper with a vinegar soaked cloth every few months to keep parts moving freely.
Replace the Flapper Every Few Years
Rubber flappers degrade even without visible damage. Replacing them every three to five years prevents slow leaks and keeps flushes strong.
Troubleshoot Common Toilet Chain Repair Mistakes
Even simple fixes can fail when key details get overlooked. Watch out for these frequent errors during your repair.
Chain Pulled Too Tight
Many people over tighten the chain to remove every bit of slack. This keeps the flapper slightly open and causes constant running. Always leave a small amount of play.
Wrong Chain Length for the Tank
Some kits ship with chains much longer than needed. Skip extra links when reattaching or trim them to prevent tangles inside the tank.
Flapper Not Seated Correctly
If the flapper does not sit flat on the flush valve, water leaks continuously. Make sure the ears click onto the pegs and the rubber seal is clean and flexible.
Upgrade Parts for Better Long-Term Performance

Modern replacement parts offer real improvements over older designs. Consider these upgrades to reduce future maintenance.
Choose Stainless Steel Chains
Stainless steel resists rust and outlasts standard coated chains. Some models include adjustable sliders that let you change tension without tools.
Install a Dual-Flush Conversion Kit
These kits replace the handle and flush mechanism with a two button system. They improve water efficiency and reduce wear on the internal parts.
Pick a Universal Repair Kit
Brands like Fluidmaster offer universal kits with multiple chain links, flappers, and washers. They fit most two inch and three inch flush valves.
Frequently Asked Questions About Toilet Chain Repair
How do I know if my toilet chain is the problem?
A faulty chain usually causes weak flushes, the need to hold the handle down, or constant running water. Open the tank and watch the flapper during a flush to confirm.
How much slack should a toilet chain have?
The chain should have about half an inch of slack when the flapper is closed. This allows the flapper to lift fully and reseat properly after each flush.
Can I repair a toilet chain without replacing it?
Yes, if the chain is intact but misadjusted. Simply unhook it and reconnect at a different link to change the tension. Replacement is only needed for rusted or broken chains.
How long does a toilet chain last?
Most chains last five to ten years depending on water quality and usage. Stainless steel chains tend to last longer than standard coated metal versions.
Do I need a plumber for toilet chain repair?
No. Toilet chain repair is a beginner friendly task that takes about 15 minutes with basic tools. A plumber is only needed if the fill valve or flush valve is also damaged.
What tools do I need for toilet chain repair?
You only need needle nose pliers and a cloth for cleaning. No specialty tools are required for adjusting or replacing a toilet chain.
Key Takeaways for Successful Toilet Chain Repair

Toilet chain repair is one of the simplest plumbing fixes you can do at home. With a few minutes of inspection and basic tools, you can stop phantom flushes and cut down on water waste. The most common fix involves adjusting chain tension so the flapper lifts fully and reseats properly.
Replacing a worn chain or flapper costs under ten dollars and prevents costly water bills down the road. Regular inspection every six months catches small issues before they become big problems. If your toilet still runs after a chain repair, the fill valve may be the next part to check.
Start by opening your tank lid today and watching the flush cycle. Most chain issues are visible within seconds and fixable within minutes.