
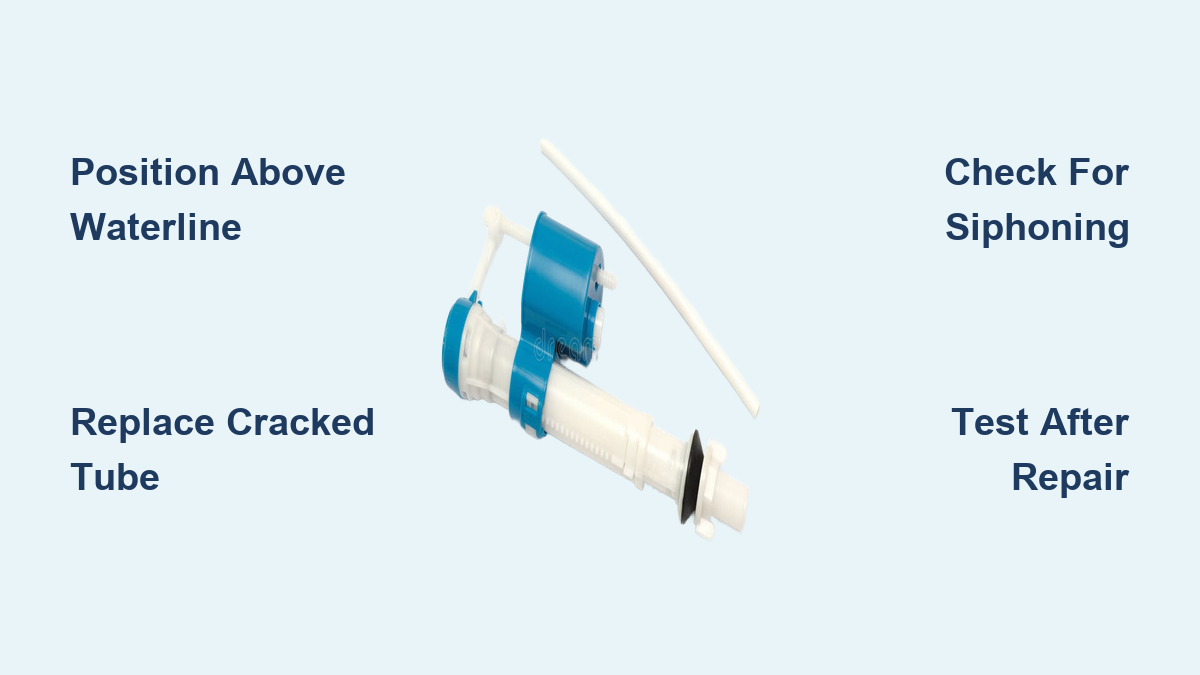
A toilet that runs nonstop or refills slowly often points to a small overlooked part: the fill tube. This flexible hose connects the fill valve to the overflow tube and directs water into the bowl after each flush. When it cracks, loosens, or slips out of position, you can lose hundreds of gallons weekly without realizing it. Strange hissing sounds, slow refills, or water trickling into the overflow tube are all classic symptoms of a failing fill tube.
The good news is that fill tube toilet repair is one of the simplest plumbing fixes a homeowner can tackle. With basic tools and about 30 minutes, you can diagnose the issue, replace the tube, and restore proper flushing performance. This guide walks you through every step, from identifying symptoms to testing your final repair.
Recognizing Common Fill Tube Problems
Before diving into repairs, confirm the fill tube is actually the source of your toilet trouble. Several issues can mimic each other, but specific signals point directly to the fill tube.
Listen for Continuous Running After Flushing
A toilet that keeps running long after the flush handle returns to rest often has a fill tube problem. If the tube is cracked or positioned incorrectly, water may pour into the overflow tube instead of the bowl. This tricks the float into sensing an empty tank, so the fill valve stays open. Remove the tank lid and observe the refill cycle. If water streams into the overflow for more than 10 seconds after flushing, the fill tube is likely misaligned or damaged.
Watch for Siphoning Into the Overflow Tube
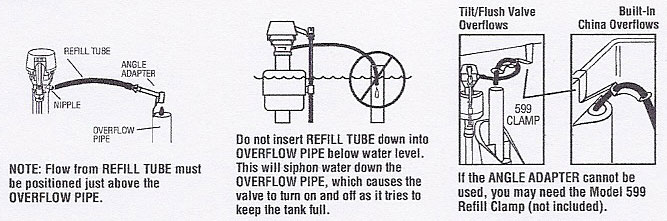
Siphoning happens when the fill tube’s open end sits below the waterline inside the overflow tube. This creates a vacuum effect that pulls water from the tank continuously, forcing the fill valve to keep running. To check, shut off the water supply, flush to empty the tank, then slowly restore water flow. Watch the tube’s end as the tank refills. If it submerges at any point, reposition it above the waterline immediately.
Inspect the Tube for Cracks and Wear
Chlorine and constant water pressure degrade plastic over time. Remove the tube from both connection points and examine it under bright light. Look for these warning signs:
- Hairline fractures along the surface
- Soft, swollen, or warped sections
- White or chalky discoloration
- Stiffness or brittleness when bent
Replace the tube if you spot any damage. Even tiny cracks can cause hidden leaks that waste water and inflate your bill.
Preparing for Fill Tube Toilet Repair
Safety and preparation matter, even for a quick fix. Taking a few minutes to set up properly prevents messy accidents and ensures a smooth repair.
Shut Off the Water Supply
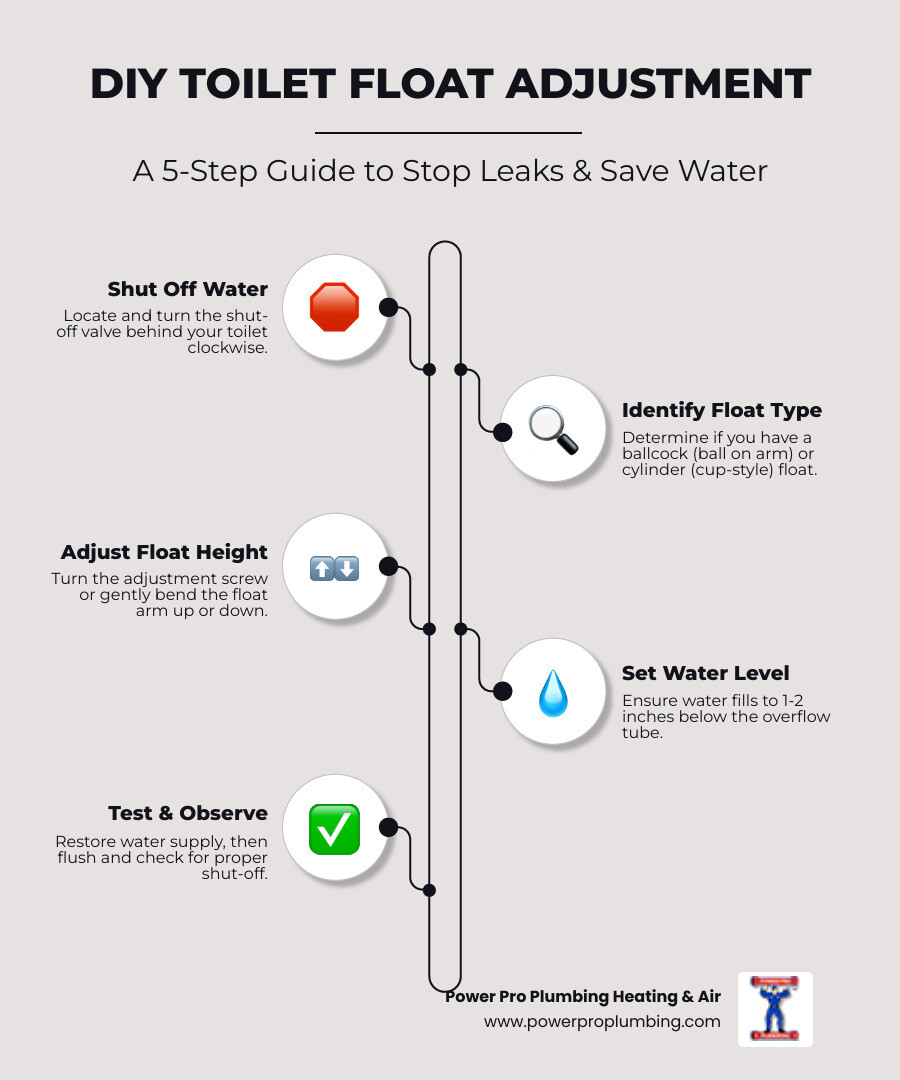
Locate the shutoff valve on the wall or floor behind the toilet base. Turn it clockwise until it stops. Flush the toilet to drain most of the tank water. Use a sponge or towel to soak up remaining moisture at the bottom. A dry workspace prevents drips when you disconnect parts and gives you better visibility.
Disconnect the Fill Tube Carefully
Find the small plastic clip or collar where the fill tube attaches to the fill valve. Pinch it gently and pull the tube straight off without yanking. Then unhook the opposite end from the refill clip on the overflow tube. If the tube feels stuck, wiggle it slightly while pulling. Avoid using excessive force, since older plastic fittings can snap.
Testing the Fill Valve Before Reassembly
A faulty fill valve can damage a new fill tube quickly. Always test the valve’s flow before completing your repair.
Observe the Water Output
With the fill tube removed, briefly turn the water back on. Watch the nozzle on the fill valve. Water should spray in a steady, moderate stream. A violent jet suggests excessive pressure that can blow tubes off or wear them out fast. A weak dribble may indicate a clogged valve that needs replacement.
Replace the Fill Valve if Needed
If the flow looks irregular or too forceful, consider replacing the entire fill valve assembly. Modern fluidmaster-style valves include a new fill tube and offer adjustable flow control. Turn the water off again, drain any refilled water, unscrew the supply line, and lift out the old valve. Install the new unit according to manufacturer instructions, making sure the rubber seal seats properly against the tank.
Installing or Repositioning the Fill Tube
This is the core of any fill tube toilet repair. Correct placement prevents future leaks and ensures proper bowl refill.
Position the Tube Above the Waterline
The fill tube must deliver water into the overflow tube without ever touching the water surface. Use the refill clip, a small plastic hook attached to the overflow tube, to secure the tubing. Loop the tube through the clip so the open end points downward into the overflow. Position the end at least one inch above the maximum water line. This gap prevents siphoning and keeps water flowing into the bowl where it belongs.
Install a Replacement Tube if Necessary
If the original tube shows damage, swap it out. Most fill valves ship with a replacement tube, and universal options are available at hardware stores. Cut the new tubing to length with scissors, typically between 6 and 8 inches depending on your toilet model. Push one end firmly onto the fill valve outlet until it seats snugly. Attach the other end to the refill clip, making sure the tube has no kinks or sharp bends that restrict flow.
Testing Your Repair
Once everything is reassembled, verify the fix works before replacing the tank lid.
Restore Water Supply Slowly
Open the shutoff valve counterclockwise at a slow, steady pace to avoid pressure surges. Let the tank fill completely while watching both fill tube connections for drips or sprays. If water leaks at either joint, disconnect and reseat the tube more firmly.
Run Multiple Flush Cycles
Flush the toilet three or four times and observe the results carefully. Check that the tank refills smoothly, water stops completely when full, the bowl refills to the correct level, and no water enters the overflow tube after filling. If all these conditions hold, your fill tube toilet repair is complete and successful.
Preventing Future Fill Tube Problems
A little maintenance goes a long way toward avoiding repeat repairs and keeping your toilet efficient.
Upgrade to an Anti-Siphon Fill Kit
Modern fill valves often include anti-siphon refill elbows designed to prevent backflow. These components have built-in air gaps and reduce installation errors. Consider upgrading if your toilet has experienced recurring siphoning issues or if your fill valve is more than five years old.
Inspect the Tank Annually
Once a year, remove the tank lid and check the fill tube’s position and condition. Resecure any loose clips and replace cracked tubing early. This two-minute inspection catches small problems before they become expensive water waste.
Avoid Harsh Chemical Cleaners
Tank tablets and drop-in cleaning products often contain bleach or acids that break down rubber and plastic. These chemicals accelerate wear on fill tubes, flappers, and seals. Use gentle non-corrosive cleaners instead, or clean manually with vinegar and a soft cloth.
Frequently Asked Questions About Fill Tube Toilet Repair
What does a fill tube do in a toilet?
A fill tube is a small flexible hose that carries water from the fill valve into the overflow tube during the refill cycle. This water flows down into the bowl to restore the proper water level after each flush. Without a working fill tube, the bowl won’t refill correctly and the toilet may run constantly.
How do I know if my fill tube is bad?
Common signs include constant running water, slow bowl refills, hissing sounds, or visible cracks in the tubing. You may also notice water trickling into the overflow tube when the tank is full. Removing the tube and inspecting it under bright light reveals hairline fractures, discoloration, or stiffness that signal replacement is needed.
Can I replace just the fill tube without changing the fill valve?
Yes, you can replace the fill tube independently if the fill valve itself works properly. Universal fill tubes are sold at most hardware stores and cost just a few dollars. However, if your fill valve is old or producing irregular pressure, replacing the entire assembly is often a better long-term solution.
How long does a toilet fill tube last?
A quality fill tube typically lasts 5 to 10 years depending on water quality, chemical exposure, and usage. Hard water and chlorine accelerate degradation. Annual inspections help you catch wear before leaks develop.
Why does my toilet keep running after replacing the fill tube?
If running continues after a fill tube replacement, the issue likely lies elsewhere. Check the flapper for proper sealing, inspect the float for correct adjustment, and verify the fill valve shuts off at the right water level. These components work together, and problems with any one of them can mimic fill tube failure.
Is fill tube toilet repair a DIY job or do I need a plumber?
Most fill tube repairs are straightforward DIY projects requiring no special plumbing skills. The job involves basic tools, simple hand movements, and about 30 minutes of time. Call a plumber only if you discover a more complex problem, such as a cracked tank or a failing fill valve that requires specialized tools.
Key Takeaways for Successful Fill Tube Toilet Repair

Fill tube toilet repair is one of the most accessible plumbing fixes for any homeowner. The three most important points to remember are proper tube positioning above the waterline, prompt replacement of cracked or worn tubing, and annual inspections to catch problems early. Always shut off the water and drain the tank before starting work, and test your repair with multiple flushes before considering the job complete.
Your next step is simple: gather a sponge, scissors, and a replacement tube, then set aside 30 minutes this weekend to inspect and repair your toilet. A small investment of time today prevents hundreds of gallons of wasted water and keeps your bathroom running smoothly for years to come.