
You flush your toilet dozens of times each week without thinking, until something goes wrong. A wobbly base, foul odor, or mysterious puddle around the floor often signals plumbing problems rooted in poor installation. So, how is a toilet plumbed correctly? It involves much more than setting a bowl on the floor and attaching a hose. Proper toilet plumbing connects waste removal, water supply, and a secure floor seal into one reliable system.
This guide walks you through every step of how toilet pipes are installed, from preparing the floor flange to testing for leaks. You will learn the key components involved, common mistakes that cause failures, and how to verify everything works before finishing the job. Whether you are replacing an old unit or plumbing a new bathroom, these steps ensure long-term performance.
Prepare the Installation Area
A clean, ready workspace prevents accidents and ensures accurate alignment.
Turn Off Water and Drain the Tank
Locate the shutoff valve on the wall or floor behind the toilet and turn it clockwise until it stops. Flush the handle to empty the tank and bowl. Use a sponge or towel to soak up remaining water in both areas so nothing spills during removal.
Remove the Old Toilet (If Replacing)
Unscrew the flexible supply line from the bottom of the tank. Pry off the plastic caps covering the floor bolts and remove the nuts with an adjustable wrench. Lift the toilet straight up without rocking, since tilting can crack the flange or spill wastewater. Set it on old towels or cardboard nearby.
Inspect the Floor Flange
The flange is the metal or plastic ring anchored to the drainpipe. It must sit level with or slightly above the finished floor. Check for cracks, rust, or misalignment. A damaged flange causes leaks, odors, and a wobbly toilet that never seals properly.
Pro Tip: If the flange sits below floor level, slide a flange spacer underneath before installing the wax ring. This restores proper height for a tight seal.
Install the Wax Ring for a Watertight Seal
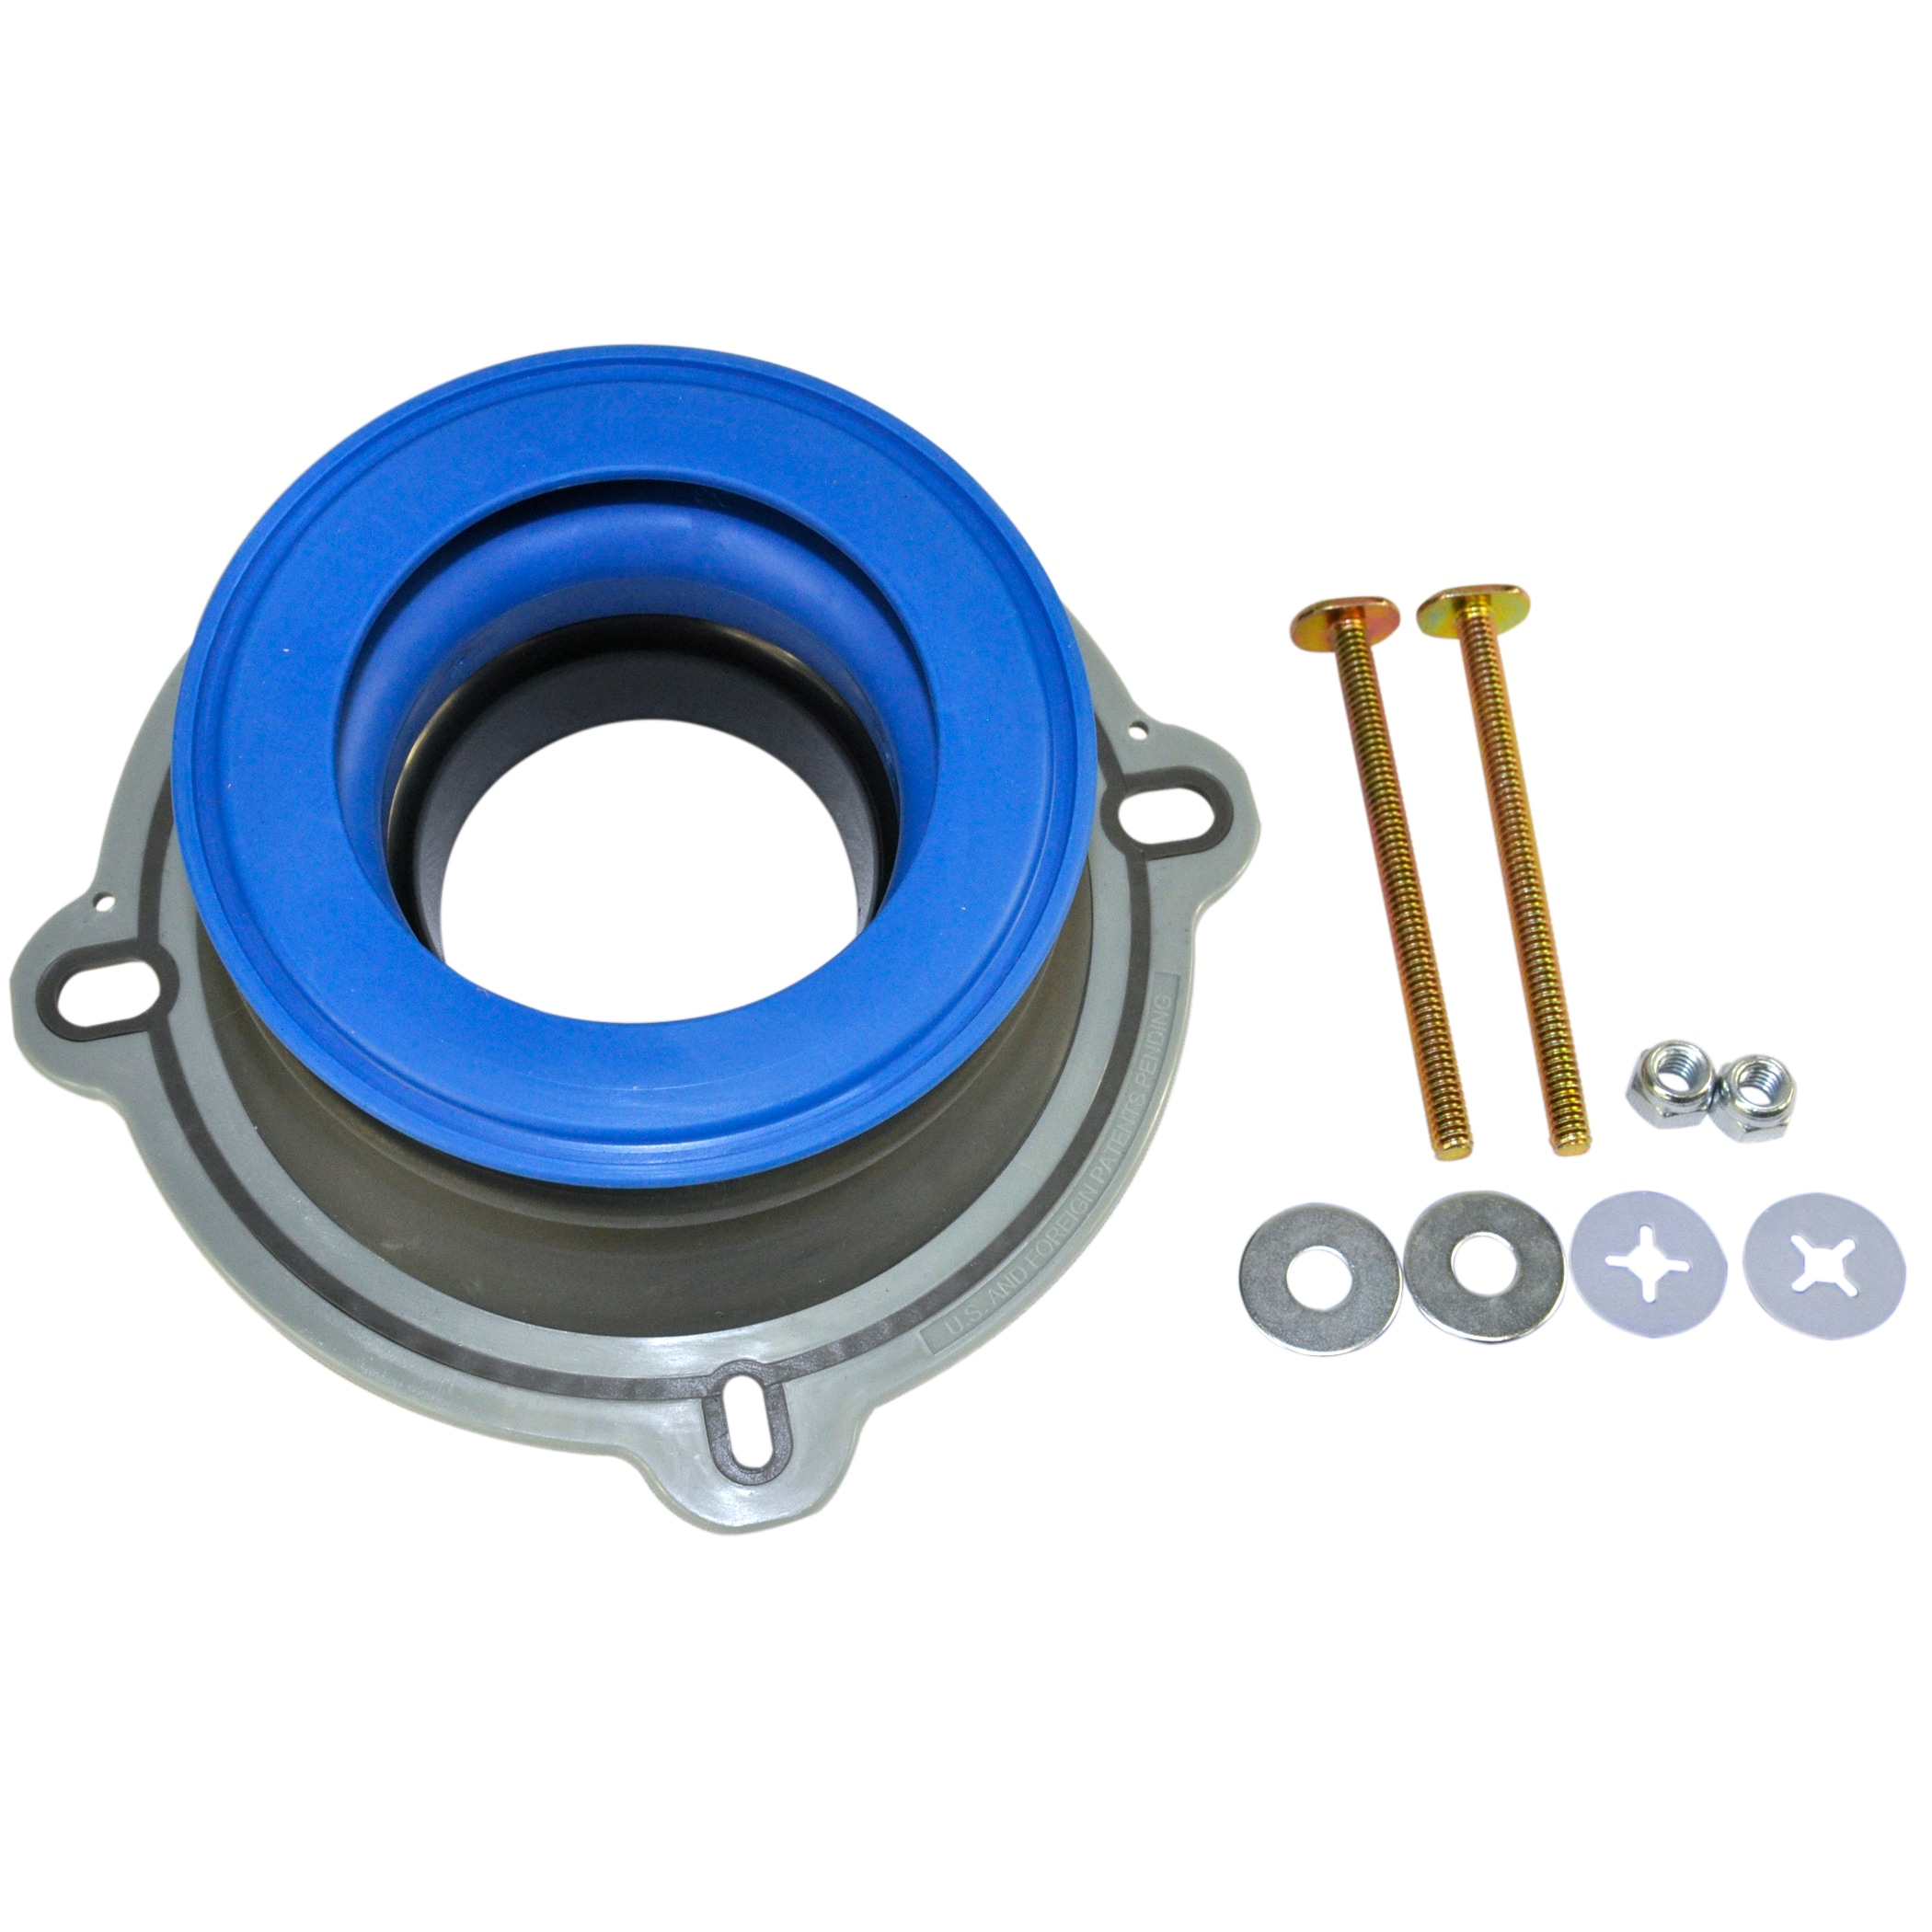
The wax ring creates the airtight, watertight barrier between your toilet and the sewer line.
Choose the Right Seal Type
Standard wax rings work for most installations on flat, level floors. For tile floors or slightly uneven surfaces, choose a wax ring with a plastic sleeve that funnels waste into the drain. In tight spaces or for repeat adjustments, a wax-free rubber gasket offers reusability and easier positioning.
Position the Ring Correctly
Press the wax ring firmly onto the flange hub, not onto the toilet horn. Center it perfectly so the bolts pass through cleanly. Cold or stiff rings do not seal well, so keep them at room temperature before use.
Warning: Never stack two wax rings together. This creates an uneven surface that traps waste and causes leaks.
Set the Toilet Over the Flange
Once the toilet touches the wax ring, movement can break the seal permanently.
Align Bolts With Base Holes
Slide closet bolts into the flange slots, positioning them parallel to the wall behind the toilet. Lift the toilet by the bowl, not the tank, and lower it straight down. Guide the base holes over the bolts while keeping the unit level.
Apply Even Pressure
Press down firmly with your body weight across the entire bowl. Do not rock or twist the toilet during this step. You should feel the wax compress evenly as the base meets the floor.
Visual Cue: A small amount of wax squeezing out around the base confirms a good seal. Large blobs mean over-compression and a weakened ring.
Secure the Toilet to the Floor
A stable toilet prevents rocking, leaks, and long-term damage to the seal.
Tighten Bolts Gradually
Slide a washer and nut onto each bolt. Tighten a quarter-turn at a time, alternating between sides to keep pressure even. This prevents cracking the porcelain base while ensuring a snug fit.
Stop When the Toilet Is Firm
Continue tightening only until the toilet stops rocking. Over-tightening is the leading cause of cracked bases. If the toilet still wobbles after the bolts are snug, slide plastic shims under the base to stabilize it before trimming them flush.
Pro Tip: Plastic shims cut easily with a utility knife and resist rot better than wood. Seal the gaps with silicone caulk after trimming.
Connect the Water Supply Line
Restoring water flow brings the flush mechanism back online.
Attach the Supply Line to the Fill Valve
Screw the braided stainless steel hose onto the threaded outlet at the bottom of the tank. Hand-tighten first, then add a quarter-turn with pliers. Avoid over-tightening plastic connectors, which can crack under pressure.
Connect to the Shutoff Valve
Attach the other end of the hose to the wall or floor valve. Turn the nut by hand until snug, then finish with pliers. A small drip here can waste hundreds of gallons over time.
Expert Note: Use a dielectric union when joining copper supply lines to galvanized valves. This prevents galvanic corrosion that deteriorates metal connections.
Test for Leaks and Proper Function
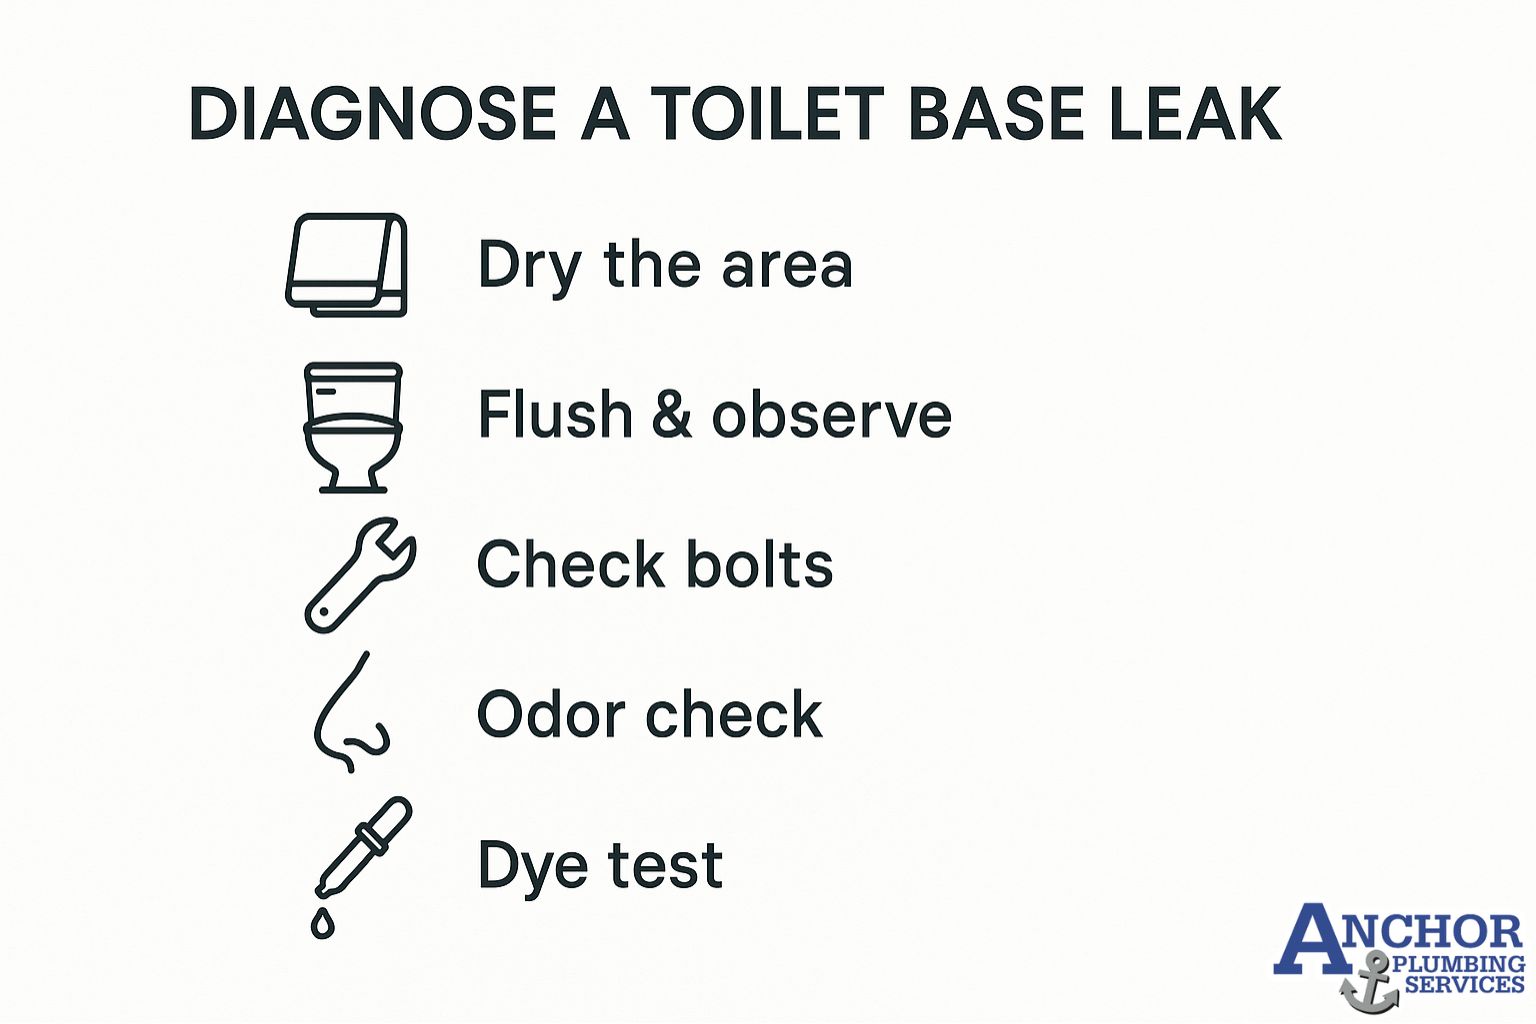
Skipping this step risks hidden water damage and mold growth behind walls.
Slowly Restore the Water Supply
Open the shutoff valve gently and let the tank fill. Watch the supply line connections and the tank-to-bowl gasket for any drips while the tank fills.
Flush Multiple Times
Flush at least three times to simulate normal household use. Place dry paper under the base and check it after each flush. Any moisture means the wax seal failed, and the toilet must be lifted and reseated.
Red Flag: Gurgling sounds or slow bowl emptying may indicate a clogged drain or blocked vent pipe. Check other fixtures to confirm whether the issue is isolated or systemic.
Make Final Adjustments and Finishing Touches
Clean details complete the installation and protect the plumbing long term.
Trim and Cap the Closet Bolts
Cut excess bolt length with a hacksaw, leaving about half an inch above the nut. Snap plastic caps over each bolt for a finished appearance and to prevent snags.
Caulk the Base (Optional but Recommended)
Run a thin bead of silicone caulk around the front and sides of the base, leaving the back portion open. This creates a clean look while allowing moisture to escape if a leak develops.
Code Note: Some local plumbing codes require an uncaulked section at the rear for visual leak detection during inspections.
Install the Tank Lid and Seat
Set the lid gently on the tank. Attach the seat using the included hardware, tightening just enough to hold it firm. Over-tightening seat bolts cracks the porcelain around the mounting holes.
Common Toilet Plumbing Mistakes to Avoid
Small errors during installation create big problems months later.
Using the Wrong Wax Ring
Rings that are too thick, too thin, or stored in cold conditions fail under pressure. Always match the ring thickness to the flange height and floor type.
Misaligned Flange Bolts
If the bolts shift while lowering the toilet, the base will not seat evenly. Use bolt guides or temporary caps to hold them vertical during installation.
Over-Tightening Tank Bolts
The tank connects to the bowl with two bolts and a rubber gasket. Tighten only until the gasket compresses slightly. Excessive force cracks the tank within weeks.
Ignoring Vent Stack Issues
Slow drains, gurgling, or trap siphoning often point to a blocked vent pipe on the roof. Clear debris from the vent opening to restore proper airflow and drainage.
How Toilet Drainage Works Behind the Wall
Understanding the hidden system helps you diagnose problems and plan upgrades.
Waste Flows to the Soil Stack
Flushed waste exits through the toilet horn into a 3 or 4 inch drainpipe. This pipe connects to the main soil stack, a vertical line that carries waste down to the sewer or septic tank.
The Internal Trap Blocks Sewer Gases
Every toilet contains a built-in P-trap that holds a small amount of water. This water barrier prevents sewer gases from rising through the bowl and entering your bathroom.
Vent Pipes Equalize Pressure
A vent pipe runs from the drain system up through the roof. It allows air to enter the system, preventing suction that could empty the trap or slow drainage.
Fun Fact: Without a vent pipe, flushing one toilet could siphon water out of another fixture’s trap, allowing sewer odors into the home.
When to Call a Professional Plumber

Some situations exceed the scope of a typical DIY project.
Flange Sits Below Floor Level
If the flange is recessed in concrete or sits too low, a standard wax ring cannot bridge the gap. A plumber can install a flange extender or repair coupling to restore proper height.
Sewer Line Damage Is Suspected
Persistent odors, multiple slow drains, or sewage backups signal deeper problems. A professional can perform a camera inspection to locate root intrusion, pipe collapse, or blockages.
Shutoff Valve Is Missing or Corroded
Replacing a stuck valve without specialized tools risks flooding. A licensed plumber can swap the valve safely and inspect the supply line for hidden wear.
Maintain Your Toilet Plumbing for Long-Term Reliability
Routine care prevents most emergency repairs.
Inspect the Supply Line Annually
Check the flexible hose for bulges, rust, or moisture. Replace braided lines every 5 to 7 years, or sooner if you notice any deterioration.
Avoid Harsh Chemical Cleaners
Bleach-based products degrade rubber flappers and corrode metal components over time. Use mild cleaners and frequent flushing to keep the bowl clean instead.
Listen for Running Water
A toilet that runs constantly wastes water and stresses internal parts. Check the flapper and fill valve first, since these are the most common causes of phantom flushing.
Frequently Asked Questions About Toilet Plumbing
What is the most important part of toilet plumbing?
The wax ring seal between the toilet base and the floor flange is the most critical component. It prevents wastewater leaks and blocks sewer gases from entering the bathroom. A failed wax ring causes floor damage, odors, and instability.
Can I install a toilet without a wax ring?
Yes, wax-free rubber gaskets offer a reusable alternative to traditional wax rings. They work well in tight spaces and allow repositioning during installation. However, standard wax rings still provide the most reliable long-term seal on flat floors.
How do I know if my toilet flange is bad?
Common signs include a wobbly toilet, water pooling around the base, or sewer odors in the bathroom. Visually inspect the flange for cracks, rust, or movement when you remove the toilet. Replace or repair any damaged flange before installing a new toilet.
Do all toilets have a built-in P-trap?
Yes, every standard toilet includes an internal P-trap molded into the porcelain. This curved channel holds water to block sewer gases. You do not need to install a separate P-trap under the toilet.
How long does toilet plumbing installation take?
A straightforward replacement takes 1 to 2 hours for someone with basic DIY experience. New installations with flange repairs or supply line upgrades may require 3 to 4 hours. Allow extra time for unexpected issues like corroded valves or damaged subflooring.
Should I caulk around the entire base of the toilet?
Most plumbers recommend caulking only the front and sides, leaving the back open. This creates a clean appearance while allowing water to escape visibly if the wax seal fails. Some local codes require this uncaulked gap for inspection purposes.
Key Takeaways for Plumbing a Toilet Correctly
Understanding how is a toilet plumbed gives you the confidence to install, troubleshoot, and maintain your bathroom fixture with professional results. Start with a solid flange inspection, choose the right wax ring for your floor type, and align the toilet carefully before securing it. Always test for leaks with multiple flushes before sealing the base, and remember that even small mistakes like over-tightened bolts or misaligned flanges cause major problems later.
Your next step is to gather your tools, shut off the water, and begin the installation using the steps outlined above. With careful preparation and attention to detail, your new toilet will provide years of reliable, leak-free service.