
A leaking toilet wastes water, drives up utility bills, and can quietly rot your subfloor for months before you notice. Whether you hear phantom refills, spot puddles at the base, or see drips from the supply line, most toilet leaks are fixable with basic tools and a few inexpensive parts. The trick is matching the symptom to the correct repair so you do not waste time and money on the wrong fix.
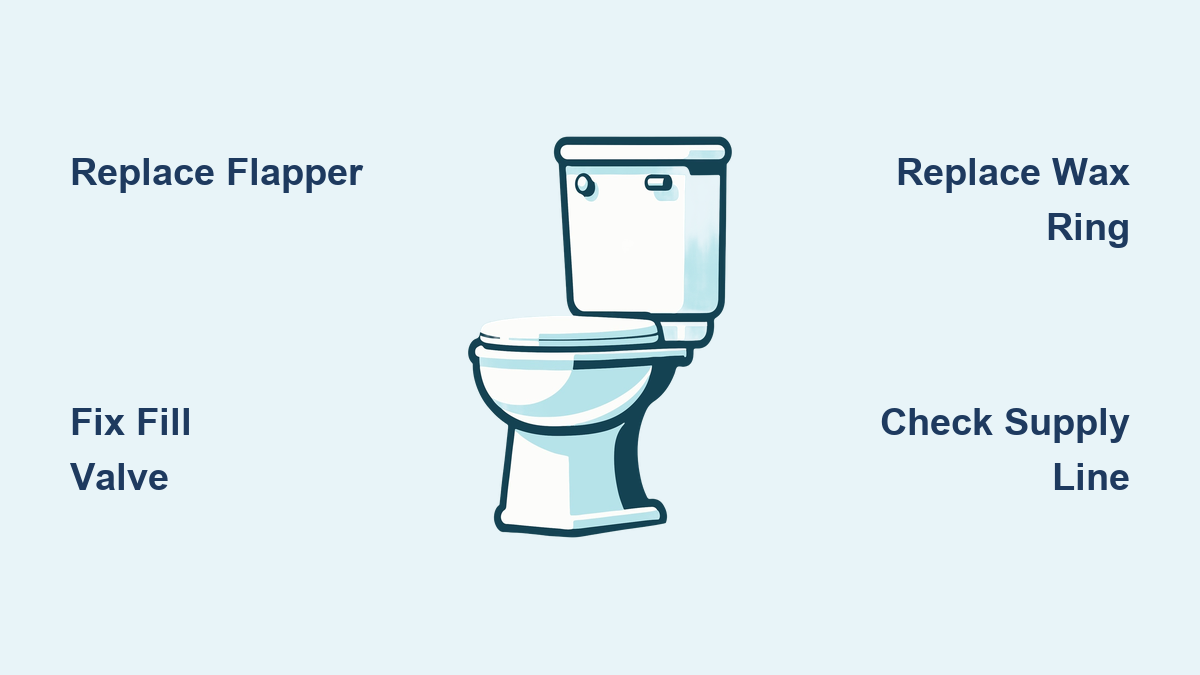
This guide walks you through diagnosing every common leak type, gathering the right supplies, and completing each repair step by step. You will learn how to swap a flapper, replace a fill valve, and install a new wax ring without calling a plumber. By the end, you will have the confidence to stop leaks fast and prevent them from coming back.
Diagnose Where Your Toilet Is Leaking

Before touching a single tool, you must identify the leak source. Misdiagnosis leads to buying the wrong parts and repeating the repair. Leaks fall into three main categories, and each one leaves different clues.
Signs of an Internal Tank Leak
If your toilet runs on its own or refills randomly, the problem lives inside the tank. No water on the floor usually means the leak is internal.
Water flowing into the overflow tube points to a fill valve that will not shut off or a water level set too high. Check whether the water line sits more than one inch above the tube rim. If it does, lower the float. If running continues, the fill valve needs replacement.
A toilet that refills intermittently without being flushed usually has a flapper that fails to seal. Mineral buildup or worn rubber prevents a tight closure. Add a few drops of food coloring to the tank water. If color appears in the bowl within 20 minutes without flushing, the flapper is leaking.
A faint hiss or gurgle often means water is slowly escaping past the flapper. A loud refill noise points to a worn fill valve or excessive water pressure. Both issues waste water and need prompt attention.
Signs of a Base or Floor Leak
Water on the floor around the toilet usually means the wax seal has failed or the toilet has come loose. These leaks can damage flooring and lead to mold if ignored.
Moisture pooling at the base, especially after flushing, indicates a compromised wax ring. Do not caulk around the base to hide the leak. Caulking traps water and violates plumbing codes. Instead, check for wetness at the back or sides of the toilet.
If water spots appear on the ceiling below the bathroom only when the toilet is flushed, the toilet-to-drain connection is failing. A tank leak would drip constantly, not just after use. The wax ring or flange is the likely culprit.
A base that stays dry during refill but gets wet after each flush confirms a wax ring failure. Water escapes through the drain connection only when pressure increases during a flush.
Signs of a Supply Line or External Leak
These leaks are the easiest to spot but can cause rapid damage if left alone.
Dripping where the flexible hose meets the wall shutoff or the fill valve means the supply line connection is loose. Tighten by hand first. If it still drips, replace the line with a braided stainless steel version for long-term reliability.
Moisture trickling down the back of the bowl often comes from worn gaskets under the tank bolts. Shut off the water, drain the tank, and replace the bolts and washers.
Hairline cracks in the tank or bowl are not repairable. Water seeping from a visible crack requires full toilet replacement. Inspect carefully with a flashlight before assuming the leak is fixable.
Gather the Right Tools and Parts
Having supplies ready before you start prevents frustrating mid-repair trips to the hardware store. Most fixes require only basic tools and inexpensive parts.
Essential Tools for Toilet Repair
Keep these items within reach before beginning any repair.
Adjustable pliers work for loosening supply nuts and tank bolts. Avoid overtightening, since plastic and porcelain crack easily.
A shop vac removes residual water from the tank and bowl quickly. A cup and sponge also work, but a shop vac is faster and cleaner.
A putty knife or plastic scraper removes old wax from the flange and toilet base. Plastic scrapers are safer because metal can scratch porcelain.
A hacksaw cuts corroded flange bolts or trims excess bolt length after reinstallation.
A bucket and towels catch drips during disassembly. Have several towels ready for base leak repairs.
Rubber gloves protect against bacteria when handling wax rings and sewer components.
A marker helps you note flange bolt positions before removal so you can realign the toilet perfectly during reinstallation.
A stick or probe tests the firmness of water-solidifying gel before lifting the toilet.
Replacement Parts You May Need
Buy the correct part for your specific issue. Mixing incompatible components causes new leaks.
A flapper replaces the rubber seal between the tank and bowl. Match the old flapper in size and attachment style. Universal kits exist, but verify the fit before buying.
A fill valve controls water intake. Modern models are adjustable and quieter than older versions. Replace it if water runs continuously into the overflow tube.
Wax rings come in several types. Choose based on your flange condition:
– Standard: works for flanges flush with the floor
– Double-thickness with horn: best for recessed or uneven floors, since the horn guides alignment and boosts reliability
– Waxless (rubber or plastic): cleaner install and reusable, but requires precise placement
A flange repair kit is needed if the closet flange is cracked, loose, or corroded. The kit includes a new ring and fasteners.
A water-solidifying product turns bowl water into gel, preventing spills when moving the toilet. This product is optional but highly recommended.
A complete repair kit includes tank bolts, washers, and gaskets. It is ideal if multiple components are corroded or leaking.
Fix Internal Tank Leaks Step by Step
:max_bytes(150000):strip_icc()/how-to-replace-a-toilet-fill-valve-2719039-hero-58ad6606e48748a0abf0c926bc261fcb.jpg)
Most running toilets come down to a bad flapper or fill valve. These repairs take under 20 minutes and cost less than $20 in parts.
Replace the Flapper
The flapper is the number one cause of phantom toilet leaks. Replace it every 3 to 5 years even if it looks fine, because rubber degrades over time.
Start by shutting off the water supply and flushing to drain the tank. Lift the old flapper off the two flush valve studs at the bottom of the tank. Detach the chain from the flush lever.
Use the old flapper as a template to match the new one. Slide the new flapper onto the studs and make sure it sits flat, covering the flush valve opening completely.
Reconnect the chain to the flush lever. Leave just a small amount of slack, about one-quarter inch. Too tight prevents sealing, and too loose prevents a full flush. Test by flushing and adjust until the flapper lifts completely and drops smoothly.
Wipe the flush valve seat with a cloth or fine sandpaper to remove mineral deposits. A clean seat ensures a tight seal.
Replace the Fill Valve
If water flows into the overflow tube, the fill valve is not shutting off properly. Replacing it solves the problem quickly.
Turn off the water supply and disconnect the supply line from the valve. Drain all water from the tank using a shop vac or sponge.
Unclip the refill tube from the overflow pipe. Loosen the retaining nut under the tank and lift out the old valve.
Slide the rubber washer onto the new valve shaft with the cone side facing down. Insert the valve from above and secure it with the retaining nut underneath. Hand-tighten only, since overtightening cracks plastic or porcelain.
Reattach the supply line and refill tube. Turn the water on and let the tank fill. Adjust the float so the water stops one-half to one inch below the top of the overflow tube.
Use the flow control knob on the valve to fine-tune performance. Turning left reduces noise, and turning right speeds up refill. Set it for a quiet, steady fill.
Fix Base Leaks by Replacing the Wax Ring
A leak at the base means the wax ring has failed. This repair takes about an hour but saves $100 to $200 in plumber fees.
Prepare and Remove the Toilet
Proper preparation prevents mess and floor damage.
Turn off the shutoff valve and flush while holding the handle to empty the tank. Use a shop vac to remove remaining water from both the tank and bowl.
Unscrew the supply line from the shutoff valve and keep a towel handy for drips.
If your tank is separate from the bowl, remove the bolts connecting them and set the tank aside safely.
Pop off the plastic caps at the base of the toilet and unscrew the flange nuts. If the nuts are corroded, cut the bolts with a hacksaw.
Gently rock the toilet side to side to break the wax seal. Do not twist, since twisting can damage the flange.
Lift the toilet straight up. It is heavy, so get help if needed. Keep it upright or invert it onto cardboard to avoid spills.
Clean and Inspect the Flange
A clean, stable flange ensures a long-lasting seal.
Stuff a rag into the open drain pipe to block sewer gases.
Use a putty knife to scrape all old wax from the flange and the toilet base. Bag the residue for easy disposal.
Inspect the flange for cracks, breaks, or loose mounting. A damaged flange requires a repair kit. If the flange sits below floor level, plan to use a double-thickness wax ring.
Insert new bolts into the flange slots and rotate them to lock in place. The bolts should stand upright and ready for reinstallation.
Install the New Wax Ring
Choose the right ring for your flange setup.
Use a standard ring if the flange sits flush with the floor. Use a double-thickness ring with a horn if the flange is recessed or the floor is uneven. Choose a waxless ring if you prefer cleaner installation and possible reuse.
Place the wax ring on the flange, centered over the drain. The horn, if present, must point down into the pipe.
Reinstall the Toilet
Alignment is critical during reinstallation. Missteps cause immediate leaks.
Lift the toilet and line up the base holes with the flange bolts. Lower it straight down without rocking.
Press down evenly by sitting on the toilet or applying steady weight. Do not shift or twist, since this can break the new seal.
Slide washers and nuts onto the bolts and tighten alternately, left then right, to avoid cracking the porcelain. Hand-tighten plus one-quarter turn with pliers at most.
Trim excess bolt length with a hacksaw and cover the bolts with new plastic caps.
Reconnect and Test
Final steps confirm a successful repair.
Reattach the supply line to the fill valve and hand-tighten only.
Open the shutoff valve slowly and watch for leaks at the base and connections.
Flush the toilet 3 to 5 times. Check the base and the floor below for moisture. If everything stays dry, the seal is good.
Remove the drain rag only after confirming no leaks.
Prevent Future Toilet Leaks

Regular maintenance stops small issues from becoming expensive problems.
Replace the flapper every 3 to 5 years as routine maintenance. Rubber degrades over time, and proactive replacement costs under $10.
Check the toilet for wobble regularly. A loose toilet breaks the wax seal quickly. Tighten the bolts or shim the base if it rocks, but never overtighten.
Listen for running sounds and address them immediately. Use the dye test monthly if you suspect a slow leak.
Inspect the base monthly for discoloration, soft flooring, or dampness. Early detection prevents costly subfloor damage.
Upgrade to a braided stainless steel supply line. These hoses resist bursting and last decades longer than rubber versions.
Frequently Asked Questions About Fixing a Leaking Toilet
What is the most common cause of a leaking toilet?
A worn flapper is the most common cause. It fails to seal properly, allowing water to leak from the tank into the bowl continuously. Replacing the flapper solves most running toilet problems and costs under $10.
How do I know if my wax ring needs replacement?
Water pooling at the base of the toilet, especially after flushing, usually means the wax ring has failed. Water spots on the ceiling below the bathroom that appear only after flushing confirm the problem. A dry base during refill but wet after flush is another clear sign.
Can I fix a leaking toilet without a plumber?
Yes, most toilet leaks are DIY-friendly. Flapper and fill valve replacements take under 20 minutes with basic tools. Wax ring replacement takes about an hour and saves $100 to $200 in professional fees. Cracked porcelain is the one issue that requires full replacement.
How much water does a leaking toilet waste?
A constantly running toilet can waste 200 gallons or more per day. Even a small flapper leak adds up to thousands of gallons per month. Fixing leaks quickly protects both your wallet and your local water supply.
How long does a wax ring last?
A properly installed wax ring can last decades without failure. However, any movement of the toilet, such as wobbling or shifting, can break the seal. Replace the ring whenever you remove the toilet for any reason, including flooring renovations.
Why does my toilet still run after replacing the flapper?
Check the chain tension first. Too tight prevents sealing, and too loose prevents a full flush. Also inspect the flush valve seat for mineral buildup that can prevent a tight seal. Clean the seat with a cloth or fine sandpaper if needed.
Key Takeaways for Fixing Your Leaking Toilet

Start by identifying the leak source through careful observation. Internal tank leaks need flapper or fill valve work, while base leaks require wax ring replacement. Supply line issues are usually the simplest fix.
Gather the right tools and parts before starting. Having everything ready prevents mid-repair delays and ensures you complete the job in one session.
Follow the step-by-step procedures for each repair type. Take your time, hand-tighten connections, and avoid overtightening to prevent cracking porcelain or plastic components.
Test thoroughly after every repair. Flush multiple times and inspect the base and surrounding floor for moisture before considering the job complete.
Your next step is to diagnose your specific leak using the symptoms described above, then gather the matching parts and tools. Most toilet repairs take less than an hour and pay for themselves the first time you avoid a plumber visit.