
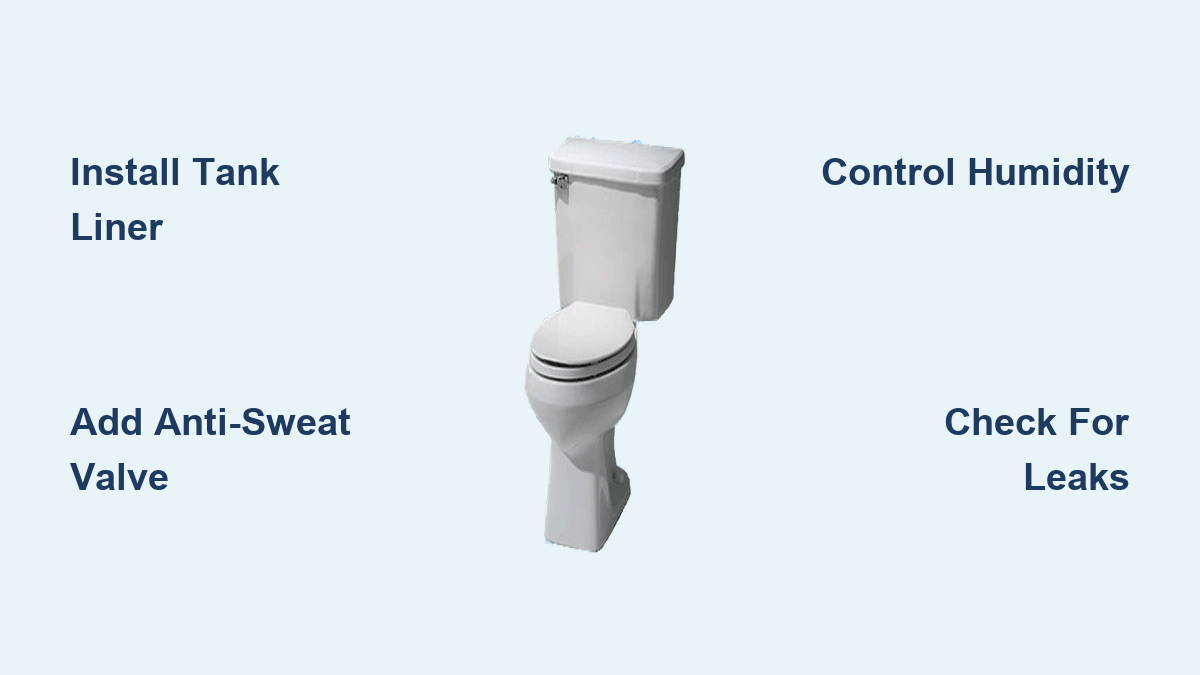
You walk into your bathroom and spot a puddle forming around the toilet base. The floor feels damp, the tank looks misty, and you wonder if there’s a hidden leak. Relax. Your toilet is not leaking. It is sweating. This common household problem happens when cold water inside the tank meets warm, humid bathroom air, causing moisture to condense on the exterior surface like droplets on a cold glass of lemonade.
Knowing how to fix a sweating toilet saves you from mold growth, damaged flooring, and slippery hazards. This guide covers three reliable solutions: installing an insulated tank liner, adding an anti-sweat valve, and controlling bathroom humidity. Each method targets the root cause of condensation and varies in cost, difficulty, and long-term effectiveness.
Why Toilets Sweat and What Causes the Condensation
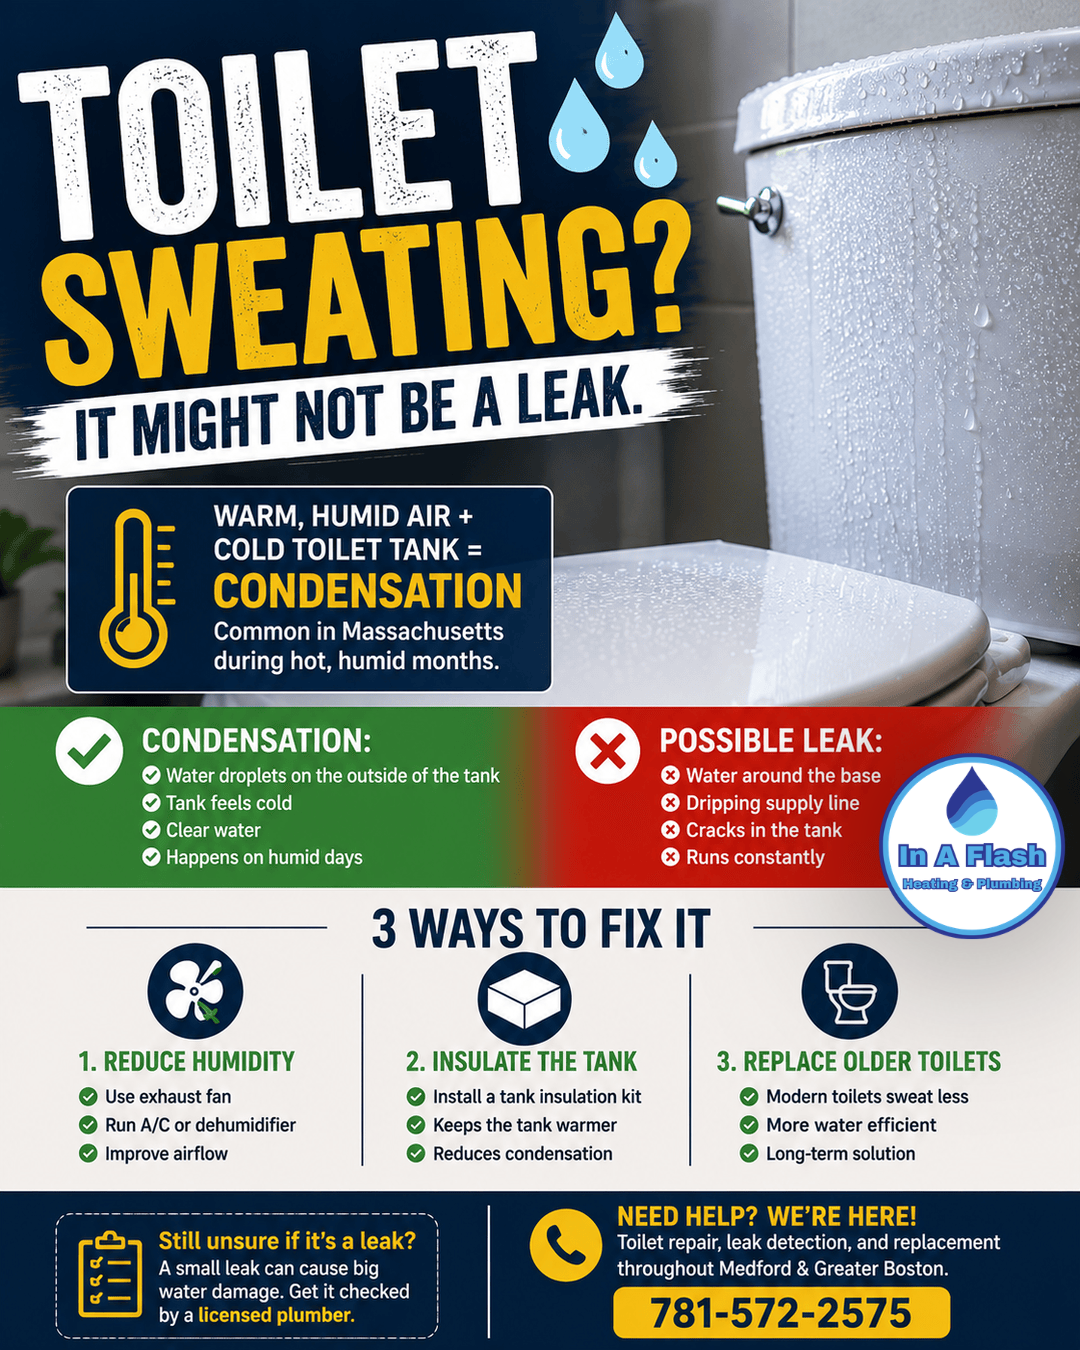
Toilet tank sweating is a physics problem, not a plumbing failure. Cold water fills the tank after every flush, dropping the interior surface temperature well below the surrounding air. When warm, moisture-laden air contacts that cold porcelain or plastic, water vapor condenses into visible droplets on the outside.
Common Triggers That Make Toilet Sweating Worse
Several environmental factors amplify the problem:
- High humidity from showers, baths, or poor ventilation
- Hot summer weather that increases indoor moisture levels
- Cold groundwater entering the supply line during winter
- Bathrooms without exhaust fans or windows
Real Risks of Ignoring a Sweaty Toilet
That small puddle is not harmless. Over time, persistent moisture damages linoleum, loosens ceramic tiles, and weakens subflooring. It also creates the perfect breeding ground for mold and mildew, which can spread to walls and cabinetry. A slippery floor near a toilet is also a genuine fall hazard, especially for kids and elderly family members.
Install a Toilet Tank Liner (Easiest DIY Fix)

A self-adhesive foam liner creates a thermal barrier between the cold water and the tank walls. This is the fastest, cheapest, and most beginner-friendly way to fix a sweating toilet without touching your plumbing.
How a Tank Liner Stops Condensation
The liner insulates the tank interior, keeping the outer walls closer to room temperature. With no cold surface for warm air to condense against, droplets never form. The tank stays dry even during the steamiest showers.
Tools and Materials You Will Need
Gather these items before starting:
- Self-adhesive toilet tank liner (sold in pairs online or at hardware stores)
- Scissors or a utility knife
- Clean towels or paper towels
- Window cleaner spray (optional, for repositioning)
- Measuring tape
Most kits cost under $20 and fit standard two-piece toilets. Confirm your tank dimensions before purchasing.
Step-by-Step Installation Process
- Turn the shutoff valve clockwise to stop the water supply.
- Flush the toilet and hold the handle down to empty the tank.
- Wipe the interior walls and bottom with towels until completely dry.
- Let the tank air-dry for 2 to 3 hours to ensure full adhesion later.
- Measure the interior height and width of the tank.
- Unroll the liner and trim pieces to fit each wall, leaving extra for corners.
- Spray window cleaner on the tank walls if you want extra repositioning time.
- Peel the backing and press the liner firmly onto one wall, working from bottom to top.
- Smooth out air bubbles with your hand or a credit card.
- Repeat for the opposite wall and back panel.
- Cut small pieces to cover corners and around the flush mechanism.
Avoid covering moving parts like the fill valve or flapper chain. Once installed, turn the water back on and refill the tank.
Verify the Fix Worked
Wait 15 to 30 minutes after refilling, then check the tank exterior. If no moisture appears, the liner is doing its job. If sweating persists, check for gaps near the waterline or loose edges that need extra pressing.
Pro Tip: Replace the liner every 5 to 7 years. Repeated flushing gradually weakens the adhesive, especially near the waterline.
Add an Anti-Sweat Valve to Mix in Warm Water
When insulation alone is not enough, an anti-sweat valve tackles the problem at its source. This temperature-balancing valve mixes a small amount of hot water into the cold supply line, raising the tank temperature just above the dew point.
How Anti-Sweat Valves Eliminate Condensation
Instead of fighting the temperature difference, this valve eliminates it. By blending hot and cold water, the tank fills with lukewarm water that matches the bathroom air more closely. Condensation cannot form because there is no cold surface for moisture to cling to.
Access the Cold Water Supply Line
This fix requires access beneath the toilet, usually from a basement, crawl space, or behind an access panel. Locate the cold water supply line that feeds the fill valve. Confirm it connects to the main cold water system before proceeding.
Warning: If your bathroom sits on a concrete slab with no below-floor access, this method may require professional help or wall modifications.
Install the Valve with Compression Fittings
- Shut off the main water supply to the house.
- Open a downstream faucet to drain residual pressure.
- Cut the cold supply line with a tubing cutter.
- Slide compression nuts and ferrules onto both pipe ends.
- Attach the valve inlet and outlet to the cut sections.
- Tighten the compression nuts with an adjustable wrench.
Do not over-tighten. Hand-tight plus a quarter turn is usually enough. Over-tightening can crack fittings or damage the valve body.
Adjust the Valve for Minimum Hot Water Use
Open the adjustment screw fully, restore water flow, and flush the toilet. Watch the tank for condensation. If sweating stops, gradually close the valve until condensation just barely returns, then open it slightly again. This dial-in approach uses the least hot water necessary while keeping the tank dry.
Energy-Saving Tip: Use only enough hot water to stop the sweating. A small mix is all you need, and overusing hot water wastes energy without improving results.
Check the valve monthly and readjust seasonally as humidity levels change.
Control Bathroom Humidity to Prevent Moisture Buildup
Sometimes the real problem is the room, not the toilet. High humidity makes condensation inevitable, even on a well-insulated tank. Controlling the environment adds another layer of protection.
Run an Exhaust Fan During and After Showers
Showers pump massive amounts of steam into the air, raising humidity to 80% or higher. Without ventilation, that moisture lingers and condenses on every cold surface in the room.
- Turn on the exhaust fan before you start showering.
- Keep it running for 20 to 30 minutes after you finish.
- Make sure the fan vents outside, not into an attic or crawl space.
- Clean the fan grille every few months to maintain strong airflow.
Use a Dehumidifier in Damp Bathrooms
In basements, humid climates, or windowless bathrooms, passive ventilation may not be enough. A portable dehumidifier actively pulls moisture from the air and keeps relative humidity between 40% and 50%.
Place the unit near the toilet and run it during peak humidity hours. Empty the water tank daily or attach a continuous drain hose for hands-free operation.
Open Windows When Weather Permits
Natural ventilation equalizes indoor and outdoor temperatures while flushing out moist air. On dry, breezy days, crack open a bathroom window to create cross-ventilation. Skip this step during rain or muggy weather, since outdoor humidity will make the problem worse.
Compare All Three Fixes Side by Side
Choosing the right method depends on your budget, skill level, and home layout. This table breaks down the key differences:
| Feature | Tank Liner | Anti-Sweat Valve | Humidity Control |
|---|---|---|---|
| Cost | Under $20 | $30 to $60 | $50 to $200 |
| Installation Difficulty | Easy DIY | Moderate plumbing | Easy plug-in |
| Time Required | 15 minutes plus drying | 30 to 60 minutes | Instant setup |
| Energy Use | None | Minimal hot water mix | Moderate electricity |
| Best For | Renters, quick fixes | Permanent homes, severe cases | High-humidity zones |
Quick Recommendation:
– Renting or want a fast fix? Use a tank liner.
– Own your home with basement access? Install an anti-sweat valve.
– Live in a humid climate? Combine a liner plus a dehumidifier.
Quick Checks to Confirm It Is Condensation and Not a Leak
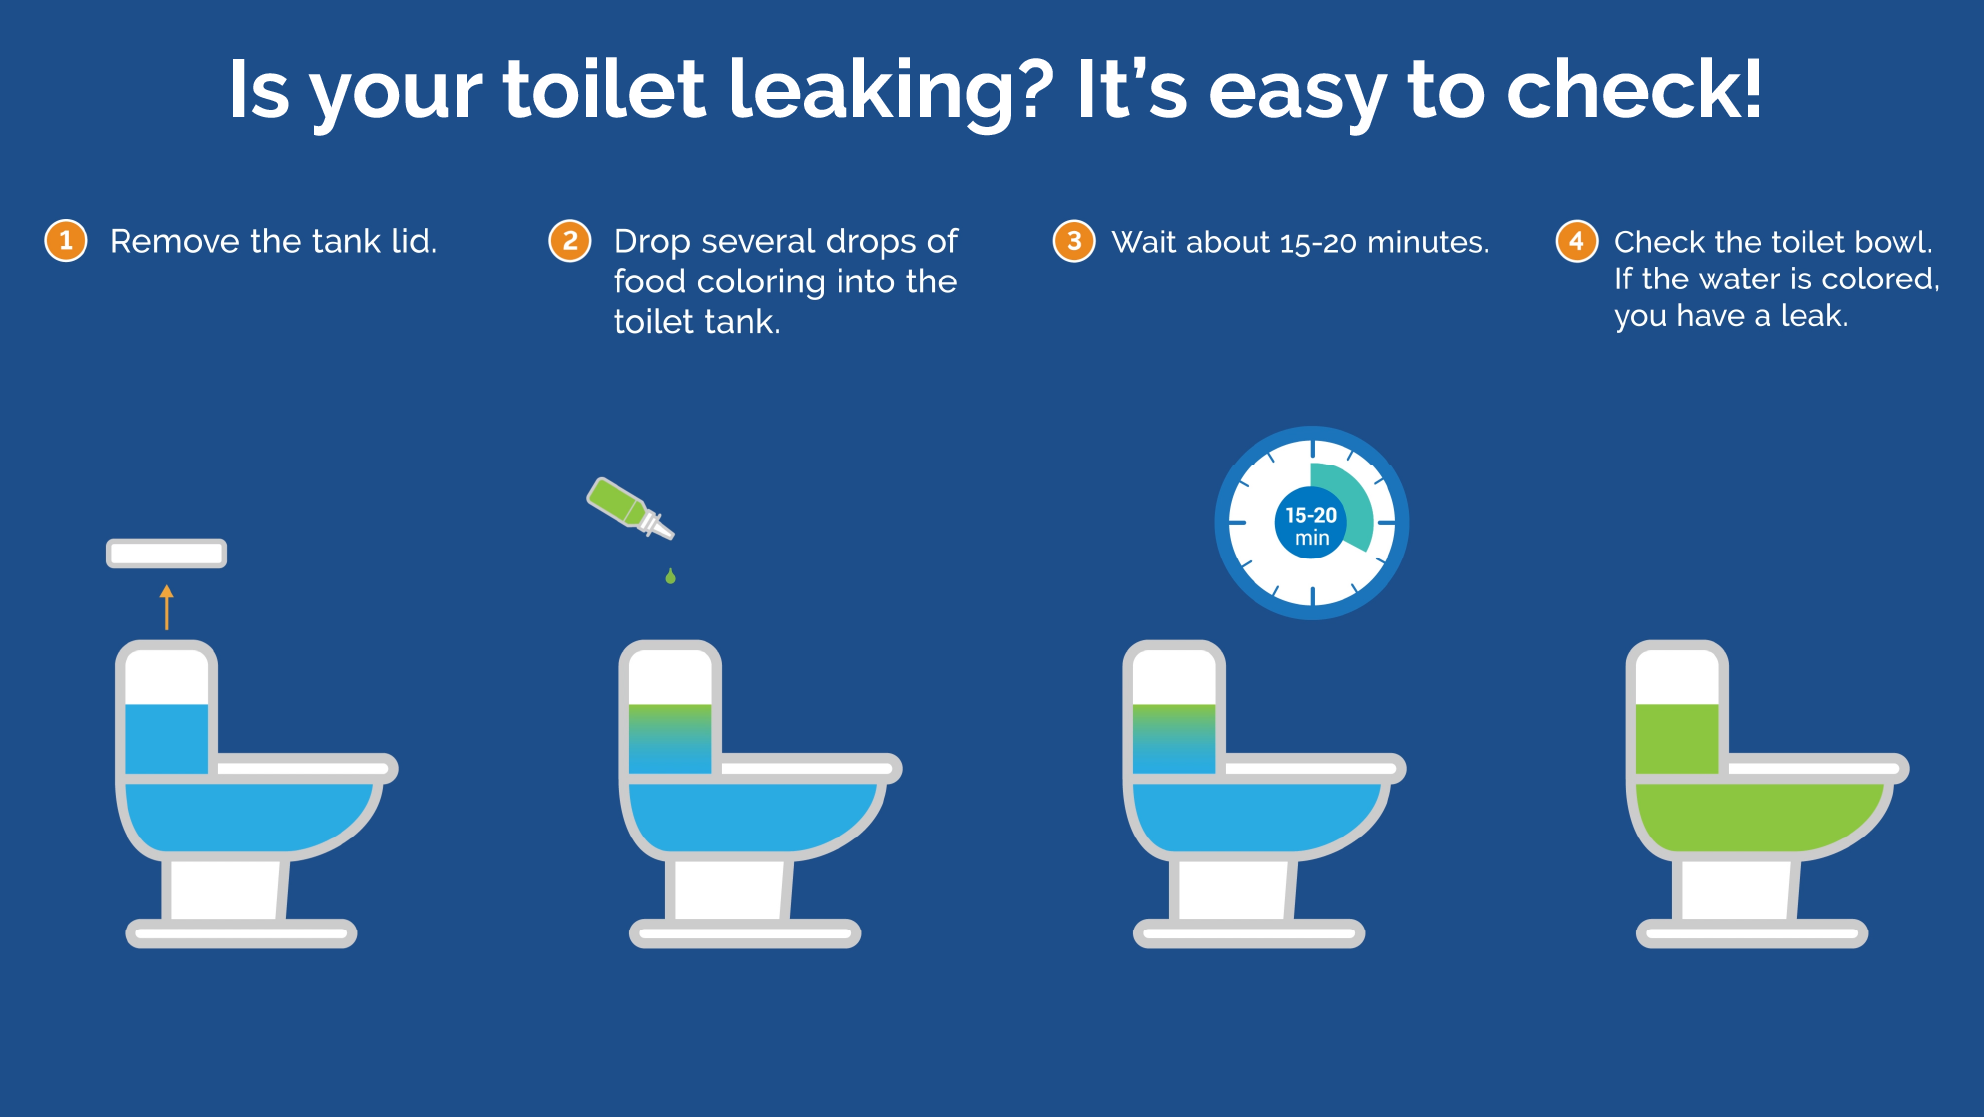
Before treating the problem as condensation, rule out an actual leak. Misdiagnosing a leak as sweating leads to water damage that grows worse over time.
How to Tell the Difference
- Condensation covers the entire tank surface evenly and dries within hours.
- Leaks produce a steady drip from a specific spot, like the base, supply line, or tank bolts.
Inspection Steps
- Dry the tank and floor completely with towels.
- Place fresh paper towels under the supply line and around the base.
- Wait two hours without flushing.
- Check the towels for wet spots.
If the towels stay dry, you are dealing with condensation. If they get wet in one location, you likely have a leak that needs a different repair.
Long-Term Maintenance Tips to Keep Your Toilet Dry
A successful fix today does not guarantee a dry toilet forever. Seasonal changes, aging parts, and shifting humidity levels can bring sweating back.
Inspect Components Every Few Months
- Check liner edges for peeling, especially near the waterline.
- Test the anti-sweat valve by looking for condensation after a flush.
- Clean exhaust fan grilles and replace dehumidifier filters as needed.
Combine Methods for Stubborn Cases
If one solution does not fully solve the problem, stack them. A tank liner plus an exhaust fan covers most situations. In extreme humidity, add a dehumidifier on top of an anti-sweat valve. Multiple layers ensure no condensation forms, even during the worst summer weather.
Watch for Early Warning Signs
Stay alert for soft floor spots, discoloration around the base, or musty odors. These signs mean moisture is reaching surfaces it should not, even if the tank itself looks dry.
Frequently Asked Questions About Sweating Toilets
Why does my toilet tank sweat but the bowl does not?
The tank holds standing water that stays cold between flushes. The bowl refills with fresh water and empties quickly, so it rarely gets cold enough to cause condensation. This is why tank sweating is far more common than bowl sweating.
Can I use a tank liner on a plastic toilet tank?
Yes. Self-adhesive liners work on porcelain, metal, and plastic tanks. Just make sure the interior surface is completely clean and dry before applying the adhesive. Plastic tanks may need extra drying time since they do not breathe the way porcelain does.
How long does a toilet tank liner last before needing replacement?
Most liners last 5 to 7 years with normal use. Adhesive weakens over time due to constant water exposure and repeated flushing. Inspect the edges every year and reattach or replace any sections that start peeling.
Will an anti-sweat valve increase my water heating bill?
The increase is minimal. The valve mixes only enough hot water to raise the tank temperature just above the dew point. Most homeowners report a barely noticeable change in their energy bills, especially compared to the cost of repairing water-damaged flooring.
Is a sweating toilet dangerous?
The water itself is not dangerous, but the consequences can be. Persistent moisture promotes mold growth, damages flooring, and creates slippery surfaces. Addressing the problem quickly protects both your home and your family’s health.
Can I fix a sweating toilet without turning off the water?
No. Every method requires draining the tank first, which means shutting off the supply valve. Trying to work on a full tank leads to spills, poor adhesion, and potential injury. Always shut off the water and drain the tank before starting any repair.
Key Takeaways for Fixing Your Sweating Toilet
A sweating toilet is a solvable problem, and you do not need to replace the entire fixture. The three most effective fixes are a tank liner for quick DIY results, an anti-sweat valve for permanent plumbing-based solutions, and humidity control for environmental management. Each method addresses the same root cause: the temperature gap between cold tank water and warm bathroom air.
Start by confirming the moisture is condensation and not a leak. Then choose the method that matches your budget, skill level, and home layout. For most homeowners, a $20 tank liner solves the problem within an afternoon. For stubborn cases or high-humidity climates, combining two or three methods delivers the best long-term protection.
Your next step is simple: pick up a tank liner from your local hardware store or order one online today. Within a few hours, your toilet will stay dry, your floors will stay safe, and your bathroom will finally be free of that mysterious puddle.