
You’ve just used your bidet and noticed water pooling in the bowl, or you’re preparing an electronic seat for maintenance and want to avoid leaks. Either way, knowing how to drain a bidet properly is essential for hygiene, safety, and system longevity. This guide covers every method, tool, and troubleshooting tip you need to keep your bidet functioning smoothly.
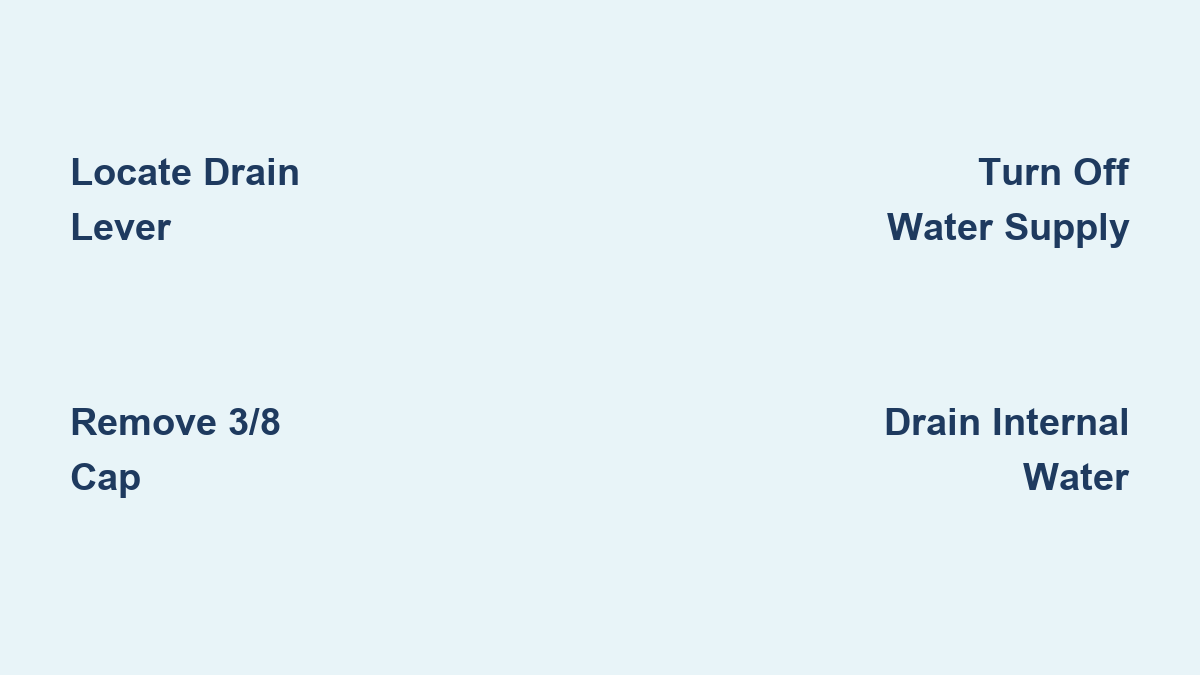
Locate the Drain Mechanism
Before any water can be removed, you must identify how your bidet is designed to drain. The process differs significantly between standalone units and electronic seats.
Identify Your Bidet Type
Standalone bidets are common in Spain, Italy, and France. They look like small toilets or sinks and hold water for washing. These require manual drainage after each use. Electronic bidet seats attach to existing toilets and don’t fill with water, but they may retain residual moisture internally during servicing. Misidentifying your unit leads to confusion and wasted effort.
Check for Rear-Mounted Lever (Standalone Units)
On most standalone bidets, the drain is operated by a pop-up lever at the back of the basin. It’s typically 1 to 2 inches long, made of metal or plastic, and blends into the design. Push or lift it to open the hidden plug beneath the rim.
If no lever is visible, inspect the overflow area or under the rim. Some models use a foot pedal connected to a rod that lifts the internal stopper. Step down firmly to release water.
Pro Tip: Never insert fingers into used or hot water to manipulate the drain. This poses hygiene and scalding risks. Always use the designated lever or pedal.
Drain a Standalone Bidet Basin
This process applies to traditional plumbed-in bidet fixtures used for personal washing.
Activate the Pop-Up Drain
Once you’ve located the lever or button, operate it correctly. For lever models, lift or push the lever at the back of the basin. For push-button models, press down firmly on the center-top button. For foot pedal models, step on the floor-mounted pedal. The internal pop-up plug should rise, allowing water to flow into the waste pipe. Wait until the basin is fully empty.
Visual Cue: Water will gurgle as it drains. This confirms the trap is working. If no sound occurs, the drain may be clogged or the lever disconnected.
Clear a Clogged Drain
If water remains after activation, take these steps:
• Use a plunger to dislodge blockages
• Insert a drain snake if hair or debris is suspected
• Clean the overflow hole with a brush and mild detergent
Avoid chemical drain cleaners. They can damage porcelain or internal seals.
Common Mistake: Forcing the drain plug manually. This can misalign the linkage. Always use the lever system as intended.
Drain an Electronic Bidet Seat
Electronic seats like the TOTO Washlet or Kohler K-4709 don’t store water for bathing, but internal components contain residual water that must be drained before repairs, winterization, or replacement.
Turn Off Water Supply First
Never skip this step. Locate the shut-off valve behind or beside the toilet. Turn it clockwise until tight. Flush the toilet once to relieve pressure in the line. Failure to cut water increases the risk of flooding during disassembly.
Find the 3/8″ Drain Cap
At the rear of the bidet seat, look for a small round plastic cap, approximately 3/8 inch in diameter. It’s usually white or black and sits flush with the housing. This cap covers a drain port used to evacuate water from the internal reservoir, hoses, and spray nozzles.
Note: On the Kohler K-4709, this cap is recessed and easily overlooked. Run your finger along the back edge to feel for it.
Remove Cap and Drain Water
Grasp the cap with your fingers or a soft tool like a plastic pick. Pull straight out. Do not twist. Tilt the seat slightly forward to encourage water to flow out. Place a bowl or rag underneath to catch drips. Allow 3 to 5 minutes for complete drainage. You may hear dripping for several minutes afterward.
Warning: Never force the cap. If stuck, gently wiggle side-to-side. Mineral buildup can cause adhesion. Apply a drop of silicone spray if needed.
Alternative: Disconnect Supply Hose

If residual water remains, especially in cold climates where freezing is a concern, disconnect the supply hose for full evacuation.
Loosen the Inlet Nut
Using an adjustable wrench or pliers, follow these steps:
• Locate the flexible hose connecting the bidet seat to the toilet’s water supply
• Place a small container beneath the connection point
• Loosen the nut securing the hose to the bidet inlet
• Briefly open the shut-off valve to flush remaining water, then close again immediately
• Reconnect and tighten the hose securely
Expert Note: A contractor advised loosening the nut on the hose that supplies the bidet seat and collecting the water. This ensures complete removal of trapped moisture.
Dry Internal Lines (Optional)
For long-term storage or winterization, use compressed air at low pressure to blow out remaining moisture. Alternatively, use a shop vac with a narrow nozzle to suction water from internal tubing. This prevents mold, mineral buildup, and pipe rupture from freezing.
Reassemble and Test
After draining, restore the system carefully.
Reinstall Drain Cap
Push the 3/8″ cap back into place until it clicks or seats flush. Ensure it’s fully seated to prevent leaks.
Restore Water and Power
Follow these steps to restore function:
• Turn the shut-off valve counterclockwise to restore water flow
• Power on the bidet seat if applicable
• Run a test cycle: activate rear or front wash to check for proper spray and drainage
Troubleshooting Tip: If the nozzle doesn’t spray, air may be trapped. Run the self-cleaning cycle or briefly open the supply valve to purge air.
Troubleshoot Common Drain Issues
Even with correct steps, problems can arise. Here’s how to fix them fast.
Water Won’t Drain (Standalone Unit)
The cause is either a lever not engaged or a clogged drain. Confirm lever movement. If there’s no resistance, the linkage may be broken. Inspect under the basin or consult a plumber.
Cap Won’t Come Out (Electronic Seat)
The cap is stuck due to age, mineral deposits, or over-tightening. Apply gentle side-to-side wiggling motion. Use silicone lubricant. Never use metal tools that could crack the housing.
Leak After Reassembly
A loose hose connection or damaged O-ring is the cause. Re-tighten fittings. Inspect rubber seals for cracks and replace if necessary.
No Spray After Draining
An airlock or clogged nozzle is likely the issue. Run the bidet’s automatic nozzle cleaning cycle. Flush the line by briefly opening the water supply while disconnected.
Prevent Freezing in Cold Climates
If your bidet seat is in an unheated space like a vacation home, drain it completely before freezing temperatures hit.
Winterize in 3 Steps
Take these actions annually if the bathroom lacks heat in winter:
• Shut off water supply
• Remove rear drain cap and drain all internal water
• Disconnect and drain supply hose
• Optionally blow out lines with compressed air
Leaving water inside can lead to cracked valves or burst hoses when frozen.
Maintain Bidet Drainage Systems
Regular upkeep prevents clogs, leaks, and mechanical failure.
Clean Monthly
• Wipe down the drain lever or button on standalone units
• Remove soap scum and mineral buildup with vinegar and a soft cloth
• For electronic seats, run a descaling solution through the system every 3 to 6 months
Inspect Annually
• Check supply hoses for bulges, cracks, or leaks
• Confirm drain cap seals tightly
• Verify lever operation on standalone models
Know Regional Design Differences
Bidet designs vary globally. What works in Rome may not apply in Tokyo.
European Standalone Bidets
In Spain and Italy, expect a rear lever or foot pedal. These are often mistaken for sinks by tourists. There’s no visible front drain; look behind the basin.
North American and Japanese Electronic Seats
These units don’t fill a basin. Drainage is only for servicing. The internal 3/8″ rear cap is standard on models like Kohler K-4709. There are no user-serviceable parts beyond the cap and hose.
Design Insight: The lack of intuitive drain controls causes widespread confusion. Property managers should post simple guides near units.
Follow Safety and Hygiene Rules
Protect yourself and your plumbing with these critical precautions.
Never Insert Hands in Hot Water
Attempting to manually open the drain exposes you to scalding and contamination. Always use the lever or pedal.
Use Non-Abrasive Cleaners
Harsh chemicals or scrubbers can damage plastic caps, levers, or seals. Stick to mild detergents or vinegar solutions.
Wear Gloves When Servicing
When handling internal components or wastewater, wear disposable gloves to maintain hygiene.
When to Call a Professional
Some issues go beyond DIY fixes.
Seek Expert Help If
• The internal linkage is broken
• Water leaks persist after reassembly
• You’re uncomfortable disconnecting water lines
• The bidet fails after proper drainage
Most brands including TOTO, Kohler, and Brondell offer phone or online chat support with certified technicians.
Frequently Asked Questions About Draining a Bidet
How do I drain a standalone bidet basin?
Locate the lever at the back of the basin. Push or lift it to open the pop-up drain. Wait for water to fully drain. If no lever exists, check for a foot pedal near the base.
Where is the drain on an electronic bidet seat?
The drain is a 3/8-inch plastic cap at the rear of the seat. Turn off water supply first, then pull the cap straight out to release internal water.
Why won’t my bidet drain water?
For standalone units, the lever may not be engaged or the drain could be clogged. For electronic seats, the drain cap might be stuck due to mineral buildup. Try wiggling the cap gently or using a mild lubricant.
Can I use chemical drain cleaners on a bidet?
No. Chemical drain cleaners can damage porcelain finishes and internal seals. Use a plunger or drain snake instead, or clean the overflow hole with vinegar and a soft brush.
Do I need to drain my bidet before winter?
Yes, if your bidet is in an unheated space. Drain all internal water from electronic seats and disconnect the supply hose to prevent freezing and pipe damage.
What should I do if water leaks after draining and reassembling?
Check that the drain cap is fully seated. Inspect hose connections for tightness. Replace any damaged O-rings or seals. If leaks persist, contact a professional plumber.
Key Takeaways for Draining Your Bidet

Draining a bidet is simple once you know where to look. For standalone units, check the back for a lever rather than the front. For electronic seats, pull the 3/8-inch rear cap after shutting off the water. Avoid forcing any parts, always dry internal lines in cold weather, and maintain your system regularly. With these steps, you’ll prevent clogs, leaks, and freeze damage, keeping your bidet clean, safe, and functional for years to come.