
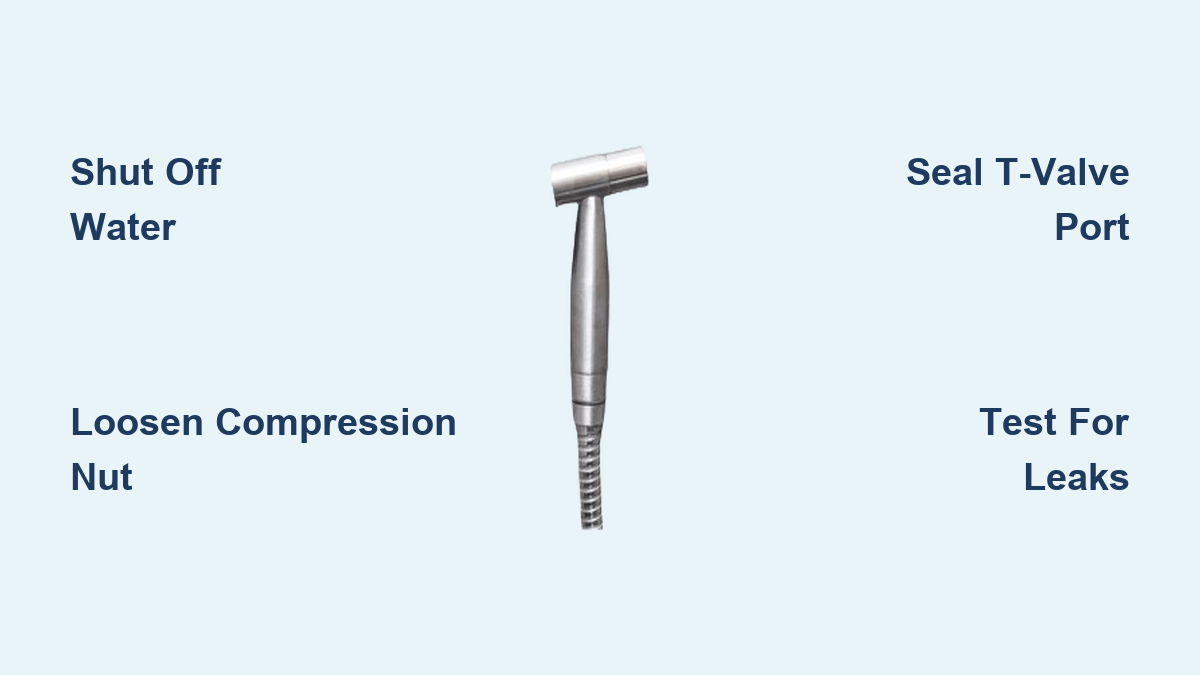
A bidet hose left disconnected can become a leak risk, especially if the T-valve port is left open or improperly sealed. Whether you’re removing the hose for repairs, replacement, or because you no longer need bidet functionality, knowing how to remove a bidet hose correctly is essential to avoid water damage and maintain a clean plumbing setup. This guide walks you through every step, ensuring a leak-free result in under 30 minutes, even if you’re a beginner.
The process involves shutting off water at the isolation valve, disconnecting the hose from both the T-valve and bidet unit, and then properly sealing the open port. Most bidet systems use a T-valve that splits water between the toilet tank and the bidet spray, so understanding these connections will help you complete the job safely.
Shut Off Water Supply First
Before touching any plumbing, you must cut the water supply to prevent sudden sprays or flooding during disconnection.
Turn Off the Isolation Valve
Locate the shut-off valve behind your toilet. Turn the handle clockwise until it stops completely. If your valve has a slot for a flathead screwdriver, use it to ensure full closure. Never skip this step, as failing to shut off water can lead to uncontrolled discharge.
Drain Residual Pressure
Flush the toilet to empty the tank and relieve line pressure. Then, squeeze the bidet spray trigger if accessible to release any remaining water in the hose. This prevents drips during disconnection and confirms the valve is fully closed.
Disconnect the Bidet Hose
With water safely shut off, you can now remove the hose from both connection points.
Locate the Compression Nut Connections
The bidet hose connects at two points. The first connection is at the T-valve outlet on the water line. The second connection is at the bidet unit’s water inlet. Both use a quarter-inch compression nut with an internal rubber washer.
Loosen with Adjustable Wrench
Place a towel or small container underneath to catch minor drips. Use an adjustable wrench to turn the compression nut counterclockwise. Apply steady, gentle pressure and avoid forcing it. If the fitting beneath spins, hold it in place with a second wrench to prevent damaging the valve or bidet inlet.
Remove Hose and Inspect the Washer
Once loose, unscrew the nut by hand and pull the hose free. Check the rubber washer inside the nut. If it’s cracked, flattened, or brittle, replace it. This is a common cause of leaks during reassembly. Repeat the process on the other end if removing the entire hose.
Handle the Open T-Valve Port
After removing the hose, the open port on the T-valve must be sealed to prevent leaks if water is accidentally turned back on.
Remove T-Valve for Full Restoration
This method works best for permanent removal. Restore original plumbing by removing the T-valve entirely.
The steps are:
- Keep water turned off. Disconnect the toilet supply line from the T-valve.
- Use two wrenches. One holds the shut-off valve steady while the other unscrews the T-valve counterclockwise.
- Reconnect the toilet supply line directly to the shut-off valve.
- Hand-tighten first, then finish with a wrench. Do not overtighten.
- Turn water back on and check for leaks.
Seal Port with Blanking Plug
This method works well if you want to keep the T-valve in place. Use a quarter-inch compression blanking plug or end cap to seal the open port.
Ensure the plug matches your thread type, which is usually quarter-inch BSP or NPT. Screw it into the open port and tighten with a wrench. For future use, install a mini stop valve instead and cap it when closed.
Avoid Temporary Fixes
Some users suggest cutting the hose and sealing it with duct tape or rubber bands. While this is quick, it’s not safe for long-term use.
Tape degrades over time and offers no real pressure resistance. There is a high risk of leaks if water is restored accidentally. Only use this method if you’re not restoring water and plan to fix it properly later.
Tools You’ll Need
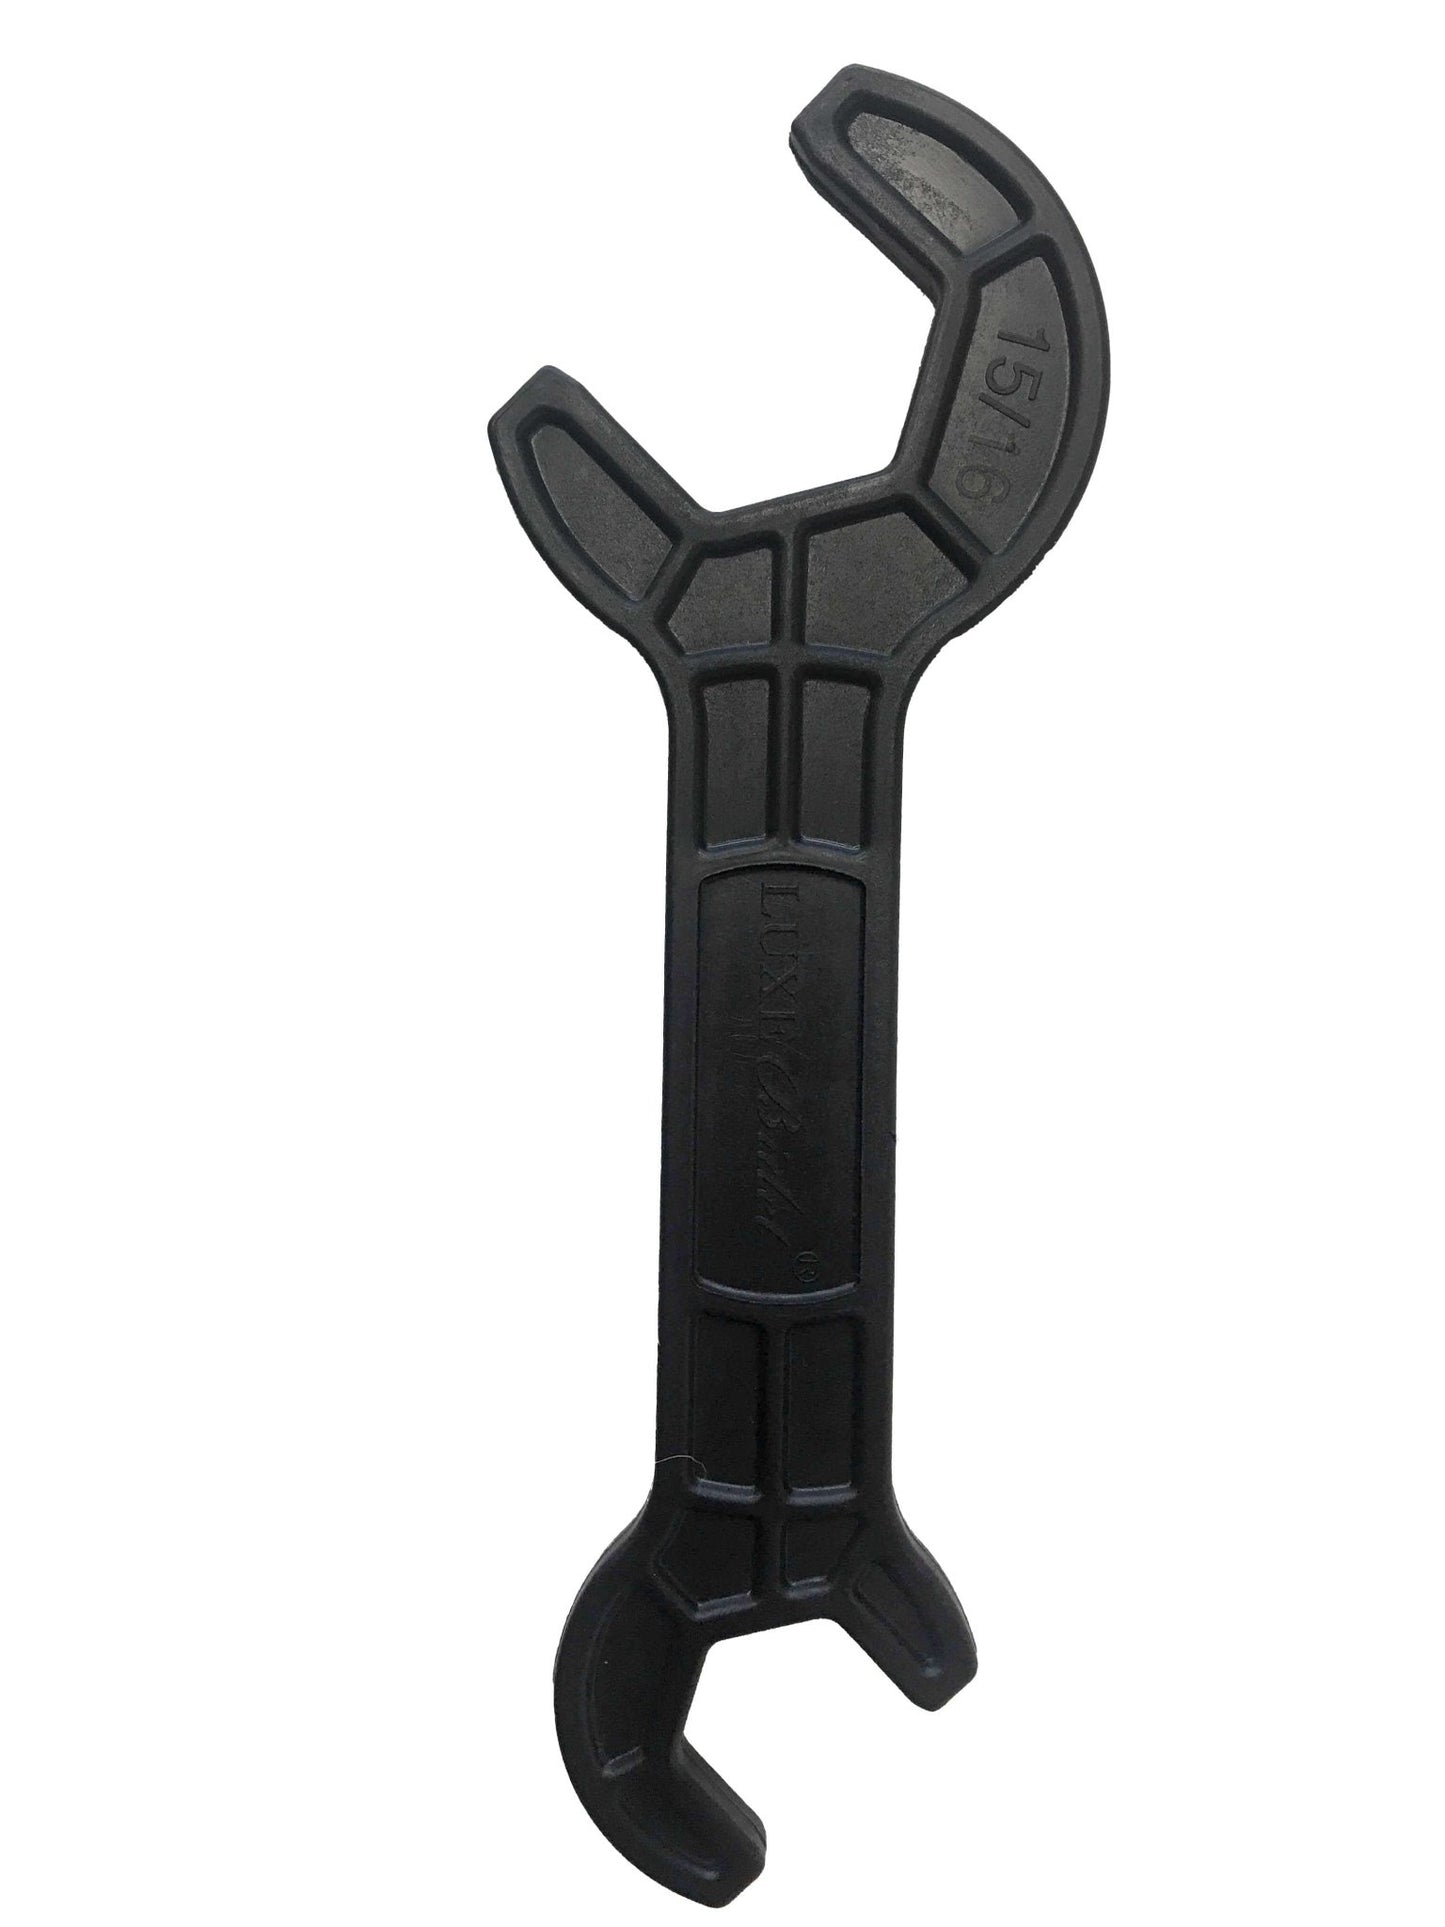
Essential Wrenches and Basics
You will need several tools to complete this job properly.
An adjustable wrench loosens compression nuts without slipping. A second wrench or pliers holds fittings steady during disassembly. A flathead screwdriver helps close stubborn shut-off valves. A towel or small bucket catches residual water.
Sealing Supplies
Keep these items on hand for proper sealing.
A blanking plug or stop valve seals the open port securely. PTFE tape wraps dry threads for a better seal. A replacement rubber washer installs if the old one is damaged.
Test for Leaks
After reassembly, you must verify that all connections are watertight.
Slowly Restore Water
Turn the shut-off valve on slowly. Sudden pressure can dislodge fittings or worsen small gaps.
Inspect All Connections
Check the shut-off valve base, the toilet supply line connection, and any sealed port or cap. Look for drips, seepage, or misting. Even a pinhole leak can cause mold or floor damage over time.
Monitor for 5 to 10 Minutes
Leave water on and watch all joints. If you see moisture, tighten slightly or replace the washer. Never ignore small leaks.
Plan for Future Use
If you might reinstall a bidet later, plan accordingly during this removal.
Install a Reusable Shut-Off Valve
Instead of removing the T-valve, fit a capped ball valve on the bidet port. Turn it off when not in use. Cap it to prevent dust and debris. This makes it easy to reconnect a new hose anytime.
Universal bidet hoses with quarter-inch fittings are available online in lengths from 12 to 24 inches. Keep one on hand for quick reinstallation.
Common Problems Solved
Tight Space Behind Toilet
Limited clearance makes wrench use difficult. Try using swivel-head wrenches or compact basin wrenches. Removing the bidet unit first provides better access to the connections.
Stripped or Stuck Fittings
If the nut won’t budge, apply penetrating oil and wait 10 minutes. Use locking pliers for better grip. Replace the entire valve if damaged.
Call a professional plumber if the shut-off valve leaks, won’t close, or shows signs of corrosion.
Safety and Best Practices
Never Skip Water Shut-Off
Double-check by flushing the toilet. If the tank refills, the valve isn’t fully closed.
Don’t Overtighten Nuts
Compression fittings seal with pressure, not brute force. Overtightening cracks brass or plastic fittings. It also crushes rubber washers and causes leaks under pressure.
Replace Old Washers
Rubber degrades over time. Install a new washer during any disassembly. This costs less than one dollar and prevents future leaks.
Seal All Open Ports
Never leave a port open, even if water is off. Accidental valve activation can flood your bathroom.
Final Recommendations
Best Long-Term Solution
Remove the T-valve and reconnect the toilet line directly. This is the cleanest, safest, and most reliable method, especially if you’re done with the bidet.
Good Alternative
Install a proper blanking plug or stop valve if you lack tools or space. Avoid makeshift tape fixes.
Worst Choice for Long-Term Use
Cutting and taping the hose is only acceptable for short-term disablement. It’s not a real solution.
Reinstallation Ready
Use a capped shut-off valve on the bidet port. This lets you add a new bidet anytime with minimal effort.
Frequently Asked Questions About Removing a Bidet Hose
Do I need to turn off the water before removing a bidet hose?
Yes, you must turn off the water at the isolation valve behind the toilet. This prevents flooding and makes disconnection safe. Verify the valve is closed by flushing the toilet.
How do I seal the T-valve after removing the bidet hose?
You have two main options. Remove the T-valve entirely and reconnect the toilet supply line directly. Or install a quarter-inch blanking plug or mini stop valve on the open port.
Can I just tape the hose instead of properly sealing it?
Taping is not recommended for long-term use. Tape degrades over time and offers no real pressure resistance. Use this method only for temporary disablement.
What tools do I need to remove a bidet hose?
You need an adjustable wrench, a second wrench or pliers, a flathead screwdriver, and a towel or bucket. Having PTFE tape and replacement washers on hand is also helpful.
How long does it take to remove a bidet hose?
The process takes 10 to 30 minutes depending on your experience level. Beginners should plan for the longer end of that range.
Can I reinstall a bidet after removing the hose?
Yes, if you seal the port with a capped shut-off valve instead of removing the T-valve entirely. This preserves the ability to reconnect a new bidet hose anytime.
Key Takeaways for Removing Your Bidet Hose
Removing a bidet hose safely requires shutting off water first, using the right tools, and properly sealing the open T-valve port. The best long-term solution is removing the T-valve entirely and reconnecting the toilet supply line directly. If you might reinstall a bidet later, use a capped stop valve on the bidet port instead. Never leave ports open or rely on tape fixes long-term, as even small leaks cause significant water damage over time. Take your time with each step, test thoroughly for leaks after reassembly, and replace worn washers to ensure a watertight seal.