
Installing a bidet on a wall-hung toilet is entirely possible, though it requires more planning than a standard floor-mounted model. Unlike traditional toilets, wall-hung units hide their tanks and plumbing inside the wall, making water and electrical access less straightforward. However, with the right approach, tools, and adapters, you can achieve a seamless installation that enhances your bathroom’s comfort and hygiene.
This comprehensive guide walks you through every step of the process, from verifying toilet compatibility to connecting water supplies and powering your bidet seat. Whether you are a confident DIYer or coordinating with professionals, these instructions ensure you will not overlook critical details that could compromise your installation.
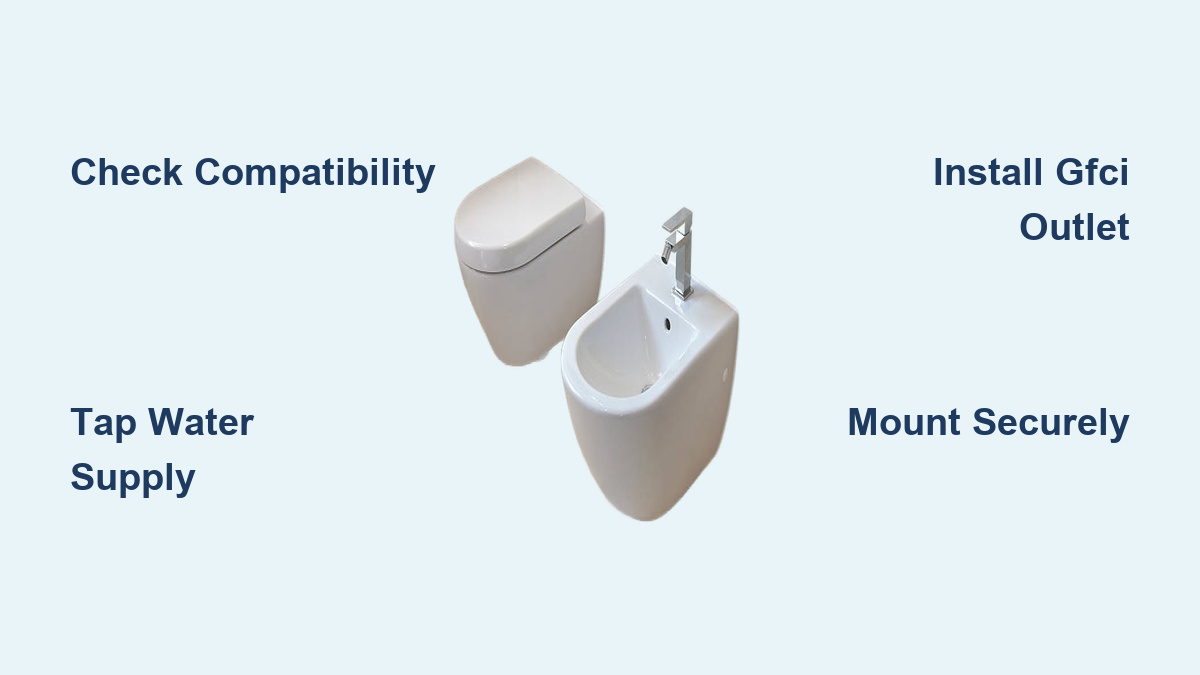
Check Toilet and Bidet Compatibility
Before purchasing a bidet seat, confirm it will fit your wall-hung toilet. Not all models work with this setup, especially when dealing with skirted bowls that have enclosed undersides.
Verify Bowl Shape and Mounting Requirements
Wall-hung toilets often feature skirted sides, meaning the underside of the bowl is sealed off. This prevents standard mounting nuts from being used underneath, so the bidet must attach from the top only.
Key measurements to check include:
- Bolt hole spacing: Most bidets fit toilets with 5″ to 7″ center-to-center spacing, with the standard being approximately 5.5″ or 140 mm
- Extreme spacing: Some luxury brands like Duravit use up to 10″ spacing, which may require special brackets or custom adapter plates
- Bowl shape: Match round or elongated bidet seats to your toilet’s specific bowl shape
Take a photo of your toilet’s top rim and mounting area and send it to the bidet manufacturer to verify fit before making a purchase.
Choose the Right Bidet Type for Your Setup
Different bidet types offer varying levels of compatibility with wall-hung toilets:
| Bidet Type | Wall-Hung Compatible | Notes |
|---|---|---|
| Electric smart seat | Yes | Needs water and power; offers heated spray and air drying |
| Non-electric attachment | Yes | No wiring required; cold water only |
| Handheld sprayer | Yes | Easiest to install; ideal if space is tight |
Electric models from brands like Toto, Bio Bidet, and Horow offer excellent compatibility, provided they support top-mount installation for skirted bowls.
Access the Hidden Water Supply

The biggest challenge with wall-hung toilets is the lack of visible shut-off valves. Since plumbing runs inside the wall, you will need to tap into the concealed water line feeding the tank.
Locate the Concealed Water Line
The supply line typically enters the wall near the flush plate, which is the panel on the wall that triggers the flush. It is usually a ¾-inch compression or copper pipe connected to the in-wall carrier tank. If walls are open during a remodel, this access is simple. If the walls are finished, you may need to cut drywall to reach the line.
Never assume the pipe size without inspecting it first.
Install a T-Fitting for Water Connection
The most reliable method involves installing a ¾-inch compression T-fitting into the existing water supply. This allows one leg to connect to the toilet while the other supplies the bidet.
Tools and parts needed:
- ¾” compression T-fitting
- Stainless steel dishwasher supply line (¾” compression x ½” MIP)
- ½” MIP to ¾” compression adapter
- Toto THP3141 adapter (includes washer; highly recommended)
- Teflon tape
- Adjustable wrench
- Bucket or rags for drips
Step-by-step connection:
- Turn off the main water supply and flush the toilet to drain pressure
- Disconnect the existing supply line at the wall or behind the flush plate
- Place a rag or bucket underneath to catch residual water
- Insert the T-fitting into the open pipe end
- Reconnect the toilet’s supply line to one leg of the T
- Attach the dishwasher supply line to the other leg
- Use the Toto THP3141 adapter by wrapping male threads with Teflon tape, threading it into the supply line, and giving it a quarter-turn with a wrench for a secure seal
- Connect the free end to the bidet’s inlet hose
- Turn the water back on and check for leaks under pressure
Some in-wall carriers, like certain Toto Neorest models, include a dedicated bidet water outlet. Check your model specifications before cutting pipes.
Install a GFCI Outlet for Power
Electric bidet seats require 120V power and a GFCI-protected outlet within reach, typically 2 to 4 feet from the toilet.
Why GFCI Protection Is Required
GFCI outlets prevent electrical shock in wet bathroom environments and are required by the National Electrical Code for bathroom receptacles. Most bidet warranties will be voided if the unit is not plugged into a GFCI-protected outlet.
Find or Add an Outlet
If no outlet exists nearby, the best locations include behind a vanity, beside the baseboard, or recessed in the wall. The ideal height is 12 to 18 inches above the floor, out of the splash zone.
Hire an electrician if walls are finished and you need to run new wiring, if no nearby circuit can support an additional load, or if you are unsure about junction box placement or grounding.
Use a UL-listed right-angle plug or low-profile outlet cover to reduce protrusion behind the toilet for a cleaner installation.
Mount the Bidet Seat Correctly
With water and power addressed, mounting the seat is the next step. This process is especially tricky on skirted, wall-hung bowls with no underside access.
Remove the Old Seat
- Pop off the plastic caps covering the mounting bolts at the back of the seat
- Use a screwdriver or wrench to unscrew the bolts
- Lift off the old seat and clean the rim thoroughly
Install Gaskets and Position the Bidet
- Wet the rubber gaskets included with the bidet to help them slide and seal properly
- Slide one gasket over each mounting post on the bowl
- Adjust the rear-to-front spacing according to manufacturer specifications (for example, 22 mm for Toto S550e)
- Align the bidet’s mounting holes with the posts
- Lower the seat until it clicks into place
Secure and Test Fit
Tighten the side knobs or screws until snug without overtightening. Ensure the seat sits flush and does not wobble. Use the quick-release button to confirm easy removal for cleaning.
If the seat rocks, check gasket alignment or try manufacturer-specific mounting brackets designed for your toilet model.
Route and Conceal Hoses and Cords
A messy tangle of hoses and wires ruins the sleek look of a wall-hung toilet. Keeping everything hidden and safe requires careful routing.
Bundle and Route Together
Use cable ties or white duct tape to group the water hose and power cord together. Run them along the wall or baseboard toward the connections. Avoid sharp bends, as kinks can block water flow or damage wires.
Hide Wires Neatly
Use a paintable wire hider or cord cover mounted behind the vanity. Paint it to match the wall for a seamless appearance and secure with adhesive or small screws.
If the vanity has a back panel with a cutout, route the cord through it and plug into an outlet behind for an invisible connection.
Test and Troubleshoot the Installation
Once everything is connected, power up and test all functions to ensure proper operation.
Initial Power-Up Steps
- Plug in the bidet and turn on the power
- Open the water shut-off valve fully
- Press the nozzle spray button to check water flow
- Test rear wash, front wash, pressure, and oscillation
- Run the self-clean cycle if equipped
Common Issues and Fixes
| Problem | Likely Cause | Solution |
|---|---|---|
| No water spray | Clogged filter or kinked hose | Clean inlet filter and check hose path |
| Weak pressure | Low home pressure or clogged nozzle | Adjust pressure setting and descale nozzles |
| Leaking at T-fitting | Loose connection or bad washer | Retighten, replace washer, and apply Teflon tape |
| Seat won’t power on | GFCI tripped or loose plug | Reset outlet and ensure plug is fully seated |
| Wobbling seat | Loose bolts or wrong gasket | Re-torque bolts and verify correct fit |
Clean the inlet filter every 6 months, and do this more frequently in hard water areas.
Consider Non-Electric Alternatives
If plumbing or electrical work feels too complex, a non-electric bidet attachment offers a smart compromise without requiring power connections.
Cold-Water Bidet Attachments
These models are powered by water pressure only, requiring no electricity or hot water. They feature manual lever control and install easily as a DIY project.
Installation options include a T-valve at the toilet supply (requiring access to the water line) or a faucet diverter that connects to the sink faucet, which is ideal for renters.
Route the hose under the floor or through the vanity to hide it completely. Even basic models improve hygiene and significantly reduce toilet paper use.
Upgrade to an All-in-One Smart Toilet
For a flawless, built-in look, consider replacing your wall-hung bowl with an integrated smart toilet that combines bidet functions with the toilet in a single unit.
Benefits of All-in-One Units
These pre-engineered units for wall-hung setups eliminate separate hoses and cords. Features typically include heated seat, warm water, air dryer, and auto-flush. The aesthetic is cleaner and long-term maintenance is easier.
Top brands include Toto Neorest, Kohler Numi, and Duravit SensoWash. Cost ranges from $2,500 to $7,000 or more when installed.
This option is ideal for new construction or full bathroom remodels where walls are open.
Final Checklist and Pro Tips
Before considering the job complete, run through this final verification to ensure everything is properly installed.
Installation Final Check
- Bidet is securely mounted and does not wobble
- Water flows without leaks at all connections
- Power is stable without tripping GFCI
- All functions including spray, heat, and dry work properly
- Hoses and cords are concealed and safe
- Self-clean cycle runs successfully
Pro Maintenance Tips
Clean the inlet filter twice per year and wipe nozzles gently with a soft cloth. Use non-abrasive cleaners only, avoiding bleach. Replace hoses every 5 years or if they become cracked. Store manuals and receipts in a bathroom cabinet for future reference.
A well-installed bidet increases perceived bathroom quality, especially in high-end real estate markets.
Frequently Asked Questions About Installing a Bidet on a Wall-Hung Toilet
Can I install a bidet myself on a wall-hung toilet?
Yes, you can install a bidet yourself if you are handy and the water and power are accessible. DIY installation of a basic electric seat typically takes under an hour. However, for hidden plumbing or electrical work, hiring licensed professionals is recommended to ensure code compliance and maintain warranty validity.
Do I need a dedicated electrical outlet for the bidet?
Usually, yes. Most electric bidet seats require a nearby GFCI-protected outlet. A dedicated 15A circuit is recommended in remodels to avoid nuisance trips from the GFCI breaker.
What is the best bidet for a wall-hung toilet?
There is no single best model for all situations. Look for adjustable pressure and temperature settings, reliable warm water with instant heating, sturdy mounting hardware compatible with skirted bowls, and a good warranty with strong customer support. Brands like Toto, Horow, and Bio Bidet offer strong compatibility with wall-hung toilets.
Are non-electric bidet attachments worth it?
Yes, even the simple non-electric attachments are a game changer for hygiene and comfort. They improve cleanliness and reduce toilet paper use without requiring any electrical work or ongoing power costs.
Will installing a bidet increase my home’s resale value?
While the return is not dollar-for-dollar, bidets are viewed as a modern, hygienic, and luxurious upgrade. They hold strong appeal in mid to high-end markets and buyers appreciate the easy cleaning and smart features that come with quality bidet installations.
Key Takeaways for Installing a Bidet on a Wall-Hung Toilet
Installing a bidet on a wall-hung toilet requires careful planning around three main challenges: accessing the concealed water supply, providing GFCI-protected electrical power, and ensuring compatibility with skirted bowl designs. The water connection typically involves installing a T-fitting into the existing supply line behind the wall, while electrical needs can be met with a nearby GFCI outlet or by installing a new one. For mounting, verify that your bidet supports top-only installation and check that bolt spacing falls within the standard 5″ to 7″ range.
Whether you choose an electric smart seat with heated features or a simpler non-electric attachment, the installation is achievable for motivated homeowners. Professional help is advisable when wall modifications are needed. Once installed, routine maintenance including filter cleaning and nozzle care will keep your bidet functioning optimally for years to come.