
You’ve decided to upgrade your bathroom with a bidet, and the good news is that installing a bidet faucet is one of the easiest DIY plumbing projects you can tackle. Whether you’re looking to reduce toilet paper usage, improve your bathroom hygiene, or add a modern touch to your toilet, a handheld bidet sprayer or bidet seat connects directly to your existing toilet water line using a simple T-valve. With basic tools and about 30 minutes of work, you can have a fully functional bidet system without calling a plumber.
This guide walks you through every step of the installation process, from turning off your water supply to testing for leaks. We’ll cover both handheld sprayer installations and bidet toilet seats, so you can choose the option that best fits your bathroom and budget.
Prepare Your Bathroom for Bidet Installation
Before you begin any plumbing work, you need to shut off the water supply to your toilet. Locate the shutoff valve, which is typically a small knob on the wall or floor near the base of the toilet. Turn the valve clockwise until it is fully closed. Then flush the toilet to empty the tank completely and release pressure from the system.
Place a towel or small bucket under the fill valve connection to catch any residual water that may drip when you disconnect the supply line. Keep the toilet lid open and press the handle again after flushing to ensure the tank is fully drained. This preparation step is essential for a clean, dry installation process.
Gather Required Tools and Materials
Most bidet sprayer kits come with everything you need for installation. The core components typically include a T-valve with rubber gasket, a flexible supply line, a bidet hose (usually 48 to 60 inches long), a sprayer head with trigger, and a mounting bracket or holder. You may also need adjustment plates and bolts if you’re installing a bidet toilet seat.
For tools, gather an adjustable wrench, both Phillips and flat-head screwdrivers, plumber’s tape (Teflon tape), and a drill if you’re wall-mounting the sprayer holder. Confirm that your toilet has a standard 3/8-inch water inlet, which most toilets do. Also ensure the sprayer hose will reach comfortably from its mount location to the toilet bowl.
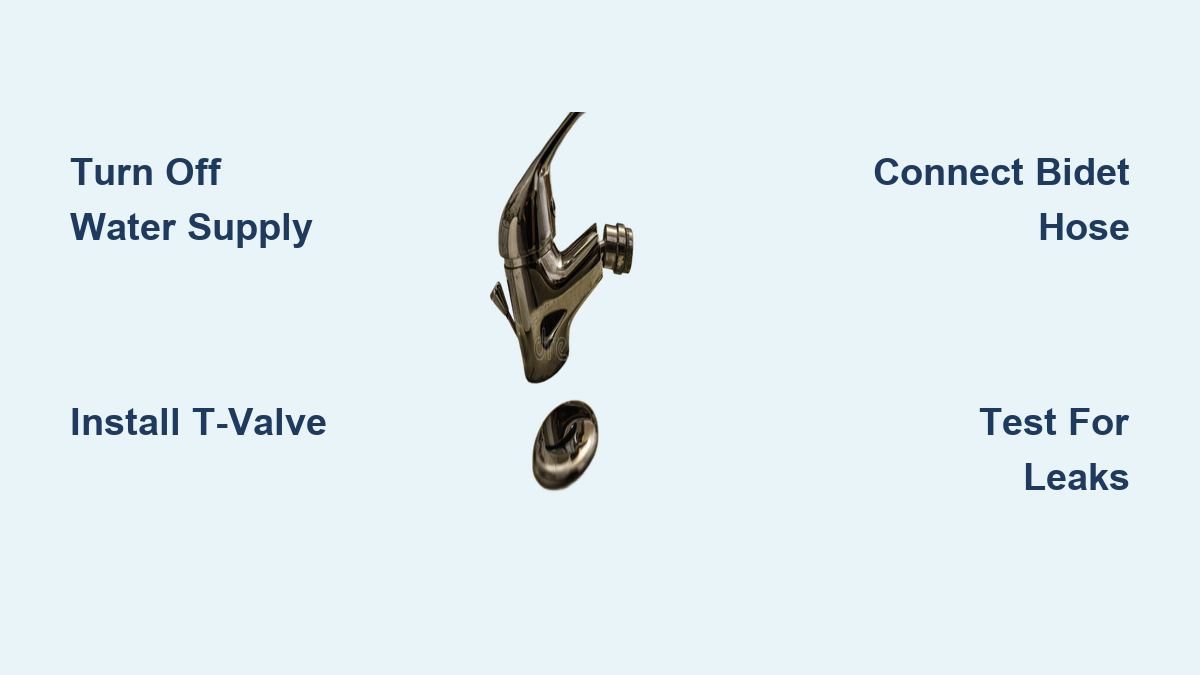
Install the T-Valve Connection

The T-valve is the heart of your bidet installation because it splits the water flow between the toilet tank and the bidet sprayer. Start by disconnecting the flexible water supply line from the bottom of the toilet’s fill valve using your adjustable wrench. Keep the rubber washer from the original line, as it may be reusable.
Insert the rubber gasket into the top opening of the T-valve, then thread the T-valve onto the fill valve by hand. Tighten gently with the wrench, but do not over-tighten. The side outlet of the T-valve should face forward or sideways so the bidet hose can connect without strain. This positioning is critical for preventing kinks and ensuring a clean installation.
Connect the Bidet Hose and Sprayer
Reconnect the original (or new) supply line to the bottom port of the T-valve. Hand-tighten first, then give it a quarter-turn with the wrench if needed. Next, remove the protective cap from the bidet hose and confirm a rubber washer is seated inside the threaded end. Hand-tighten the hose to the side outlet of the T-valve, then use the wrench for a final snug fit.
Wrap 2 to 3 layers of plumber’s tape clockwise around the male threads before connecting for a better seal. Cross-threading can cause leaks, so always hand-tighten first before using tools. Attach the sprayer handle to the other end of the hose, and your water connections are complete.
Mount the Sprayer Holder
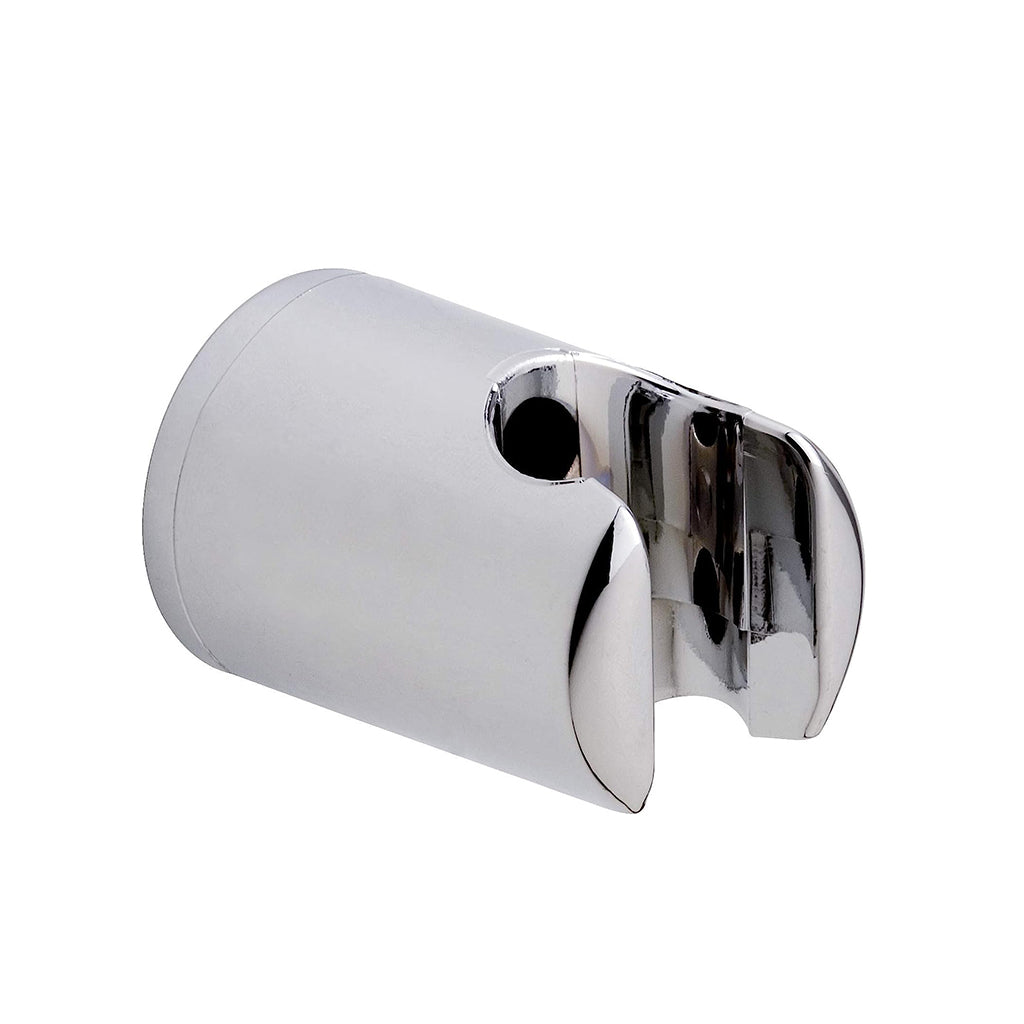
Wall mounting is the recommended method for securing your bidet sprayer holder. Drill pilot holes into the wall or tile, using drywall anchors or tile screws as needed for your wall type. Position the holder 18 to 24 inches from the center of the toilet for comfortable reach. Screw the holder in securely, ensuring it is stable and won’t wobble during use.
If wall mounting isn’t practical, some kits include a tank-mounted clip that attaches under the toilet tank lid. Slide the bracket under the tank and secure it with the included screws. However, user feedback consistently shows that tank-mounted holders often feel flimsy and may shift during use. Consider upgrading to wall mounting if you notice any instability.
Test Your Installation for Leaks
Slowly turn the water supply back on and allow the toilet tank to fill completely. Open the T-valve fully and inspect every connection for signs of dripping or seepage. Check the top of the T-valve where it connects to the fill valve, the bottom where the toilet supply line attaches, and the side port where the bidet hose connects.
If you see any leaks, turn the water off immediately. Re-tighten the connection or add additional plumber’s tape to the threads. Ensure all washers are properly seated and not damaged. Once all connections are dry, test the sprayer by pressing the trigger while seated on the toilet to ensure comfortable spray direction and coverage.
Alternative: Installing a Bidet Toilet Seat
If you prefer a bidet toilet seat instead of a handheld sprayer, the installation process is slightly different but equally straightforward. Start by removing the old toilet seat. Pop open the plastic caps covering the mounting bolts on the back of the seat, then use a wrench or screwdriver to remove the nuts. Lift the seat off and clean the rim thoroughly.
Align the bidet seat’s adjustment plates with the toilet bolt holes and insert the bolts. Hand-tighten but leave slight play for final alignment. Lower the bidet seat onto the bracket and snap or lock it into place according to the manufacturer’s instructions. Ensure the seat sits flush and doesn’t wobble.
Connect the small inlet hose from the bidet to the side port of the T-valve, using plumber’s tape if threads are exposed. For electronic models, plug the unit into a GFCI-protected outlet within 3 feet of the toilet. Never use extension cords unless they are specifically rated for bathroom use. Test all functions including front and rear spray, oscillation, water temperature, and any air dryer or remote control features.
Maintain Your Bidet for Long-Term Use
Regular maintenance keeps your bidet functioning properly and extends its lifespan. Inspect hoses and connections monthly, looking for cracks, bulges, or drips. Clean the spray nozzle with vinegar every 1 to 2 months to prevent mineral buildup that can clog the openings.
Replace hoses every 3 to 5 years or immediately if you notice any damage. Braided stainless steel hoses last longer and resist bursting better than standard PVC hoses. Consider installing a dedicated shutoff valve on the bidet line for easier maintenance in the future.
Troubleshoot Common Bidet Installation Issues
If your sprayer won’t release water, the T-valve may be closed or the internal screen may be clogged. Open the valve fully and remove the hose to rinse the internal screen. Low pressure usually indicates a kinked hose, clogged nozzle, or partially closed valve. Straighten any kinks, clean the nozzle, and ensure the valve is fully open.
Leaking at the T-valve typically means a missing washer or loose connection. Turn off the water, check that the gasket is properly seated, re-tighten the connection, and apply fresh plumber’s tape. If the sprayer leaks from the trigger, the O-ring may be worn or debris may be blocking the mechanism. Disassemble the handle, clean it thoroughly, and replace the seals if needed.
Frequently Asked Questions About Installing a Bidet Faucet
Do I need a plumber to install a bidet faucet?
No, most bidet faucet installations are simple enough for DIYers. Handheld sprayers and bidet seats connect to your existing toilet water line using a T-valve, requiring no major plumbing modifications. However, if you need to run new hot water lines or modify drain plumbing for a freestanding bidet, hiring a plumber is recommended.
Can I install a bidet faucet myself in 30 minutes?
Yes, most users complete the installation in 20 to 30 minutes with basic tools. The process involves turning off water, connecting a T-valve, attaching the hose and sprayer, mounting the holder, and testing for leaks. Electronic bidet seats may take slightly longer due to power connection requirements.
What is a T-valve and why do I need one?
A T-valve is a plumbing fitting that splits your toilet’s water supply into two directions. One path continues to the toilet tank while the other supplies water to the bidet sprayer or seat. Without a T-valve, you would need a separate water line, making installation much more complex and expensive.
Will a bidet faucet work with any toilet?
Most bidet sprayers and seats work with standard toilets that have a 3/8-inch water inlet and a flexible supply line. If your toilet has a rigid metal pipe connecting to the wall, you will need to replace it with a flexible braided line before installing the bidet. Always check the manufacturer’s compatibility requirements before purchasing.
How do I prevent leaks after installing my bidet?
Always use the rubber gasket included with your T-valve, apply plumber’s tape to threaded connections, and hand-tighten before using tools. The most important step is turning off the T-valve after every use. Even though the sprayer stops flow when you release the trigger, water pressure remains in the hose, which can lead to leaks and hose damage over time.
Key Takeaways for Installing Your Bidet Faucet
Installing a bidet faucet is a rewarding DIY project that takes about 30 minutes and requires only basic tools. The T-valve is the essential component that safely splits your toilet water supply between the tank and the bidet, and using the included rubber gasket prevents leaks at this critical connection point. Always use flexible supply lines rather than rigid pipes, and hand-tighten all connections before using a wrench to avoid over-torquing and damaging the fittings.
Wall-mounting the sprayer holder provides better stability than tank-mounted options, and turning off the T-valve after every use is the single most important maintenance step for preventing leaks and extending hose life. Test your installation while seated on the toilet to ensure comfortable spray direction and coverage. Monthly inspections of hoses and connections catch problems early, and installation is completely reversible if you need to remove the bidet later.
Now that you understand the process, you have everything you need to install your bidet faucet like a pro. Enjoy the improved hygiene, reduced toilet paper usage, and the satisfaction of completing this simple upgrade yourself.