
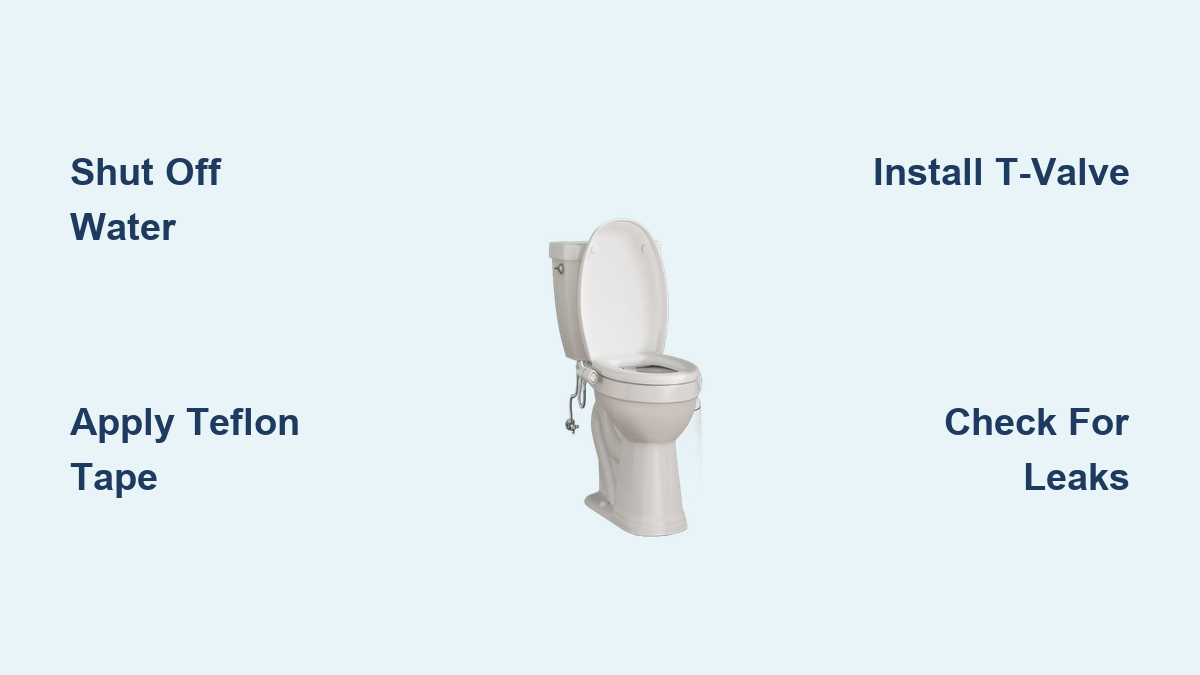
You’ve purchased a Big Cow bidet attachment to upgrade your bathroom hygiene, and now you need to install it. This guide walks you through the entire installation process for your Big Cow bidet, from shutting off the water supply to testing the spray function. Whether you have the Ultra-Slim or Classic model, you’ll complete the installation in under 30 minutes using basic tools. You’ll learn how to properly connect the T-valve, mount the bidet unit securely, and prevent common leaks that DIY installers often encounter.
Shut Off Water Supply Before Installation
Before beginning any plumbing work, you must stop the water flow to prevent flooding and make the installation process cleaner.
Close the Toilet Shutoff Valve
Locate the water shutoff valve behind your toilet near the floor or wall. Turn the valve clockwise until it stops completely. This shuts off water to the tank. Verify the water is off by flushing the toilet. If the tank does not refill, the valve is properly closed.
Drain Remaining Water from the Tank
Flush the toilet to empty the tank. Hold the handle down to drain as much water as possible. The bowl will retain water, which is completely normal. Disconnect the supply hose from the bottom of the tank using your hands or an adjustable wrench if the connection is tight.
Prepare Your Work Area
Lay down towels beneath the toilet and place a small bucket near the connection points. Residual water may drip when you disconnect hoses. Keeping the area dry prevents slips and water damage to your flooring.
Remove the Toilet Seat
You need access to the seat base to attach the Big Cow bidet properly.
Locate the Mounting Bolts
Lift the toilet seat and examine the hinges at the back of the seat. Most toilet models have plastic caps covering the mounting bolts. Pop these caps off using a flathead screwdriver or your fingernail.
Loosen and Remove the Seat
Use a screwdriver to loosen the nuts securing the seat to the bowl. Once loose, lift the entire seat and lid off the toilet bowl. Place it on a clean towel to prevent scratches or damage.
Pro Tip: Wipe the mounting area and hinge bolts with a damp cloth to remove dust or mineral buildup before reinstalling the seat.
Install the T-Valve on the Water Line
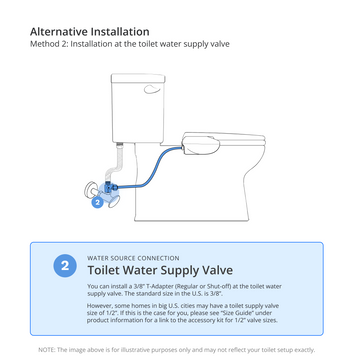
The T-valve splits water flow between your toilet tank and the Big Cow bidet attachment.
Apply Teflon Tape Properly
Take the brass T-valve from your installation kit. Wrap Teflon tape around both threaded ends in a clockwise direction. Apply 3 to 5 full wraps for each end. This creates a watertight seal and prevents leaks. Insert rubber washers into both ends of the valve before connecting.
Connect Valve to Wall and Tank
Screw the T-valve inlet (bottom port) onto the water supply pipe coming from the wall. Hand-tighten securely. Attach the original toilet supply hose to the T-valve outlet (top port) and tighten by hand. The side port now stands ready for the bidet hose connection.
Position the Valve for Easy Hose Routing
Orient the side outlet of the T-valve to face forward, toward the front of the toilet. This positioning reduces hose kinking and makes the connection much easier. Avoid twisting or straining the valve during installation.
Warning: Over-tightening can crack fittings. Use a wrench only if necessary, and apply gentle pressure when tightening.
Mount the Big Cow Bidet to the Toilet Seat
Now you attach the bidet unit directly to the toilet seat.
Snap the Bidet Halves Together
The Big Cow bidet comes in two plastic pieces. Press them together firmly until they click into place. Ensure no gaps or misalignment exist, as this forms the watertight seal for your bidet.
Attach Non-Slip Pads
Peel and stick the adhesive bumpers or insert round slip pads into the designated slots on the underside of the toilet seat. These components prevent vibration and shifting during use. Skipping this step causes the bidet to rattle or move during operation.
Align and Lock the Bidet Unit
Flip the seat upside down. Position the bidet body so its mounting tabs line up with the holes in the seat base. Push each tab firmly until it clicks into place. Verify the unit is centered and sits flush against the seat.
Note: If tabs don’t lock easily, double-check the alignment. Forcing misaligned tabs can break the plastic housing and damage your bidet.
Reinstall the Toilet Seat
Secure the seat with the attached bidet back onto the toilet bowl.
Insert Bolts into the Hinges
Place the seat over the toilet bowl, aligning the hinge holes with the lugs at the back of the bowl. Push down so the mounting bolts slide through the holes.
Hand-Tighten the Nuts
Thread the plastic nuts onto the bolts by hand. Tighten until snug, then use a screwdriver to gently secure further. Do not over-tighten, as this can crack porcelain or strip the plastic threads on the bolts.
Check Stability: Shake the seat lightly. It should not wobble. If it wobbles, recheck pad placement and retighten the bolts evenly.
Connect the Bidet Hose
Link the water supply from the T-valve to the bidet unit.
Attach Hose to the T-Valve
Take the stainless steel hose from your kit. Screw one end to the side outlet of the T-valve. Apply Teflon tape if it’s not pre-applied on the hose fittings. Hand-tighten first, then use a wrench for a quarter-turn extra if needed.
Connect to the Bidet Inlet
Screw the other end of the hose into the inlet port under the bidet unit. Apply tape and hand-tighten. Avoid kinking the hose. Keep it loose and curved naturally to maintain proper water flow.
Tip: Some users find it easier to connect the hose before reinstalling the seat, especially in tight bathroom spaces.
Restore Water and Check for Leaks
Turn the water back on and test all connections carefully.
Open the Shutoff Valve Slowly
Turn the valve counterclockwise to restore water flow. Open it slowly to avoid pressure surges. Allow the toilet tank to refill completely before proceeding.
Inspect All Connections
Check these points specifically for drips:
– T-valve inlet (wall connection)
– T-valve outlet (hose to tank)
– T-valve side port (bidet hose)
– Bidet inlet (under the seat)
If you see any leaks, turn the water off immediately. Reapply Teflon tape and gently tighten the joint. Repeat until all connections are completely dry.
Warning: Leaks under pressure can cause water damage to your bathroom floors and subflooring. Never leave the installation unattended until you confirm all connections are leak-free.
Test the Big Cow Bidet Functionality
Verify that your bidet works correctly before finishing the installation.
Activate Rear Wash Mode
Sit on the toilet or simulate use. Turn the twist knob toward the “bottom” side. You should feel a steady stream from the rear nozzle. Adjust pressure by turning the knob clockwise for more flow or counterclockwise to reduce it.
Switch to Feminine Wash
Rotate the knob toward the “feminine” side. The front nozzle should activate with a softer, targeted spray designed for feminine hygiene. Both modes operate independently, and you can switch between them smoothly.
Evaluate the Spray Pattern
Watch for these indicators of proper function:
– Consistent stream without sputtering
– No misdirection (spray should hit the intended area)
– Full pressure buildup within a few seconds
If flow seems weak, check for kinks in the hose or a partially closed shutoff valve.
Pro Tip: First-time users may be surprised by the water pressure. Start on low and increase gradually to find your comfortable setting.
Prevent Common Installation Mistakes
Avoid these frequent errors to ensure a smooth Big Cow bidet installation.
Always Use Teflon Tape
Skipping Teflon tape is one of the top causes of leaks. Apply it to every threaded connection, even if rubber washers are present. The tape fills microscopic gaps and creates a reliable seal.
Never Overtighten Fittings
Overtightening cracks plastic components and damages seals. Hand-tighten first, then use a wrench only for minor quarter-turn adjustments. Stop immediately if you feel resistance.
Align Mounting Tabs Correctly
Forcing misaligned tabs breaks the bidet housing. Take time to position the tabs correctly before snapping them into place. If alignment feels off, remove and reposition.
Install Non-Slip Pads
Without the bumpers or slip pads, the bidet shifts and rattles during use. Always install these components in the designated slots. They absorb vibration and keep the unit stable.
Maintain Your Big Cow Bidet
Keep your bidet working like new with simple regular care.
Clean the Exterior Monthly
Wipe the bidet body with a damp cloth and mild soap. Avoid bleach, ammonia, or abrasive cleaners. These chemicals degrade the plastic and damage the finish.
Descale Nozzles as Needed
Mineral buildup from hard water can clog the nozzles over time. Soak the nozzle area in white vinegar for 10 to 15 minutes, then rinse thoroughly. Use a soft brush if needed to dislodge stubborn deposits.
Inspect Hose and Connections Every Six Months
Check the stainless steel hose for kinks, cracks, or damage. Examine all connections for signs of moisture or mineral buildup. Replace rubber washers every 3 to 5 years to maintain a watertight seal.
Note: The Big Cow bidet requires no electricity or batteries. It’s purely mechanical and maintenance-free, making it an reliable hygiene solution.
Troubleshoot Common Issues
Fix problems quickly with these targeted solutions.
No Water Flow
Check these common causes:
– Is the shutoff valve fully open?
– Is the hose kinked or pinched?
– Is the T-valve side port properly connected?
If all check out fine, disassemble and reapply Teflon tape to all threaded connections.
Low Water Pressure
Possible causes include:
– Partially closed shutoff valve
– Clogged nozzles from mineral deposits
– Low household water pressure
Clean the nozzles with vinegar and verify all valves are fully open.
Bidet Shakes During Use
This issue stems from:
– Loose seat bolts
– Missing or dislodged non-slip pads
Retighten the seat bolts and reinstall the bumpers properly.
Leaks at the T-Valve
Turn off water, disconnect the valve, and take these steps:
– Re-wrap all threads with fresh Teflon tape
– Reinstall with hand-tightening plus a quarter-turn with a wrench
– Confirm the rubber washer is properly seated
Why the Twist Knob Matters
The Big Cow bidet uses a twist knob control system instead of buttons, and this design serves important purposes.
Prevents Pet Accidents
Cats and dogs cannot accidentally activate the bidet by stepping on the seat. A twist requires intentional force, making it completely pet-safe. This eliminates the constant accidental activations common with button-style models.
Offers Precise Pressure Control
Turn the knob slowly to increase pressure gradually. The larger dot indicators help you find and remember your preferred setting. This level of control isn’t possible with simple on/off buttons.
Requires No Batteries or Power
The twist knob system is purely mechanical. It never needs batteries, electrical outlets, or charging. The bidet is always ready to use, even during power outages.
User Feedback: “My cat used to trigger my old bidet every day. Since switching to Big Cow, zero accidental activations.”
Frequently Asked Questions About Installing a Big Cow Bidet
How long does it take to install a Big Cow bidet?
Most first-time installers complete the entire process in 15 to 30 minutes. The installation is straightforward and requires only basic tools. Having all components included in the kit eliminates shopping trips for additional parts.
Do I need a plumber to install the Big Cow bidet?
No, a plumber is not necessary. The installation requires no plumbing expertise or modifications to your existing toilet. Everything needed for installation comes in the kit, and the process follows simple mechanical steps.
What tools do I need to install a Big Cow bidet?
You need only a screwdriver (flathead or Phillips) for removing the toilet seat. An adjustable wrench is helpful but optional for tightening hose connections. All other hardware, including Teflon tape and rubber washers, comes in the kit.
Can I install the Big Cow bidet on any toilet?
The Big Cow bidet fits all standard two-piece and one-piece toilets with conventional tank-to-bowl configurations. It works on both round and elongated bowl shapes. The universal design ensures compatibility with most residential toilets.
Why is my Big Cow bidet leaking after installation?
Leaks typically occur from missing or improperly applied Teflon tape. Turn off the water, disconnect the leaking fitting, and rewrap the threads with fresh Teflon tape. Hand-tighten first, then add a quarter-turn with a wrench. Avoid over-tightening, which damages the seal.
How do I switch between rear wash and feminine wash modes?
Use the twist knob on the side of the bidet unit. Turn the knob toward the “bottom” marking for rear wash. Turn toward the “feminine” marking for front wash. The nozzles operate independently, and you can adjust pressure by turning the knob clockwise or counterclockwise.
Key Takeaways for Installing Your Big Cow Bidet
Installing your Big Cow bidet is a quick, DIY-friendly project that delivers lasting comfort and improved hygiene. The entire process follows five main phases: shut off water, remove the seat, install the T-valve, mount the bidet, and connect the hose. Each step requires only basic tools, and all necessary hardware comes included in the kit.
The most critical factors for a successful installation are applying Teflon tape to every threaded connection, avoiding over-tightening that cracks fittings, and properly aligning mounting tabs before snapping them into place. Taking time to check for leaks after restoring water prevents costly water damage and ensures your bidet functions reliably.
With your Big Cow bidet installed, you’ll enjoy a cleaner, more hygienic bathroom experience while reducing toilet paper use. The dual-nozzle system provides targeted rear and feminine wash options, and the twist knob gives you precise pressure control without requiring batteries or electricity. Keep this guide handy for maintenance, and your bidet will serve you reliably for years.