
Imagine finishing a long day on the trail, finally finding a quiet spot to answer nature’s call, only to realize you are down to your last square of toilet paper. You wipe, but it is not clean. You know you will be carrying out that soiled paper, adding weight and guilt. Now imagine instead pulling out a small, lightweight bottle that delivers a precise stream of water, leaving you feeling fresh, clean, and confident. That is the power of a backpacking bidet.
This guide walks you through exactly how to use a backpacking bidet, from selecting the right gear to mastering the technique. You will learn how much water to carry, how to keep your hands clean, and how to stay fresh without leaving a trace.
Choose the Right Backpacking Bidet System

Selecting the proper bidet equipment is the foundation for success on the trail. The right setup makes cleaning easy, while the wrong choice leads to frustration and mess.
Compare Popular Bidet Options
The CuloClean is the most popular commercial backpacking bidet, praised for its durability and strong, focused spray. It screws onto Smartwater or ICE bottles and weighs just 12 grams. For those seeking ultralight options, DIY caps modified with a heated needle to create a nozzle can weigh under 3 grams. Even lighter are laboratory wash bottles, which offer precision nozzles, rigid construction, and weights as low as 1 gram when customized.
Consider these factors when choosing your system. Durability matters if you plan to use it on multiple long trips. Weight matters if you are counting every ounce. Price matters if you want to try the concept before investing heavily.
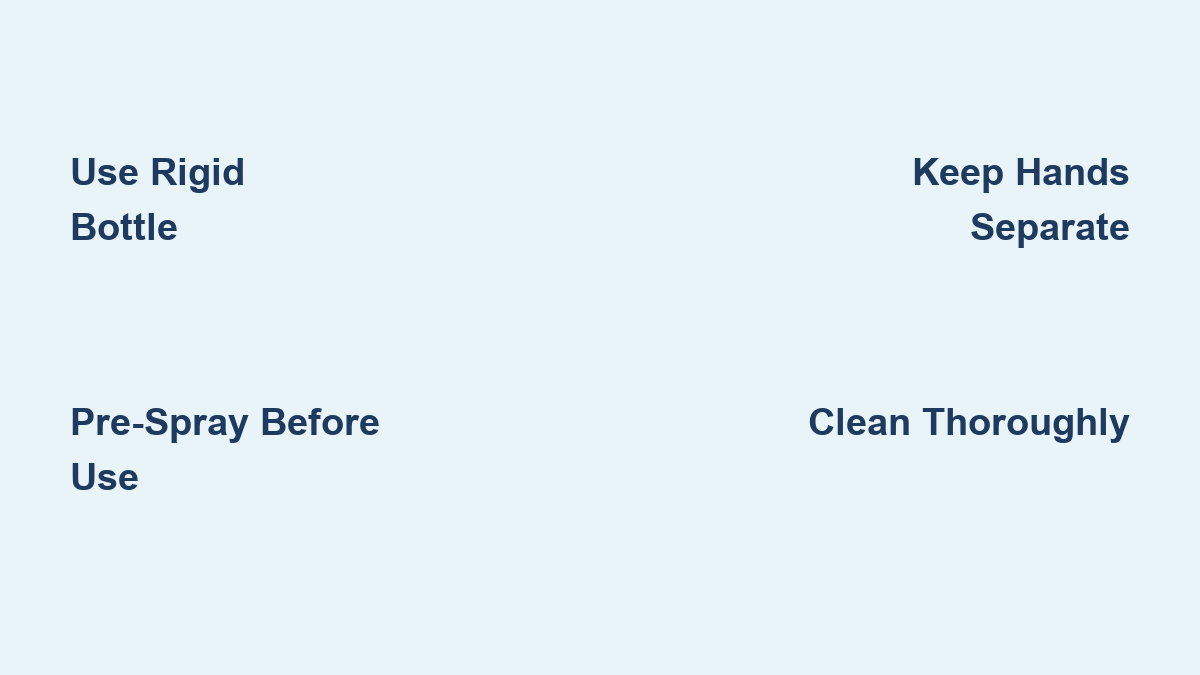
Pick a Compatible Water Bottle
Use a narrow-mouth rigid bottle like Smartwater or ICE. These hold pressure well and allow accurate aiming. Avoid flexible bottles such as Platypus or hydration bladders because they collapse when squeezed, making spray control nearly impossible. A 17 oz (500 mL) bottle holds enough water for 1 to 2 uses and fits easily in most side pockets.
Label your bidet bottle clearly and never use it for drinking. This prevents cross-contamination and keeps your system organized.
Prepare Your Bidet Kit Before Hitting the Trail
Preparation prevents poor performance. Taking time before your trip to gather and practice with your gear pays off when you are in the field.
Practice the Full Process at Home
Do not wait until you are in the woods to try your bidet. Practice the full process in your shower or near a toilet. Simulate squatting, spraying, and hand separation. This builds muscle memory and reduces field errors. You will learn how much pressure to apply, how to aim, and how to manage clothing, all critical for confidence on the trail.
Assemble Your Complete Kit
Your bidet setup should include several key items. Gather these before your trip. A bidet nozzle (CuloClean, Holey Hiker, or DIY). A rigid water bottle. Biodegradable soap such as Dr. Bronner is optional but useful. Hand sanitizer with 60 percent or higher alcohol content. A trowel for digging catholes. Optional items include 1 to 2 TP squares, a reusable bum rag, or a Kula Cloth for women.
Having everything ready before you head out prevents mid-trip complications.
Find and Prepare a Proper Poop Site
Location matters for both hygiene and environmental responsibility. Following proper protocols protects ecosystems and ensures your privacy.
Stay 200 Feet from Water and Trails
Always go at least 200 feet (70 steps) from water sources, campsites, and trails. This protects ecosystems and ensures privacy. Use a GPS app or pace it out. Seventy natural steps is roughly 200 feet.
Dig a 6 to 8 Inch Cathole
Use a trowel to dig a 6 to 8 inch deep hole in soft, organic soil. This depth allows natural decomposition and deters animals. Keep excavated soil nearby to refill the hole later.
Master the Squat and Clothing Management
Proper positioning makes cleaning easier and prevents messes. Taking time to get positioned correctly saves trouble later.
Hover with Buttocks Free
Squat low enough so your buttocks hang freely over the hole. This allows water to flow downward and prevents mess on your legs or pants. Lean against a tree or rock for balance if needed.
Adjust Pants Strategically
Pull pants down to just above the knees. They will rise when you squat. For full control and dryness, some hikers remove pants entirely. Avoid bulky layers that restrict movement.
Spray and Clean With Proper Technique
The actual cleaning process requires attention to water usage, spray angle, and hand management. Following proper technique ensures thorough cleaning without waste.
Pre-Spray to Reduce Stickage
Before defecating, spray a small amount of water from above, letting it run down your butt crack. This pre-wets the area, reducing how much waste sticks to your skin. This technique may cut your total water use by up to 30 percent.
Wipe Naturally Before Spraying
Use dry grass, smooth leaves, or snow to remove bulk residue before spraying. This reduces water needed and prevents clogs. Toss natural wipes into the cathole where they will decompose naturally.
Apply the Water Stream Correctly
Tilt the bottle upward so the stream flows down the crack. Use your dirty hand to gently scrub while water runs. Never spray upward because this risks contaminating the bottle.
Control your water usage carefully. Beginners typically use 150 to 250 mL per use. Experienced users can get as low as 25 to 100 mL. Aim to use under 250 mL per session. Over-spraying is wasteful and unnecessary.
Use Soap Only If Absolutely Necessary
Medical experts, including the American Society of Colon and Rectal Surgeons, advise against using soap directly on the anus. It can dry sensitive skin, leading to itching, chafing, or even bleeding, especially on multi-day hikes. If you do use soap, apply a dime-sized drop to your dirty hand, lather gently, and rinse thoroughly. Never let soap sit on skin. Most hikers skip soap entirely, relying on water alone.
Check for Cleanliness and Dry Thoroughly
Skipping the check step leads to discomfort and potential hygiene issues. Taking a moment to verify cleanliness prevents problems later.
Feel for Cleanliness
Use the second knuckle of your middle finger to check for residue. If it feels smooth, you are clean. If not, repeat rinsing immediately. Think feeding a horse. A slow, controlled motion keeps fecal matter out from under your nails.
Dry to Prevent Chafing
Moisture causes chafing (called monkey butt) and infections. Dry thoroughly by drip drying while still squatting, or patting with 1 to 2 TP squares, paper towel, or a reusable bum rag. Never pull up damp underwear.
Clean Your Hands Properly
Hand cleaning is non-negotiable. Proper technique prevents the spread of bacteria and illness in the backcountry.
Designate Clean and Dirty Hands
This is the most important hygiene rule. Your clean hand (usually non-dominant) handles the bidet bottle, soap, sanitizer, and gear. Your dirty hand (usually dominant) performs wiping and scrubbing. Keep them strictly separate. Cross-contamination is the number one cause of illness in the backcountry.
One-Hand Wash Method
With your clean hand, apply hand sanitizer to your dirty hand. Scrub all surfaces, including fingertips and tops of fingers. Let it air dry.
Two-Hand Wash If Water Is Available
Rinse both hands with clean water and soap. Use your clean hand to operate the bidet bottle for rinsing. Finish with sanitizer. Fact. Hand sanitizer (60%+ alcohol) kills fecal bacteria just as effectively as soap and water, except for C. diff spores.
Bury Waste and Reset Gear
Cover waste with excavated soil. Press down firmly to prevent animals from digging it up. Optionally, place a stick on top to signal the spot is used. Use a small amount of clean water to rinse the outside of the nozzle. Cap it tightly to prevent leaks. Store the bidet bottle separately from drinking water and food.
Adapt the Bidet for Female Hikers

Women face unique challenges when using backpacking bidets due to anatomy and higher risks of infections. Proper technique is essential for health and comfort.
Reduce UTI Risk With Front-to-Back Rinsing
Women are at higher risk for urinary tract infections (UTIs) and yeast infections. To minimize risk, always rinse front to back after initial cleaning. Use clean hand for bidet, dirty hand for scrubbing. Wash both hands thoroughly afterward.
Use a Reusable Pee Rag
Many female hikers pair their bidet with a Kula Cloth, a reusable, antimicrobial pee rag. It eliminates TP for urination and dries quickly.
Follow Expert Female Hiker Tips
Melodie Kao has over eight years of bidet use with zero UTIs. She uses biodegradable soap with front-to-back rinsing. Bec Bastian combines bidet with hand washing and Kula Cloth. Jessica Winters recommends Wysi Wipe (minimal water plus reusable cloth) if UTIs are a concern.
Conserve Water in Dry Environments
Dry conditions require extra planning and care. Managing water usage protects both your health and the environment.
Plan Bathroom Breaks Near Water
In deserts or alpine zones, time your bathroom breaks near streams or lakes. Refill your bidet bottle there. Do not carry excess weight.
Use a Dedicated Small Bottle
Carry an 8 to 16 oz bottle just for bidet use. This prevents conflict with drinking water and lets you pre-measure usage.
Is Cold Water Safe
Yes. If the water is safe enough to swim in, it is generally safe for bidet use. Avoid stagnant or cloudy water. Never use hiker caches.
Follow Leave No Trace Principles
Using a bidet aligns perfectly with Leave No Trace ethics. Understanding these principles makes you a responsible outdoor citizen.
Eliminate Toilet Paper Waste
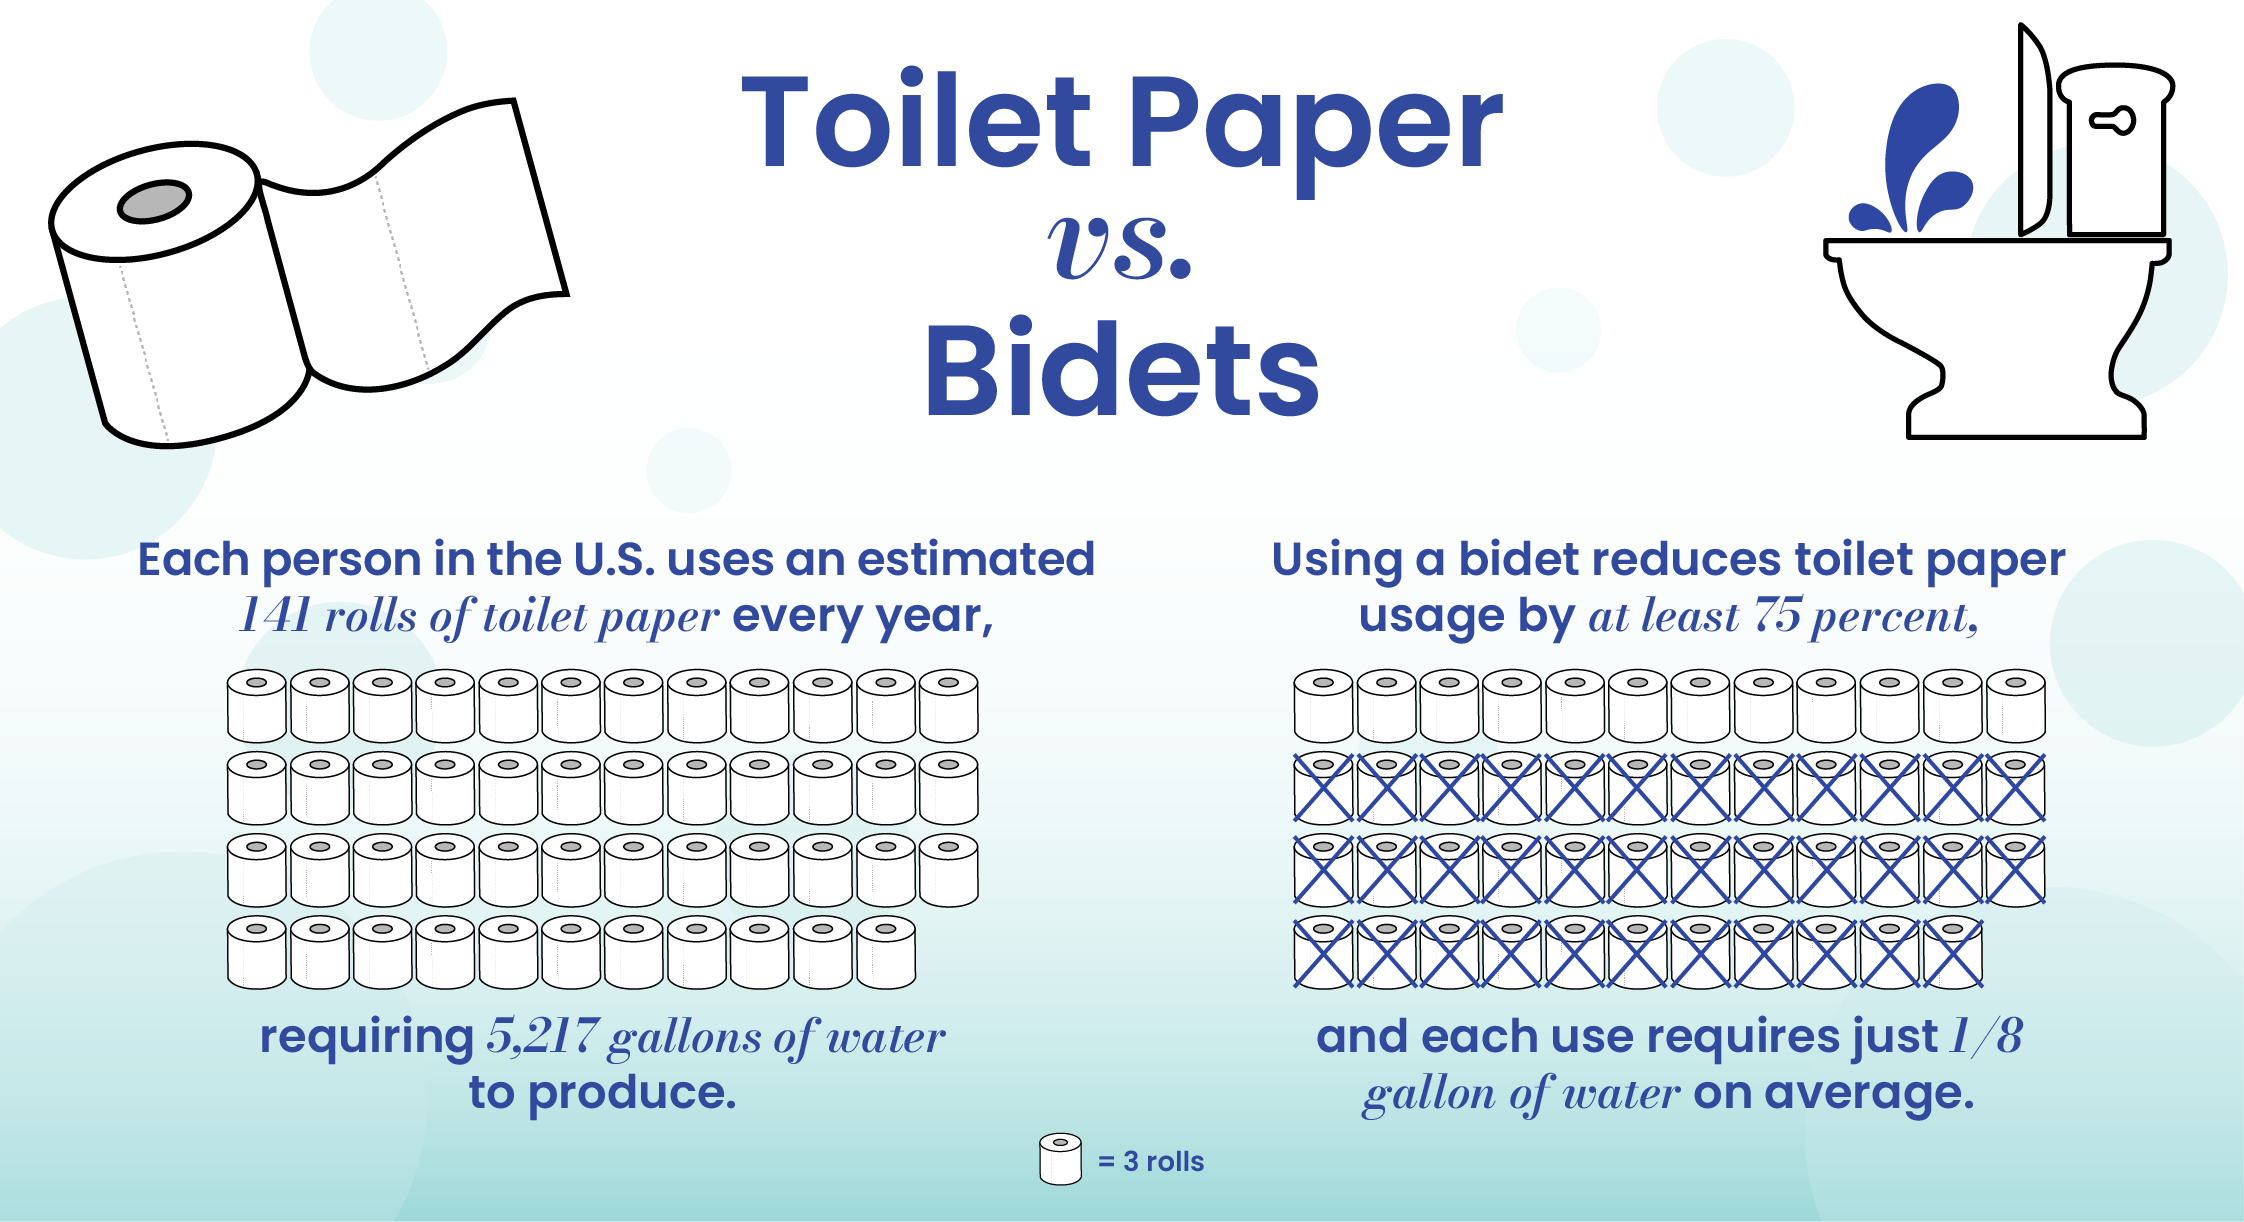
Toilet paper takes 1 to 3 years to decompose and often resurfaces as toilet paper blooms on popular trails. By using a bidet, you leave zero trace.
Never Burn TP
Burning toilet paper increases wildfire risk. Even a small flame can escape in dry conditions. Do not burn TP. Pack it out or skip it entirely.
Pour Wastewater Into the Cathole
Used bidet water should go directly into your cathole or privy box. Soil naturally filters it. Never dump near trails or water sources.
Troubleshoot Common Bidet Problems
Even with practice, issues can arise. Knowing how to address common problems keeps you prepared.
Fix Splashback With Proper Angle
Splashback happens when the bottle is too close or aimed incorrectly. Hold it 6 to 8 inches away and tilt it to direct flow downward.
Prevent Wet Pants
Pull pants below your knees because they rise when squatting. Or remove them entirely. Use a longer bottle to keep spray contained.
Handle Cold Water Shock
Pre-warm your bidet bottle by storing it inside your jacket or sleeping bag. Glacial meltwater feels less shocking when your body is already cold.
Awkward at First
Every hiker feels awkward the first few times. Practice at home. Watch YouTube tutorials. Soon, it becomes second nature.
Why Backpacking Bidets Beat Toilet Paper
The benefits extend beyond convenience. Understanding the advantages helps justify the learning curve.
| Feature | Toilet Paper | Backpacking Bidet |
|---|---|---|
| Cleaning Power | Spreads residue | Removes it completely |
| Pack Weight | 2 to 4 oz | 0.5 oz (nozzle only) |
| Waste Generated | Yes (must pack out) | None |
| Environmental Impact | High (27k trees/day) | Near zero |
| Cost Over Time | Ongoing | One-time purchase |
| Hygiene Level | Moderate | Shower-like |
Cutting pack weight by 4 or more ounces is possible when you eliminate TP. A $9 bidet replaces hundreds of rolls of TP. Over time, it pays for itself and reduces your environmental footprint. Each hiker saves approximately 12 trees over a thru-hike.
Frequently Asked Questions About Backpacking Bidets
Do I need a dedicated water bottle for the bidet?
No, but many users prefer one for hygiene. Ensure the bottle is clearly marked and not used for drinking.
Can I use a flexible water bottle?
Not recommended. Flexible bottles (Platypus, Sawyer) are harder to aim and lose pressure. Rigid bottles (Smartwater, ICE) provide better control.
How do I avoid getting my pants wet?
Pull pants to just above knees because they rise when squatting. Remove pants entirely for full mobility and dryness. Use a longer bottle to keep the stream contained.
Is the bidet really cleaner than TP?
Yes, when used correctly. Water removes residue, dust, and bacteria more effectively than wiping. Combined with hand washing, it provides shower-level cleanliness.
Can I use the bidet for other purposes?
Yes. The pressurized stream is perfect for irrigating cuts or blisters, rinsing dirty cookware, flushing debris from zippers or tent fabric, and aiding menstrual care.
Final Thoughts on Using a Backpacking Bidet
Once you have felt truly clean in the backcountry, toilet paper just will not feel the same again. The backpacking bidet is more than a tool. It is a shift toward smarter, cleaner, and more sustainable hiking.
With a little practice, it becomes effortless. You will save weight, protect the environment, and hike with confidence. Whether you are on the Appalachian Trail, Pacific Crest Trail, or a weekend loop, using a backpacking bidet is one of the best upgrades you can make.
So screw on that nozzle, fill your Smartwater bottle, and take the leap. Your butt and the planet will thank you.