
If your bidet sprayer isn’t delivering a strong, steady stream, or you’ve noticed white crust around the nozzle, it’s time to clean it. Mineral buildup, sediment, and biofilm can clog spray holes and reduce hygiene, especially in homes with hard water. Even models with self-cleaning functions need regular manual maintenance. The good news? Cleaning a bidet sprayer is quick, safe, and requires only basic household supplies like vinegar, a soft brush, and a microfiber cloth. In this guide, you’ll learn step-by-step how to clean every part of your bidet sprayer, from the nozzle to the filter, avoid common mistakes, and keep your system running smoothly for years.
Step-by-Step Nozzle Cleaning Process
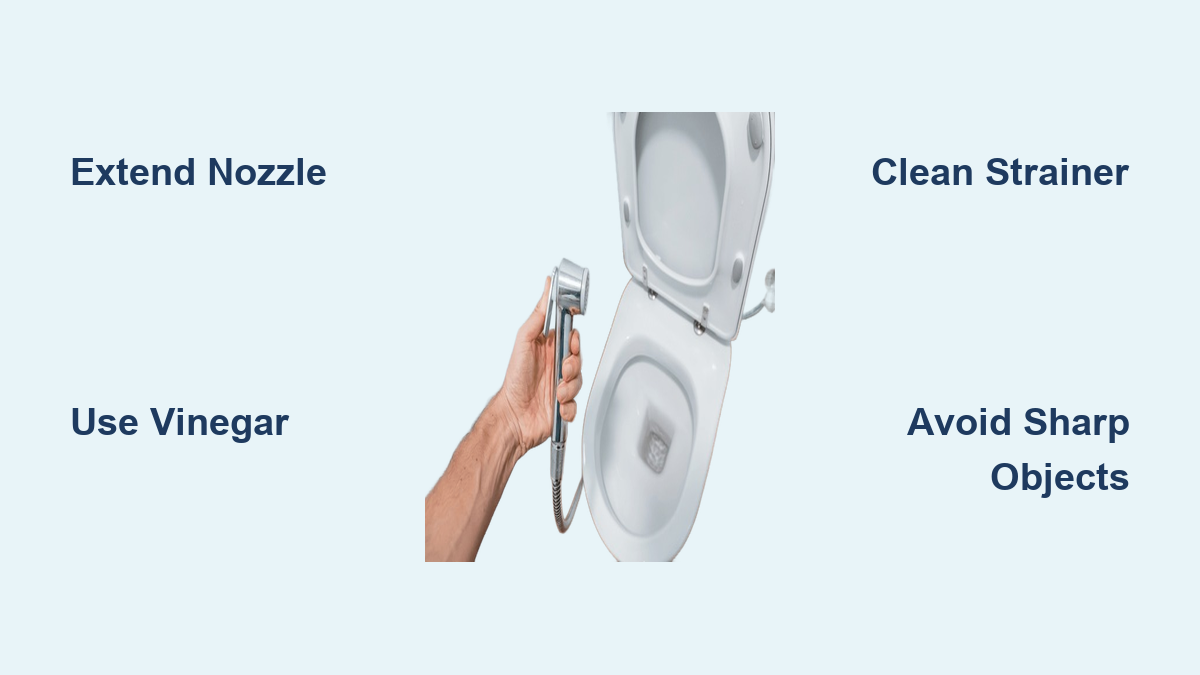
Extend and Inspect the Nozzle First
Start by extending the nozzle using the clean or wash button on your remote or control panel. If your model doesn’t extend automatically, consult the manual and never force it. Once extended, inspect the spray holes for white crust (limescale), discoloration, or debris. These are signs of mineral buildup or contamination that affect performance.
Run a self-clean cycle first to rinse surface residue. This makes manual cleaning more effective.
Apply Safe Cleaning Solutions
Never use bleach, ammonia, or abrasive tools. Instead, choose one of these safe options:
• 1:1 vinegar and water solution — dissolves mineral deposits effectively
• Warm water with mild dish soap — removes grime and oils
Apply the solution to a microfiber cloth or soft-bristle toothbrush, and never spray directly onto the unit.
Scrub Spray Holes Gently
Using circular motions, lightly scrub the nozzle tip and surrounding area. Focus on the tiny orifices but do not insert anything into the holes. A cotton swab works well for cleaning crevices around the base. Avoid needles or pins because they can deform the spray pattern permanently.
Scratching or poking the nozzle may permanently damage water flow, so stick to gentle cleaning methods.
Remove Mineral Buildup Safely
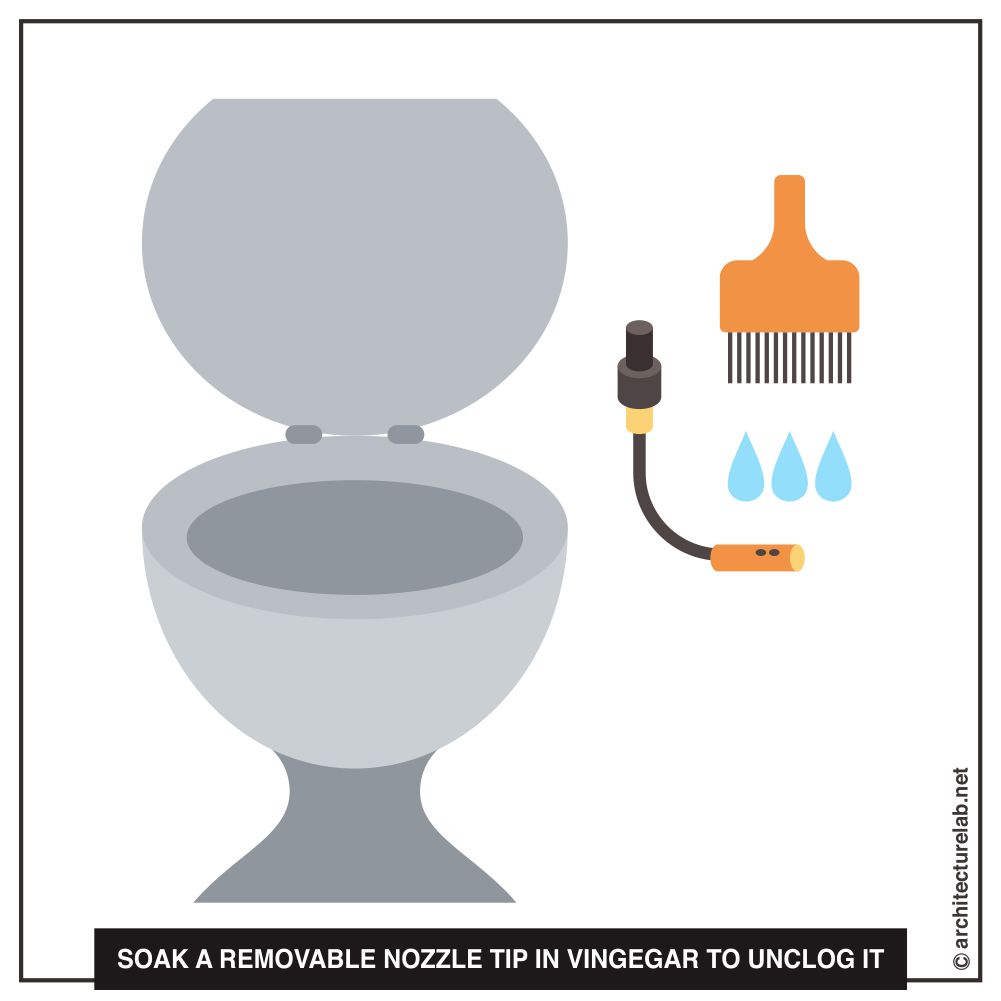
Soak Removable Nozzles in Vinegar
If your model allows disassembly (like Brondell Swash), remove the nozzle per the manual instructions. Submerge only the tip in white vinegar (5% acetic acid) for 30 to 60 minutes. For heavy buildup, soak up to 2 hours maximum.
After soaking, follow these steps:
- Brush gently with a soft toothbrush
- Rinse thoroughly with warm water
- Reinstall carefully, ensuring proper alignment
Kohler Model-1433397 and similar units have non-removable nozzles, so skip this step for those models.
Use the Vinegar Bag Method for Fixed Nozzles
For bidets with horizontally extending or fixed nozzles (like Bemis Slim Twist), use a vinegar bag method:
- Fill a small plastic bag with white vinegar
- Position it over the extended nozzle
- Secure with a rubber band or zip tie
- Let sit 30 to 60 minutes
- Remove and flush with multiple rinse cycles
This method can be tricky on compact models. Use a mini ziplock and support it with tape if needed.
Flush With Warm Water Weekly
In soft-water areas, prevent early buildup by running warm tap water through the line for 1 to 2 minutes weekly. Activate self-clean mode during flushing if available on your model.
Clean the Inlet Strainer Regularly

Locate and Access the Strainer
The strainer (or inlet filter) sits between the toilet’s shut-off valve and the bidet hose. It traps sand, rust, and debris before they enter the system. A clogged strainer mimics nozzle blockage, causing low pressure and weak spray.
Kohler Model-1433397 has no internal filter, so skip this step for that model.
Remove and Rinse the Filter
Follow these steps to clean the strainer:
- Turn off the water supply
- Flush the toilet to drain pressure
- Unscrew the hose nut by hand or with a wrench
- Pull out the mesh strainer
- Clean under running water with a soft brush
- Reinstall and tighten securely
Clean the inlet strainer every 3 to 6 months, or more often in areas with poor water quality.
Maintain External Filters and Water Quality
Install a Carbon Filter for Better Water
If you have hard water or high chlorine levels, add an inline carbon filter to the shut-off valve. It reduces odor, scale-forming minerals, and chlorine, extending the life of your bidet.
Replace the carbon filter every 6 months for best results.
Manage Hard Water Issues Effectively
Hard water speeds up limescale formation. Consider these solutions:
• A whole-house water softener for comprehensive protection
• Using filtered or distilled water for extreme cases
• More frequent descaling every 1 to 3 months
If your showerhead or faucets scale quickly, expect the same for your bidet.
Deep Clean the Seat and Underside
Remove the Bidet Seat for Thorough Cleaning
Many models (like Brondell Swash) have a quick-release button. Press it to detach the unit safely without special tools.
Wipe Under the Seat Completely
Dust, hair, and moisture accumulate underneath the seat. Use these cleaning tools:
• A Swiffer Duster for lint and debris
• A cloth dampened with mild soap or Simple Green for grime
• A dry microfiber towel to finish
Also clean the toilet rim, mounting bolts, and control panel base. This prevents odors, mold, and keeps your bathroom fresh.
Sanitize the Remote Control Safely
Avoid Direct Spraying On Electronics
Never spray cleaners directly onto the remote. Moisture can seep inside and damage electronics permanently.
Clean With a Damp Cloth
Follow these steps:
- Spray disinfectant (like a Clorox wipe) onto a cloth first
- Wipe all surfaces, including buttons and edges
- Dry with a microfiber towel
Clean the remote monthly because remotes are germ hotspots due to frequent handling.
Troubleshoot Common Issues After Cleaning
Low Pressure Persists After Cleaning
Check these potential causes:
• Clogged strainer — re-inspect the inlet filter
• Residual vinegar — run 2 to 3 rinse cycles
• Air in the line — wait a few minutes; pressure often returns
• Damaged seal — leaks or persistent low flow may require repair
Sometimes descaling exposes worn seals that were temporarily sealed by scale buildup.
Nozzle Won’t Retract Fully
This issue is likely caused by:
• Mineral buildup in retraction track
• Debris in the guide rails
• Degraded lubricant
Clean the track with a vinegar-dampened cloth and run multiple extend/retract cycles. If it sticks, consult the manual or contact manufacturer support.
Uneven or Misdirected Spray
Causes include:
• Partial clog in one orifice
• Nozzle misalignment after reassembly
• Shifted internal debris
Try a second vinegar soak or gentle brushing. If the pattern remains off, the nozzle may need replacement.
Follow a Consistent Maintenance Schedule
Weekly Tasks
• Wipe nozzle with a damp cloth
• Run self-clean cycle after each use
• Check spray strength and retraction
Monthly Tasks
• Deep clean seat and underside
• Sanitize remote control
• Inspect for leaks or strange noises
Every 3 to 6 Months
• Clean inlet strainer
• Descale nozzle (vinegar soak or bag method)
• Check water hose for kinks or wear
Every 6 Months
• Replace inline carbon filter
• Perform full system inspection
Set phone reminders or mark your calendar to stay on track with maintenance.
Avoid Common Cleaning Mistakes
Never Use Harsh Chemicals
Avoid these damaging substances:
• Bleach — cracks plastic components
• Ammonia — degrades rubber seals
• Toilet bowl cleaners — contain hydrochloric acid
• Acetone or alcohol — dries out gaskets
Mixing vinegar and bleach creates toxic chlorine gas, so never combine these substances.
Don’t Over-Soak Plastic Parts
Prolonged vinegar exposure exceeding 2 hours can weaken plastic and degrade seals. Always rinse thoroughly after descaling and limit soaking time.
Don’t Insert Sharp Objects Into Spray Holes
Pins, needles, or toothpicks can enlarge spray holes, alter water flow, or damage internal mechanisms. One user reported using unsafe methods to clean the nozzle, which is not recommended.
Know When to Stop Cleaning
If you’ve descaled multiple times and still experience weak or no spray, persistent leaks, nozzle retraction failure, or error codes on electric models, it’s time to consider replacing the nozzle, seeking professional repair, or upgrading to a newer model.
In hard-water homes, descaling is maintenance, not a cure. Some wear is inevitable over time.
Final Tips for Long-Term Bidet Care
Run Self-Clean After Every Use
Even if you clean manually, use the built-in self-clean function after each wash. It rinses the nozzle with fresh water, reducing biofilm buildup.
Keep Away From Oils and Lotions
Hairsprays, tanning oils, and body creams can bake onto heated seats and become impossible to remove. Avoid spraying these products near the bidet.
Educate All Household Users
Teach family members not to play with controls, to avoid excessive spraying, and to wash hands after use. Bidets are more hygienic than toilet paper when maintained properly.
Frequently Asked Questions About Cleaning a Bidet Sprayer
How Often Should I Clean My Bidet Sprayer Nozzle?
Clean the nozzle manually every 1 to 3 months, depending on your water hardness and usage frequency. Wipe it weekly with a damp cloth and run the self-clean function after every use.
Can I Use Bleach to Clean My Bidet Nozzle?
No, never use bleach. It causes discoloration, cracking, and degradation of plastic components. Stick to white vinegar or mild dish soap for safe cleaning.
Why Is My Bidet Spray Weak After Cleaning?
A weak spray after cleaning usually indicates a clogged inlet strainer, residual vinegar in the lines, or air trapped in the system. Check the strainer first and run multiple rinse cycles to flush out residue.
How Do I Clean a Non-Removable Bidet Nozzle?
For fixed nozzles, use the vinegar bag method. Fill a plastic bag with white vinegar, secure it over the extended nozzle with a rubber band, and let it soak for 30 to 60 minutes before rinsing thoroughly.
What Is the Best Way to Descale a Bidet Sprayer?
The best descaling method is submerging the nozzle tip in white vinegar for 30 to 60 minutes (for removable nozzles) or using the vinegar bag method (for fixed nozzles). Always rinse thoroughly after descaling to prevent residue buildup.
When Should I Replace My Bidet Nozzle?
Replace the nozzle if descaling multiple times fails to restore proper spray pressure, if the nozzle won’t retract fully, or if you notice visible damage to the spray holes or mechanism.
Key Takeaways for Cleaning Your Bidet Sprayer
A clean bidet sprayer ensures better hygiene, stronger spray, and longer lifespan. The most important steps are extending and inspecting the nozzle regularly, using safe cleaning solutions like vinegar instead of harsh chemicals, and cleaning the inlet strainer every 3 to 6 months. Always avoid inserting sharp objects into spray holes, and never over-soak plastic parts in vinegar. Follow a simple maintenance routine of weekly wiping, quarterly descaling, and regular filter checks to keep your system in top shape. Always consult your owner’s manual for model-specific guidance, and when in doubt, consider professional repair or replacement rather than forcing damaged components.