
If your LUXE bidet isn’t spraying cleanly or smells musty, the issue likely isn’t broken hardware. It’s overdue cleaning. Like any personal hygiene device, a LUXE bidet requires regular maintenance to stay sanitary, prevent clogs, and ensure smooth operation. From the nozzle that touches sensitive areas to hidden mineral buildup in water lines, neglect can lead to poor performance and even bacterial growth.
This guide covers everything you need to know about cleaning your LUXE bidet, including the NEO, NEO Plus, and Whift series. You’ll learn how to safely clean the nozzle, descale with vinegar, maintain the water filter, and wipe down electronic controls all without damaging the unit. Whether you’re troubleshooting weak spray or just doing routine upkeep, these steps will keep your bidet fresh, functional, and hygienic for years.
Prepare for Cleaning Safely
Before touching any part of your bidet, safety comes first since it connects to both water and electricity.
Shut Off Water and Power
Turn off the water supply valve behind the toilet. Unplug the bidet from the wall outlet if it’s electric. Press the spray button briefly to release residual pressure. This prevents accidental spraying or electrical hazards during cleaning.
Extend the Nozzle
Use the Nozzle Clean or Self-Clean function via the control knob or remote to fully extend the spray nozzle. This gives you full access for scrubbing. For models like the Neo 185 Plus, the nozzle stays extended during cleaning mode, ideal for deep wiping.
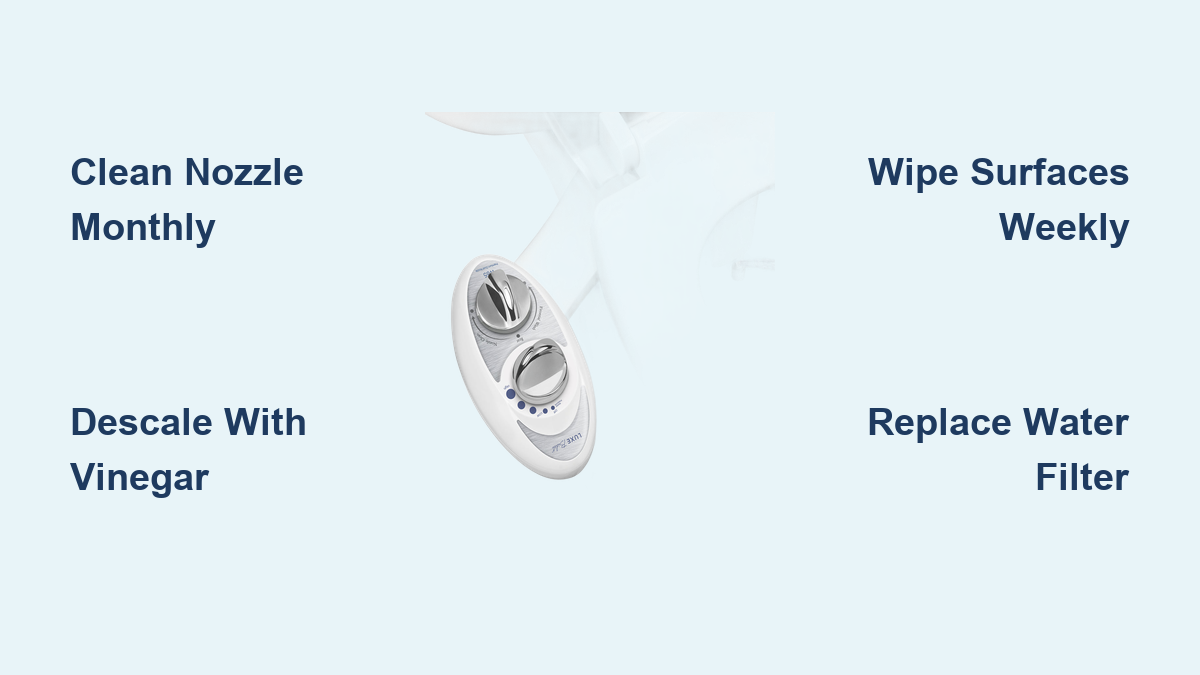
Wipe Down Surfaces Weekly
Dust, toilet mist, and fingerprints build up quickly on visible parts of the bidet.
Dust First, Then Clean
Use a dry Swiffer duster or soft brush to remove loose debris. Dampen a microfiber cloth with water or mild soap solution. Wipe the seat, control panel, and housing. Never spray directly onto the unit. Skipping dusting can turn dirt into abrasive paste when wet, scratching surfaces over time.
Use Mild Soap Only
Mix one to two teaspoons of Dawn Antibacterial Dish Soap with warm water. Apply only to the cloth, not the unit. Avoid harsh chemicals like bleach or Lime-A-Way. These can crack ABS plastic and void warranties.
Clean the Nozzle Monthly

The nozzle is the most critical hygiene point and needs regular attention.
Scrub With Soft Brush
Extend the nozzle using Nozzle Clean mode. Spray vinegar-water (one to one ratio) or soapy water on the tip. Gently scrub spray holes with a soft-bristle toothbrush. Wipe dry with a clean microfiber towel. For NEO Plus and Whift models, clean both rear and feminine wash nozzles separately.
Lift Nozzle for Deep Access
On Neo 185 Plus, gently lift the nozzle assembly using its articulating hinge to reach the underside and guard gate. This removes trapped grime that flat wiping misses.
Remove Mineral Buildup With Vinegar
Hard water leaves calcium and magnesium deposits that clog nozzles and reduce spray power.
Soak Nozzle in Vinegar
Mix equal parts white vinegar and water. Soak a paper towel and wrap it around the extended nozzle. Let sit 15 to 30 minutes. Scrub lightly, then rinse with clean water. Don’t exceed 30 minutes. Prolonged vinegar exposure may dull plastic over time.
Flush Internal Lines (Optional)
Some users run a warm vinegar-water solution through the system by mixing warm water and vinegar in a spray bottle. Attach tubing to the T-connector for advanced flushing. Flush manually and check your model’s manual first. This isn’t recommended for all LUXE units.
Clean Under the Bidet Monthly

Mold, mildew, and splatter accumulate beneath the unit where it mounts to the toilet.
Lift and Wipe Daily-Used Areas
Gently lift the bidet. It should detach easily from mounting screws. Wipe the underside of the unit with a damp cloth and mild soap. Clean the toilet rim underneath with standard toilet cleaner. Dry all surfaces before reattaching. The Neo 185 Plus is designed to be lifted monthly without disconnecting plumbing.
Maintain the Water Filter Every 3-6 Months
Low pressure? A clogged filter could be the culprit.
Remove and Rinse Filter
Shut off water and relieve pressure. Locate the in-line filter in the T-connector or hose. Unscrew housing and remove the mesh screen. Rinse under tap using a soft brush.
Replace If Damaged
Discard and replace the filter if it’s discolored, brittle, rusty, or no longer filtering effectively. Replace every six to 12 months depending on water quality. Use genuine LUXE replacement filters.
Clean Remote and Controls Safely
Electronic remotes collect germs and can fail if moisture seeps in.
Disinfect Without Damage
Power off the bidet. Use a 70% isopropyl alcohol wipe on a microfiber cloth. Gently wipe buttons and screen. Never spray liquid directly. Dry immediately. Never submerge the remote or use alcohol sprays. These can damage circuitry.
Run Self-Clean Mode Weekly
Take advantage of built-in hygiene features on NEO Plus and Whift models.
Activate 360° Self-Clean
Press Self-Clean on the remote or control knob. The system flushes both nozzles and the guard gate with a full water stream. Cycle lasts 10 to 20 seconds. Use warm water setting to enhance cleaning effectiveness.
Use Before and After Shared Use
In households with multiple users, run Self-Clean before and after each use for maximum hygiene. This reduces biofilm and mineral buildup between manual cleanings.
Follow a Maintenance Schedule
Stay ahead of problems with consistent care.
LUXE Bidet Cleaning Schedule
Run Self-Clean or Nozzle Clean mode weekly. Wipe exterior surfaces weekly. Clean nozzle with brush monthly. Lift and clean under unit monthly. Clean remote and controls monthly. Descale with vinegar every one to three months. Inspect and clean water filter every three to six months. In hard water areas, increase descaling to every four weeks.
Avoid These Cleaning Mistakes
Even small errors can damage your bidet or void the warranty.
Never Use Harsh Cleaners
Avoid bleach, ammonia, acidic bathroom cleaners, and abrasive pads. These degrade polypropylene and ABS plastics used in LUXE models. They can crack, discolor, or void your warranty.
Don’t Soak Electronic Parts
Never immerse the control box, wiring, or remote in water. Moisture ingress is a common cause of remote failure. Keep all electronic components dry.
Don’t Skip Drying
Always dry the nozzle and under-unit area thoroughly after cleaning. Trapped moisture leads to mold, odors, and corrosion. This simple step prevents major problems down the line.
Troubleshoot Common Issues
Fix problems fast with targeted cleaning steps.
Weak Spray? Check Nozzle and Filter
The cause is mineral clog or dirty filter. The fix involves soaking nozzle in vinegar and cleaning or replacing the filter.
Nozzle Won’t Extend?
The cause is obstruction or misalignment. The fix requires repositioning the bidet, cleaning guide rails, and ensuring full clearance.
Smelly Bidet?
The cause is biofilm under the unit or in lines. The fix involves lifting and cleaning underneath plus running a vinegar flush.
Remote Not Working?
The cause is wet contacts or dead battery. The fix requires drying the remote thoroughly and replacing batteries.
Extend Warranty With Registration
Your LUXE bidet comes with an 18-month warranty, extendable to 24 months.
Register Online
Visit the official LUXE website and register your product within 30 days. Warranty does not cover damage from improper cleaning, so stick to approved methods only.
Final Tips for Long-Term Care
Keep your bidet performing like new with these pro habits.
Use Warm Water Pre-Flush
Run Nozzle Clean mode with warm water before use to flush debris and preheat lines. This simple habit keeps internal components cleaner between deep cleanings.
Reposition for Proper Alignment
Ensure the bidet sits flush and allows full nozzle extension. No scraping or binding should occur. Proper alignment prevents damage and ensures consistent spray.
Replace the Black Rubber Washer
If you see leaks under the unit, replace the black rubber washer in the water inlet. Available separately from LUXE customer support.
Stick to Approved Tools
Use only microfiber cloths, soft toothbrushes, vinegar or Dawn solution, and 70% isopropyl alcohol on cloth. Never use steel wool, scrapers, or pressure washers. These tools can permanently damage your bidet.
Key Takeaways for Cleaning Your LUXE Bidet
A clean LUXE bidet is safer, more comfortable, and lasts longer. Clean the nozzle monthly with a soft brush and mild soap or vinegar solution. Run Self-Clean mode weekly to flush internal components automatically. Maintain the water filter every three to six months, replacing it if damaged. Avoid harsh chemicals like bleach, ammonia, and abrasive cleaners that can crack ABS plastic and void your warranty. Dry all surfaces thoroughly after cleaning to prevent mold and mineral buildup. Register your unit within 30 days to extend your warranty to 24 months and protect your investment.
Frequently Asked Questions About Cleaning LUXE Bidets
How often should I clean my LUXE bidet nozzle?
Clean the nozzle with a soft brush at least once per month. In hard water areas or high-use households, clean it every two to four weeks. Run Self-Clean mode weekly to help prevent buildup between deep cleanings.
Can I use bleach to clean my LUXE bidet?
Never use bleach on your LUXE bidet. Bleach degrades the ABS and polypropylene plastics used in LUXE models. It can cause cracking, discoloration, and void your warranty. Use only mild dish soap, white vinegar, or approved cleaning solutions.
Why is my LUXE bidet spraying weakly?
Weak spray is usually caused by a clogged nozzle or dirty water filter. Soak the nozzle in equal parts vinegar and water for 15 to 30 minutes. Also inspect and clean the in-line water filter. Replace it if it’s discolored, rusty, or damaged.
How do I descale my LUXE bidet from hard water buildup?
Mix equal parts white vinegar and water. Soak a paper towel and wrap it around the extended nozzle. Let sit for 15 to 30 minutes. Scrub gently with a soft toothbrush, then rinse thoroughly with clean water and dry completely. Repeat monthly in hard water areas.
Can I lift my LUXE bidet to clean underneath it?
Yes. The Neo 185 Plus and similar models are designed to be lifted without disconnecting plumbing. Gently lift the unit from the mounting screws, wipe the underside with mild soap, clean the toilet rim underneath, and dry all surfaces before reattaching. Do this monthly to prevent mold and odor buildup.