
Removing a bidet from your toilet might seem intimidating, especially if you’re in a rental or worried about leaks, but with the right steps, it is a straightforward DIY task. Whether you are removing it due to lease rules, health concerns, or simply no longer using it, this guide walks you through how to remove a bidet safely, reconnect your toilet’s water supply, and restore your bathroom to its original condition. You will learn the exact tools needed, step-by-step removal procedures, how to handle stubborn fittings, and what to do if your landlord refuses to help.
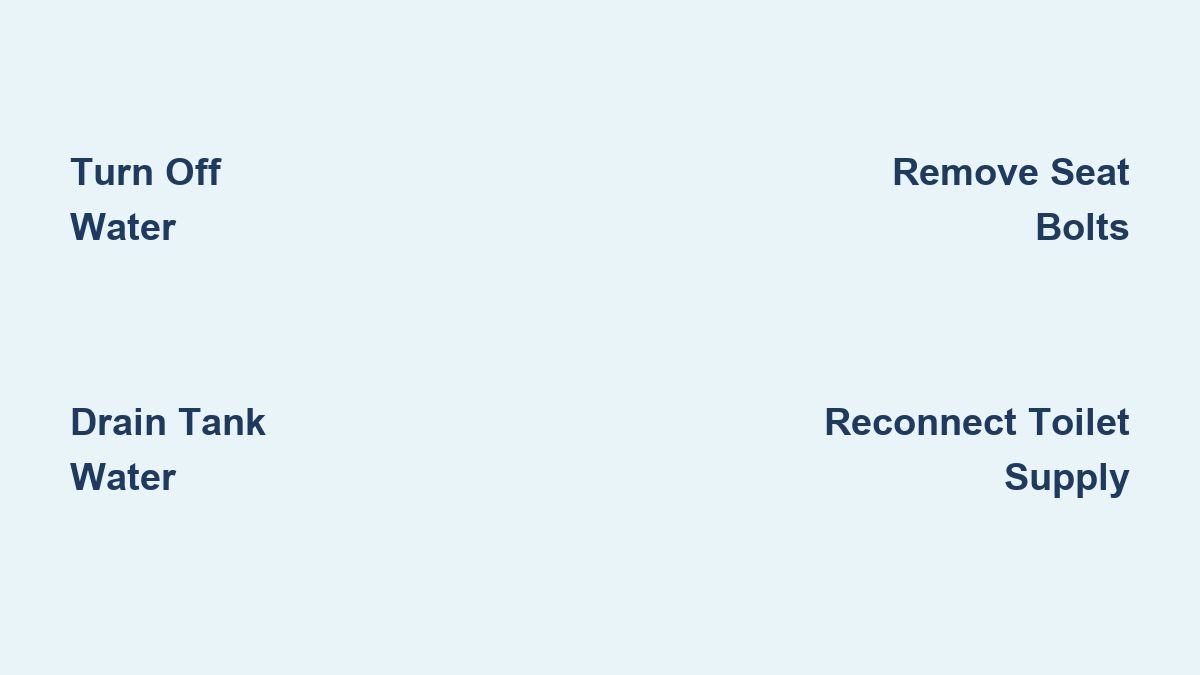
Turn Off Water Supply Before Removing a Bidet
Before touching any plumbing, you must stop the water flow to prevent flooding. This is the most critical safety step in the entire removal process.
Locate the Shut-Off Valve Behind Toilet
Find the shut-off valve on the wall or floor behind your toilet. Most toilets have either a lever-style or knob-style valve.
For lever valves, flip the handle 90 degrees so it sits perpendicular to the pipe. For knob valves, turn clockwise until tight. Never skip this step because disconnecting hoses with water pressure can cause serious flooding.
Consider Turning Off Main Water Supply
If your valve looks old, corroded, or does not fully stop the water, turn off the main water supply to your apartment. This eliminates all risk during disassembly.
Test the shutoff by flushing the toilet. If the tank does not refill, the water is off.
Drain Remaining Water From Toilet Tank
Even after shutting off the supply, water remains in the tank and hoses. You must drain this before proceeding.
Flush Toilet Twice
Flush once to empty most of the water. Flush a second time to confirm no new water enters the tank. This second flush verifies the valve is truly off.
Place Towels and Bucket Under Connections
Place towels under the tank and connections. Have a small bucket ready to catch drips from hoses and fittings when disconnected. Residual water in the supply line can drip for several seconds, so always work slowly and dry connections before reassembly.
Remove Bidet Seat Assembly From Toilet
Most bidets attach to the toilet seat and mount as one unit. The removal process is similar for most models, including TUSHY Classic units.
Pry Off Plastic Caps Covering Bolts
Lift the seat and locate the two plastic caps at the rear. Use a flat-head screwdriver to gently pry them off and expose the mounting bolts.
Unscrew Seat Bolts Carefully
Insert your screwdriver into the bolt head. Turn counterclockwise to loosen. Hold the nut underneath with your fingers to prevent it from falling into the tank. If bolts are stuck, wrap a rubber band around the screwdriver tip for extra grip.
Lift Off Entire Bidet and Seat Unit
Once both bolts are removed, carefully lift the bidet and seat together off the toilet. Set it aside on a towel to avoid scratching surfaces. On models like the TUSHY Classic, the bidet integrates into the seat, so removal must be done as a single unit.
Disconnect Water Supply Hoses From Bidet

With the seat removed, you can now detach the water lines feeding the bidet.
Find the T-Connector or Y-Splitter
Locate the T-shaped adapter where the main supply line splits to feed both the toilet tank and bidet. This is usually near the base of the toilet.
Use Wrench to Loosen Hose Connections
Place a towel under the connection to catch drips. Use an adjustable wrench or plumber’s wrench to loosen the flexible steel hoses from the T-connector. Disconnect both ends if needed. Expect a small amount of water to spill, which is normal.
Handle Stubborn or Frozen Fittings
If hoses will not budge, apply penetrating oil like WD-40 and wait 5 to 10 minutes. Use a breaker bar for extra leverage. Gently tap the fitting with a rubber mallet if frozen from mineral buildup. Avoid excessive force because cracking the valve or tank can lead to costly repairs.
Remove T-Connector and Reconnect Toilet Supply
The T-connector must be removed to restore your original plumbing configuration.
Unscrew and Remove T-Adapter Completely
Use the wrench to fully unscrew the T-connector from the toilet tank inlet valve. You will now have a flex hose coming from the wall valve and an open threaded port below the tank.
Reattach Main Supply Line Directly to Tank
Take the flex hose from the wall valve and screw it directly into the toilet tank inlet. Hand-tighten first, then give a quarter turn with the wrench. Do not over-tighten because porcelain can crack under too much pressure. If the original hose is too short or damaged, replace it with a standard toilet flex line.
Test for Leaks After Reconnection
Always verify your reconnection is watertight before declaring the job done.
Turn Water Back On Slowly
Open the shut-off valve gradually. This reduces pressure surge. Watch the reconnected joint closely for drips, seepage, or pooling water.
Let Tank Refill and Flush
Wait for the tank to fill completely. Flush once to check for normal operation. Inspect again for leaks after flushing. A brief gurgling or vibrating sound is often air in the line, and it usually stops after a few flushes.
If you notice leaking, tighten slightly or replace the rubber washer inside the hose nut.
Reinstall Standard Toilet Seat
Put your original or new seat back on to complete the restoration.
Align and Insert Mounting Bolts
Position the seat so the hinges line up with the mounting holes. Insert plastic or metal bolts through the top.
Tighten Nuts From Below
Hold the nuts underneath while tightening the bolts above. Snug is enough because over-tightening can crack porcelain.
Replace Caps and Test Stability
Snap plastic caps back over the bolt heads. Lower and lift the seat to confirm it is stable. Keep removed bidet hardware in a labeled bag in case you reinstall it later.
Handle Lease and Landlord Considerations

Many tenants need to remove bidets due to rental rules. Understanding your rights can prevent disputes.
Know Your Rights as a Tenant
If maintenance installed the bidet, the landlord may be responsible for removal. Leases often ban plumbing modifications, even if previously approved. Management may refuse removal due to liability fears, but that does not always make it your responsibility. Keep photos, work orders, and messages proving the bidet was installed by staff.
Push Back on Liability Shifts
If the landlord insists you remove it, politely state that since it was installed by their team, you would appreciate written confirmation that removal is your responsibility. Ask for a plumber to handle it because flooding risks are real, especially with old valves.
If you use the bidet for health reasons, a doctor’s note may support your right to keep it.
Troubleshoot Common Removal Problems
Even careful removal can have hiccups. Here is how to address them.
Fix Leaks After Reconnection
Loose joints, worn washers, or cracked fittings cause leaks. Tighten gently with a wrench. Replace the rubber washer inside the hose nut. Inspect for hairline cracks and replace the part if damaged.
Stop Weird Noises After Turn-On
Air trapped in pipes causes gurgling or vibrating sounds. Flush 2 to 3 times, and the noise should fade within minutes.
Deal With Broken Shut-Off Valves
If the valve drips when closed or will not turn, it may be worn out. Call a plumber because replacing a valve is a quick job but requires expertise. Never force a seized valve because you risk breaking the pipe and flooding the bathroom.
Store or Reuse Your Bidet Properly
If you plan to reinstall the bidet elsewhere or sell it, store it properly.
Dry All Components Before Storage
Let hoses, nozzles, and fittings air-dry completely before packing. Moisture leads to mold in internal tubing.
Keep Hardware Organized
Store screws, caps, and adapters in a sealed bag labeled “Bidet Parts.” Keep everything together for easy reinstallation later.
Use Original Packaging
If available, place the unit back in its original box to protect it from dust and damage. Consider upgrading to a bidet with temperature control, like the TUSHY Spa, if you reinstall later.
When to Call a Professional Plumber
Some situations demand professional help rather than DIY attempts.
Older or Fragile Plumbing
Apartment plumbing over 10 to 15 years old may have brittle valves or corroded fittings. A plumber can avoid costly breaks.
Valve Leaks After Removal
If the shut-off valve drips continuously after being turned, it likely needs replacement. Do not attempt this yourself without experience.
No Confidence in DIY
If you are unsure about any step, hire a plumber. Most bidet removals take under 30 minutes and cost $75 to $100. A licensed professional can complete the job quickly and safely.
Frequently Asked Questions About Removing a Bidet
Can I remove a bidet myself without plumbing experience?
Yes, most bidet removals are straightforward DIY tasks. The process involves turning off water, disconnecting hoses, and reconnecting the toilet supply. With basic tools and careful attention, most people can complete it in under 30 minutes.
What tools do I need to remove a bidet?
You will need an adjustable wrench or plumber’s wrench, a flat-head screwdriver, towels, and a small bucket or container. Optional tools include a breaker bar for stubborn fittings and gloves for hygiene.
How do I handle a stubborn T-connector that won’t budge?
Apply penetrating oil like WD-40 and wait 5 to 10 minutes. Use a breaker bar for extra leverage. Gently tap the fitting with a rubber mallet if mineral buildup is causing the resistance. Avoid excessive force to prevent cracking.
What should I do if my landlord refuses to help with bidet removal?
If maintenance installed it, the landlord may be responsible. Document everything with photos and messages. Politely request written confirmation that removal is your responsibility. Ask if they will provide a plumber, as flooding risks are real.
Is it normal to hear noises after turning the water back on?
Yes, a brief gurgling or vibrating sound is normal and usually indicates air in the lines. Flush 2 to 3 times, and the noise should resolve within minutes.
Key Takeaways for Removing Your Bidet
Removing a bidet is usually simple with basic tools and caution. The key steps are shutting off the water supply, draining residual water, removing the seat assembly, disconnecting hoses, removing the T-connector and reconnecting the toilet directly, and testing for leaks. Whether you are restoring a rental or upgrading your bathroom, doing it right prevents water damage and gives you peace of mind.
If your landlord refuses to help despite installing the bidet, document everything. You may not be responsible for removal costs. When in doubt, call a professional plumber. Your floor and your deposit will thank you.