
You’ve probably seen bidet sprayers in bathrooms abroad or on travel shows. They are compact, efficient, and surprisingly effective. But you do not need to spend $40 or hire a plumber to get one. In fact, you can make a fully functional bidet sprayer for as little as $0 using household items or build a durable, plumbed-in version for under $11. This guide covers every method from permanent installations to portable bottle-based systems so you can choose the right solution for your home, budget, or travel needs.
Whether you are a homeowner, renter, traveler, or prepper, you will learn how to build a reliable sprayer using simple tools and proven techniques. We will walk through plumbing hacks, no-tools bottle mods, and even repurposed ink cartridges. Let us get started.
Install a Fixed Bidet Sprayer with a Sink Hose

This semi-permanent setup taps into your toilet water supply using a T-fitting and a standard sink hose. It is affordable, durable, and uses household water pressure with no batteries or pumps needed.
Choose the Right Hose and Fittings
Use a 1/2 inch steel-braided sink hose and a brass tee fitting that matches your toilet shutoff valve. The braided steel resists kinking and handles 40 to 80 psi, which is standard home water pressure. Avoid plastic hoses because they degrade over time.
Connect the T-Fitting to the Water Line
Shut off the toilet water supply. Disconnect the existing hose from the tank inlet. Wrap the threads of the brass tee fitting with Teflon tape to prevent leaks. Screw the tee onto the shutoff valve by hand, then tighten gently with an adjustable wrench. Do not overtighten or you risk damaging the valve.
Attach the Spray Hose and Reconnect the Toilet
Connect one end of the sink hose to the side outlet of the tee. On the bottom outlet, reattach the original toilet supply line using a brass connector. This splits the flow, with one stream going to the tank and one to your new sprayer.
Test for Leaks and Optimize Flow
Turn the water back on slowly. Check all connections between the valve and tee, between tee and connector, and between tee and hose. If you see drips, tighten slightly or reapply Teflon tape. Control spray intensity by partially closing the toilet shutoff valve.
Mount and Store the Hose Properly
Use a wall hook or magnetic holder to keep the hose off the floor. Never let it dangle into the toilet bowl or rest on wet surfaces. Avoid placing it near toilet paper because moisture causes sogginess and contamination. Mount it vertically on the side wall or tank for easy access.
Pro Tip: One user flooded their bathroom after accidental activation. Hang it properly so it does not hit the floor and spray you.
Use a Commercial Bidet Conversion Kit
For a faster, cleaner install, use a pre-assembled kit. These include all parts: T-valve, hose, trigger handle, and mounting bracket.
Install the T-Valve on the Toilet Inlet
Turn off water and flush to empty the tank. Disconnect the supply line. Insert the rubber washer into the T-valve, then screw the valve onto the tank inlet by hand. Tighten with a wrench just enough to seal. Over-tightening cracks fittings.
Connect the Bidet Hose and Trigger Handle
Attach the flexible stainless hose to the side outlet of the T-valve using the provided gasket. Connect the other end to the spray handle with no tools needed. Most handles have a lockable trigger for continuous spray.
Mount the Holder and Test System
Screw the plastic or metal bracket to the floor near the toilet base. Place the handle in the holder when not in use. Turn water on and check for leaks. Press the trigger and flow should be strong but comfortable.
Maintain Nozzle and Check Seals
Clean the nozzle monthly, especially in hard water areas. Soak in vinegar if mineral buildup occurs. Inspect washers every 6 to 12 months and replace if leaks develop. With proper care, most kits last 5 to 10 years.
Build a Portable Bidet Sprayer from a Water Bottle

No plumbing? No problem. A portable sprayer costs $0 to $2, uses repurposed bottles, and works anywhere including RVs, camping, or during emergencies.
Modify a Bottle Cap with a Nozzle Tube
Use a BIC pen casing, ink cartridge, or flexible tubing as the nozzle. Heat the center of the tube with a lighter or hair dryer, then bend to 90 degrees. Insert the tube through a hole poked in the bottle cap. Seal with Gorilla Glue or hot glue to prevent leaks.
Optimize Spray Pressure and Angle
Smaller holes create higher pressure. Use a heated nail to make a 0.5 to 1.0 millimeter orifice. Enlarge the hole if spray is too forceful, especially with soda bottles. Bend the tube downward for better aim. Use a yogurt lid as a deflector and glue it to the cap to control splash.
Fill, Squeeze, and Clean After Use
Fill with clean water, with warm water being ideal for comfort. Squeeze the bottle to activate spray. After use, rinse the bottle and nozzle, air dry completely, and store disassembled or upright.
Hygiene Rule: Never use a bottle that previously held food, drink, or chemicals.
Upgrade with an Ink Cartridge Nozzle
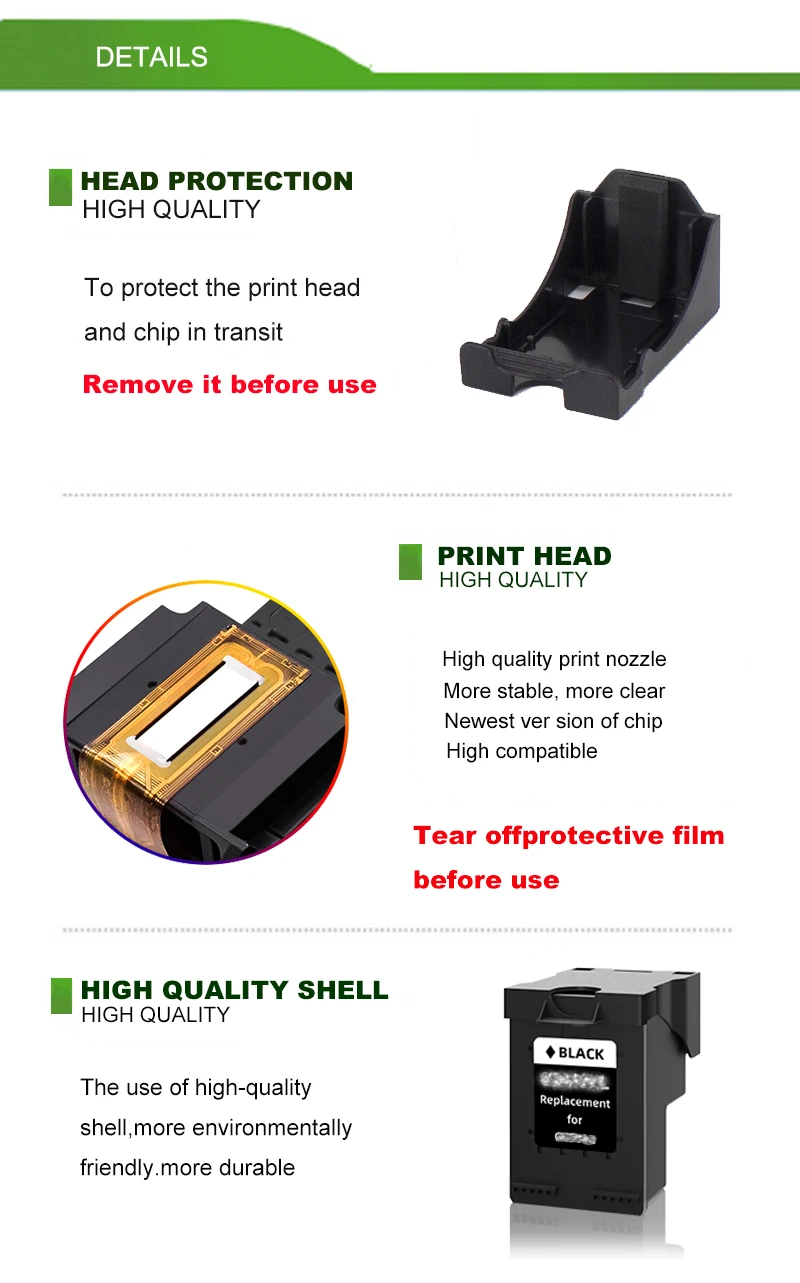
For the most precise spray, use a clear HP ink cartridge as the nozzle. It outperforms BIC pens due to its smooth internal bore and durability.
Flare and Bend the Cartridge Tube
Heat one end of the cartridge over a flame until pliable. Insert a framing nail to flare it outward, which creates a stop that locks into the bottle cap. Heat the center section and slowly bend to 90 degrees. Cool by blowing or dipping in water.
Assemble with a Sturdy Bottle Cap
Punch a hole in a white plastic water bottle cap, which is stronger than blue caps. Insert the unflared end through the cap from the inside. The flared end should seat against the inner surface. Seal the joint with epoxy or Gorilla Glue and let it cure upside down overnight.
Test Spray Precision and Durability
The ink cartridge delivers a pinpoint stream with zero internal obstructions. Users praise its accuracy and precision.
Pro Tip: Upgrade from blue to white caps because they are thicker and less prone to cracking.
Try Alternative Bottle-Based Designs
Several variations exist for different containers and use cases.
Poke a Hole in a Standard Water Bottle Cap
Use a heated needle to pierce the center of a cap. Fill the bottle, screw on the cap, and squeeze. Use multiple caps with different hole sizes to adjust flow. Attach a yogurt lid as a splash guard with hot glue.
Use a Flexible Squeeze Bottle
Insert flexible tubing into the flip-up spout. Slit the end and tape it into a V-shape for directional spray. Heat with a hair dryer to set the bend. Enlarge the exit hole slightly to reduce pressure.
Repurpose a Shampoo Bottle
Insert tubing into the spout. Use electrical tape to seal gaps. Add a rubber band or yogurt lid base to keep it upright. Ensure the tube stays submerged when the bottle is upright.
Convert a 20oz Soda Bottle
Poke a hole below the cap and squeeze hard for a strong spray. Exercise caution because high pressure can cause splashback. Enlarge the hole if needed.
Use a Baby Bottle for Kids or Caregivers
This is ideal for small hands or assisting others. Cut the top if longer reach is needed. Use a dedicated bottle and never one used for feeding.
Repurpose a Garden Sprayer
Fill a handheld garden sprayer with clean water. Use the trigger for controlled bursts. Never use a sprayer that held pesticides or chemicals because residue is dangerous.
Control Spray with Jet and Ergonomic Tweaks
Fine-tune your sprayer for comfort and effectiveness.
Adjust Orifice Size for Comfort
A 0.5 millimeter hole creates a strong, focused stream best for precise cleaning. A 1.0 millimeter hole provides softer spray ideal for sensitive skin or flexible bottles. Cover part of the hole with tape to reduce flow on the fly.
Bend Tubing for Better Aim
Heat tubing with warm water or a hair dryer. Bend slowly to avoid kinks. For BIC pens, insert string or wire inside before heating to prevent collapse.
Add a Deflector with a Yogurt Lid
Cut a small disc from a yogurt lid. Glue it to the cap at a 45 degree angle. It redirects the spray and reduces splashback, especially useful in tight spaces.
Follow Safety and Hygiene Best Practices
Even simple devices need proper handling to stay safe and sanitary.
Prevent Cross-Contamination
Use dedicated bottles, never ones that held food, soda, or cleaning products. Label your sprayer bottle clearly. Keep the nozzle off the floor and away from fecal matter.
Seal Joints to Stop Leaks
Use Teflon tape on all threaded metal connections. Apply epoxy or hot glue on plastic-to-plastic joints. Test for leaks before full use.
Manage Water Pressure
Household systems at 40 to 80 psi are powerful, so modulate flow with the shutoff valve. For portable sprayers, use flexible bottles and enlarge nozzle holes to reduce pressure.
Sanitize Weekly
Rinse after every use. Soak in a 1 to 3 vinegar-water solution weekly to kill bacteria and dissolve mineral deposits. Air dry completely before storing.
Compare Portable vs. Fixed Bidet Sprayers
| Feature | Portable DIY | Fixed Sprayer |
|---|---|---|
| Cost | $0 to $2 | $15 to $40 |
| Installation | 15 to 30 minutes | Under 30 minutes |
| Pressure | Hand-squeezed | Full household |
| Portability | High | None |
| Spray Control | Variable | Trigger-activated |
| Water Temp | Warm (pre-filled) | Cold |
| Durability | Moderate | High |
| Best For | Renters, travelers | Homeowners, seniors |
Save Money and Reduce Toilet Paper Use
DIY bidet sprayers cut toilet paper consumption by up to 75 percent. Over time, that is hundreds of dollars saved. A fixed system pays for itself in under a year. Even a $0 bottle sprayer reduces your environmental footprint.
Prevent Clogs and Plumbing Issues
Less paper means fewer blockages, which is especially important in RVs, older homes, and septic systems. Bidets reduce strain on plumbing and lower the risk of costly repairs.
Support Environmental Sustainability
Less toilet paper means less deforestation, lower manufacturing emissions, and less packaging waste. Reusing bottles supports a circular economy.
Final Recommendations by Use Case
For Homeowners: Build the Sink Hose Plus T-Fitting System
It costs about $11, lasts years, and works like a commercial unit. Use Teflon tape, mount the hose properly, and enjoy full water pressure. Upgrade later to a Toto Washlet for heated seats and automatic spray.
For Renters or Travelers: Make an Ink Cartridge Sprayer
Lightweight, portable, and ultra-precise. Carry just the nozzle and cap, then buy a bottle locally. Ideal for camping, flights, or temporary housing.
For Families and Caregivers: Use a Baby or Shampoo Bottle
Easier for children or those with limited mobility. Warm water improves comfort and keeps hands clean during diaper changes or assisted care.
For Eco-Conscious Users: Repurpose Plastic Bottles
Every reused bottle is one less in the landfill. Combine sustainability with hygiene without buying new plastic.
Frequently Asked Questions About Making a Bidet Sprayer
How much does it cost to make a bidet sprayer?
You can make a fully functional portable bidet sprayer for free using repurposed household items. A semi-permanent plumbed version costs approximately $11 for materials like a brass tee fitting and sink hose.
Do I need plumbing skills to install a fixed bidet sprayer?
Minimal plumbing skills are required. You need to shut off the water supply, attach a T-fitting to the toilet inlet, and connect a hose. The process takes under 30 minutes with basic tools like an adjustable wrench.
What is the best material for a portable sprayer nozzle?
A clear HP ink cartridge provides the most precise spray because of its smooth internal bore. BIC pen casings work but may have reduced flow due to internal obstructions.
Can I use a bidet sprayer while traveling?
Yes, portable bottle-based sprayers are ideal for travel. Carry just the modified cap and tubing, then purchase a water bottle locally. This works well for camping, flights, or temporary housing.
How do I control spray pressure on a DIY sprayer?
For portable sprayers, squeeze harder or softer to control pressure. You can also adjust the orifice size by making the hole larger or smaller. For fixed sprayers, partially close the toilet shutoff valve to reduce flow.
Is a DIY bidet sprayer hygienic?
Yes, when properly maintained. Rinse the nozzle after each use, sanitize weekly with vinegar solution, and store dry. Always use dedicated containers that never held food or chemicals.
Key Takeaways for Making a Bidet Sprayer
Building a bidet sprayer is achievable at any budget, from a free bottle mod to an $11 plumbing installation. Portable options work best for travelers and renters, while fixed sprayers suit homeowners wanting permanent, high-pressure cleaning. Regardless of your choice, you will reduce toilet paper use, save money, and improve personal hygiene. Start with a simple bottle modification or upgrade to a plumbed system based on your needs.